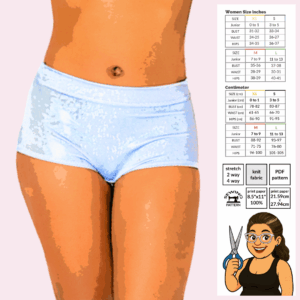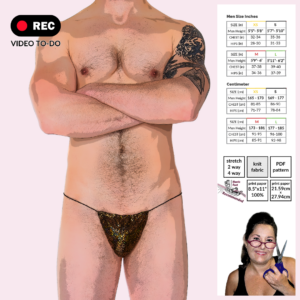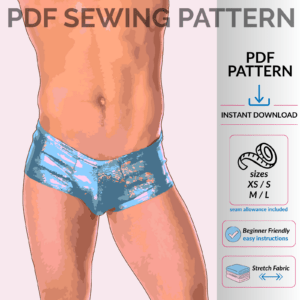
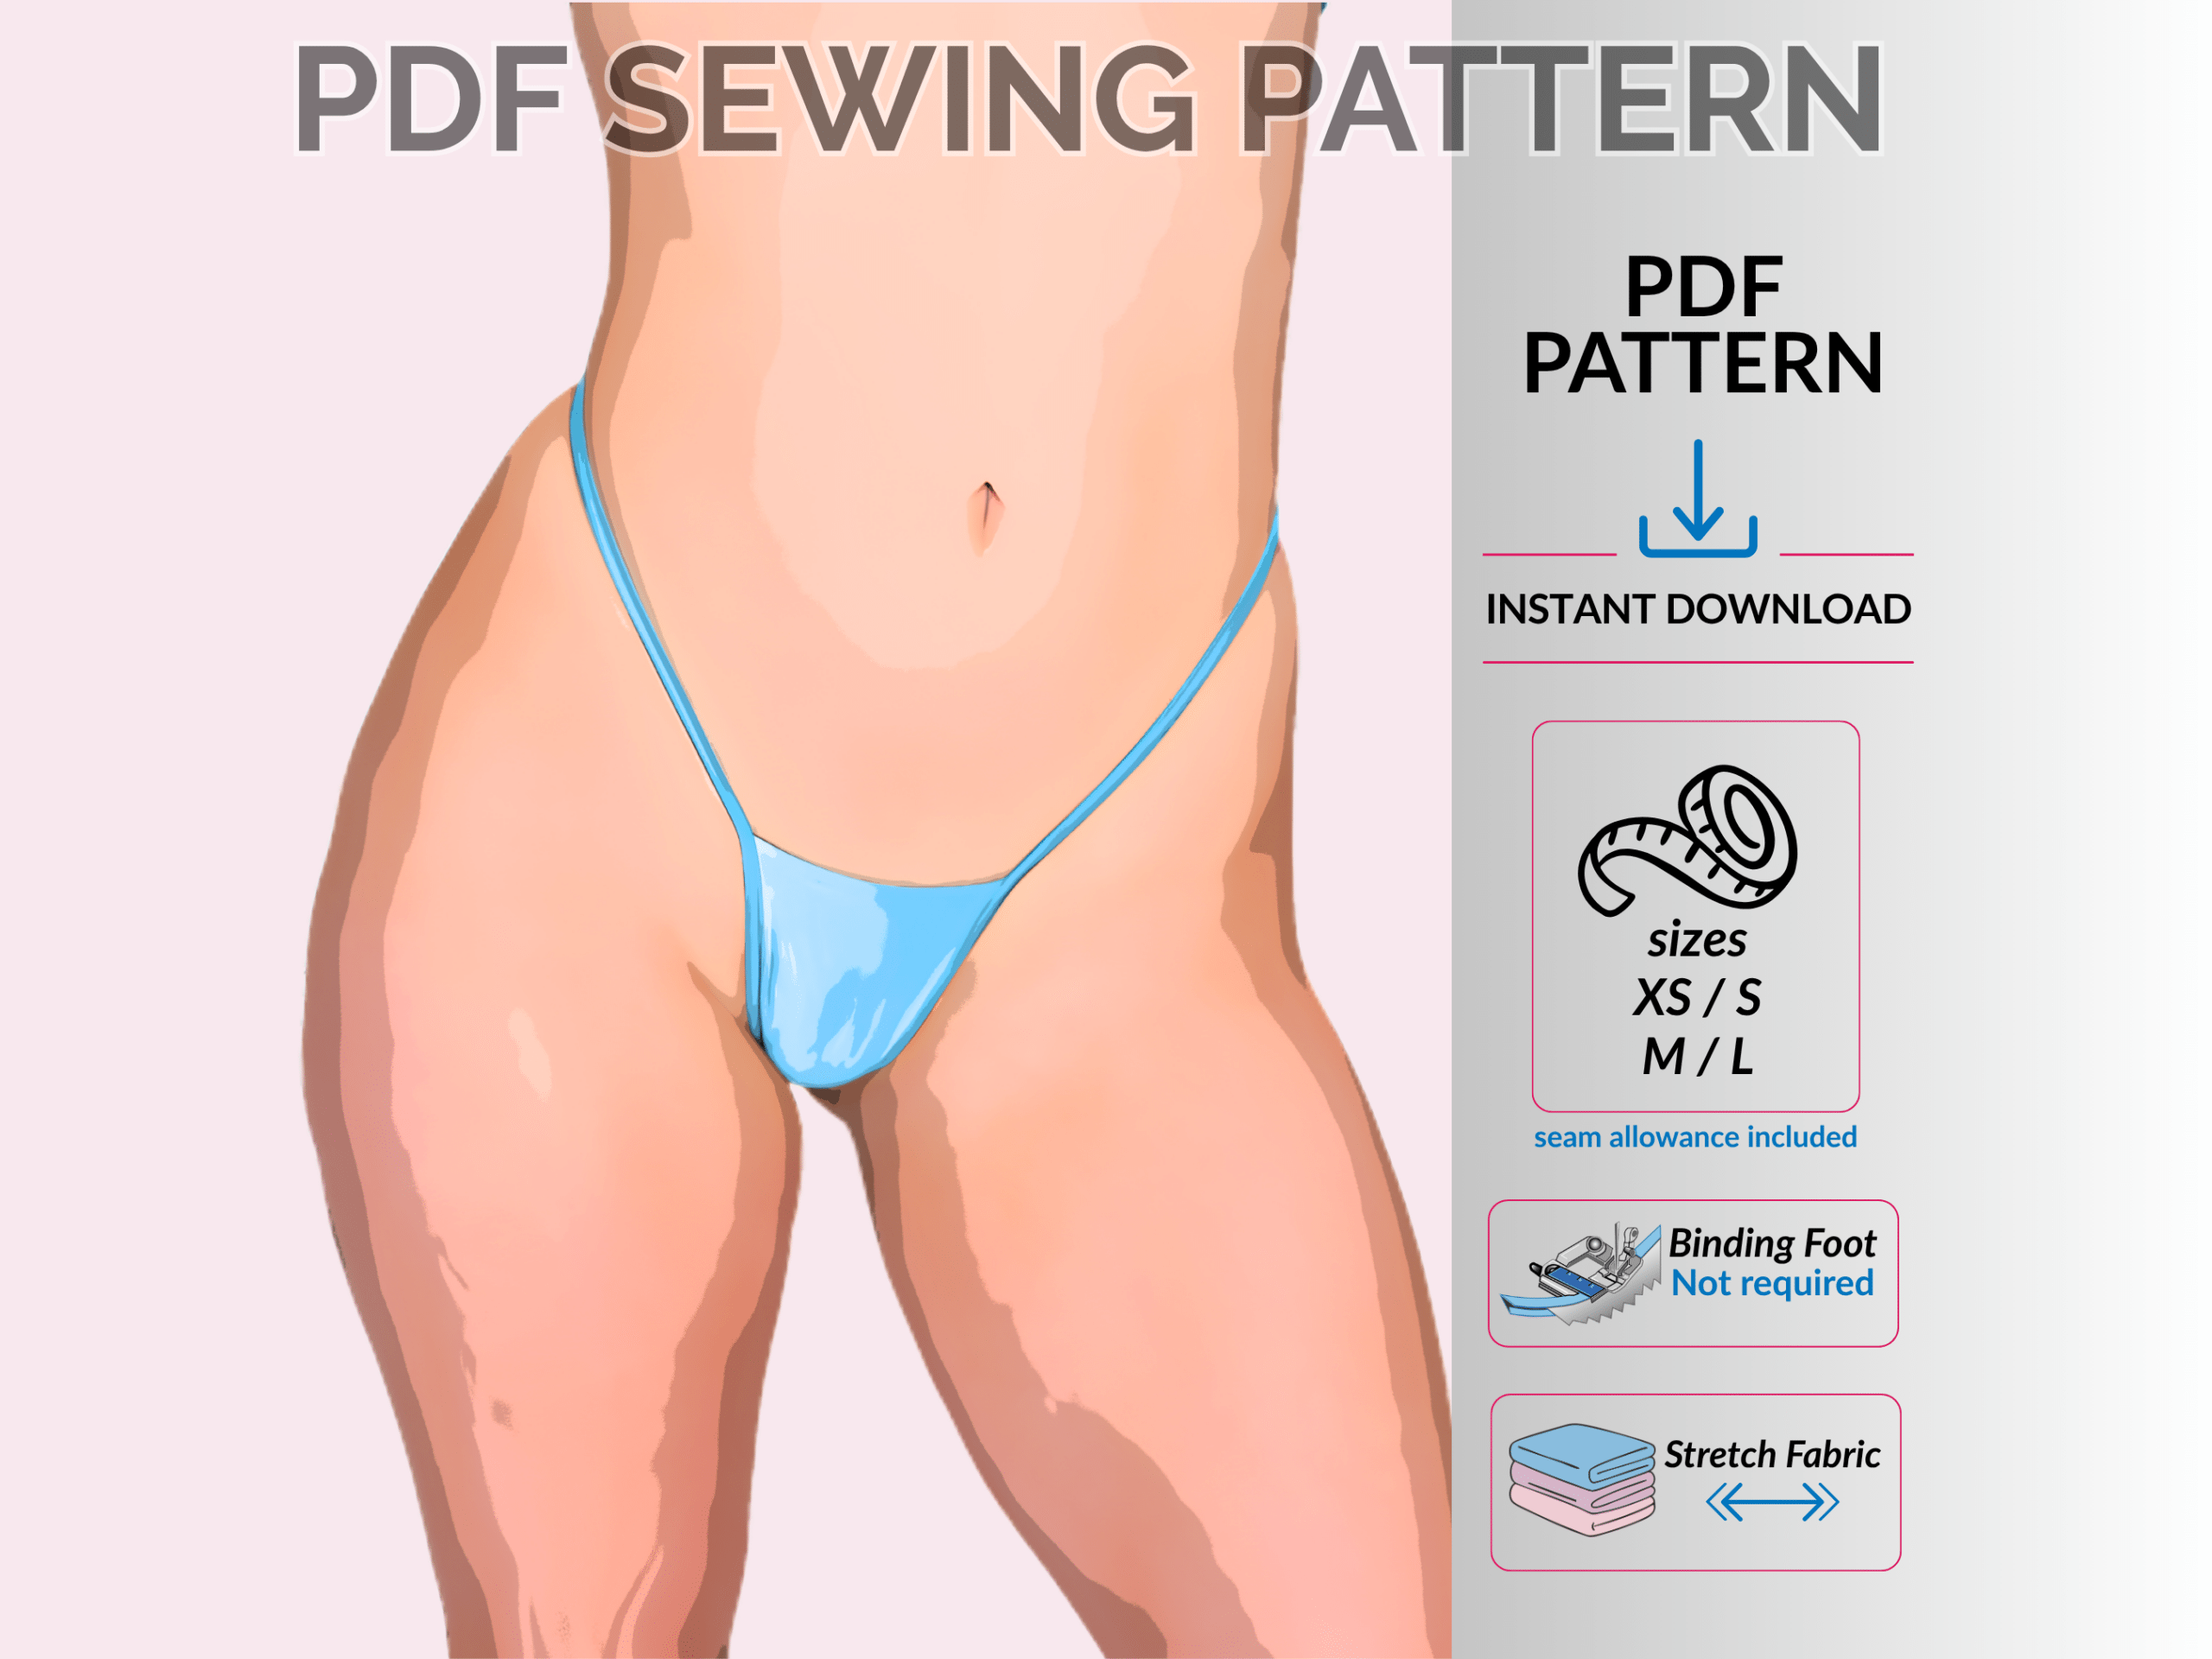


Sew your own skimpy G-string thong with a low-rise fit and stretch binding waistband—perfect for raves, festivals, exotic dancewear, or matching sets with your favorite tri-top. This digital PDF sewing pattern shows you how to use one continuous stretch binding strip to finish the edges and form the waistband for a clean, minimal look. Designed for stretch fabrics, this pattern includes beginner-friendly instructions with clear binding placement and sizing guidance so you can customize coverage and fit. The low-rise cut sits perfectly on the hips, making it ideal for layering under outfits or styling as part of a coordinated set. A full assembly video tutorial is included so you can follow along step-by-step.
✨ Includes
G-String Thong PDF sewing pattern (XS–L)
Color-coded sizing (not layered)
Alignment blocks for easy page assembly
Beginner-friendly written instructions
Binding placement and fit adjustment tips
Video tutorial access
🧵 What You Will Need
¼ yard Nylon Spandex (2 & 4-way stretch, scraps work)
¼ yard optional lining (scraps work)
1¼ yards stretch binding strip (1⅜” wide)
Matching thread
Overlock/serger or home sewing machine with zigzag/stretch stitch
Scissors or rotary cutter
🧵 Assembly (Shortened Instructions)
Print and assemble pattern using alignment blocks, then cut fabric and optional lining. Attach lining to the front piece and hem the lower edge. Pin the stretch binding starting at the back point, then along one side of the front waistband. Stay-stitch to secure placement. Continue pinning binding across the center front and opposite side, overlapping slightly at the waistband. Wrap binding around edges and stitch continuously to enclose fabric and form waistband. Trim excess at the back point. Cut and attach the back strap at center back, fold the end over, and secure with a straight stitch. Adjust strap length as desired for preferred rise and fit. Full step-by-step instructions are included in the PDF.
💻 Digital Download
This is a digital PDF sewing pattern. No physical item will be shipped. Download instantly after purchase and print at home.
🎥 Assembly Tutorial
Step-by-step assembly video walkthrough included
👀 Skimpy tops
Pair with a matching triangle top sewing pattern