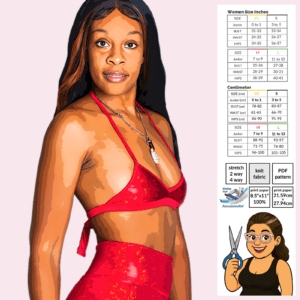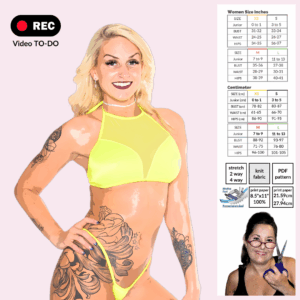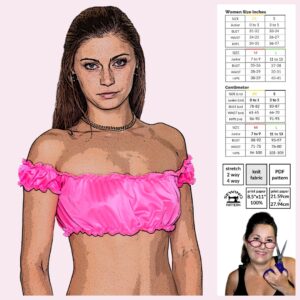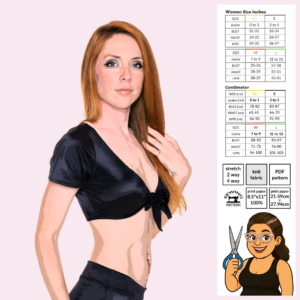
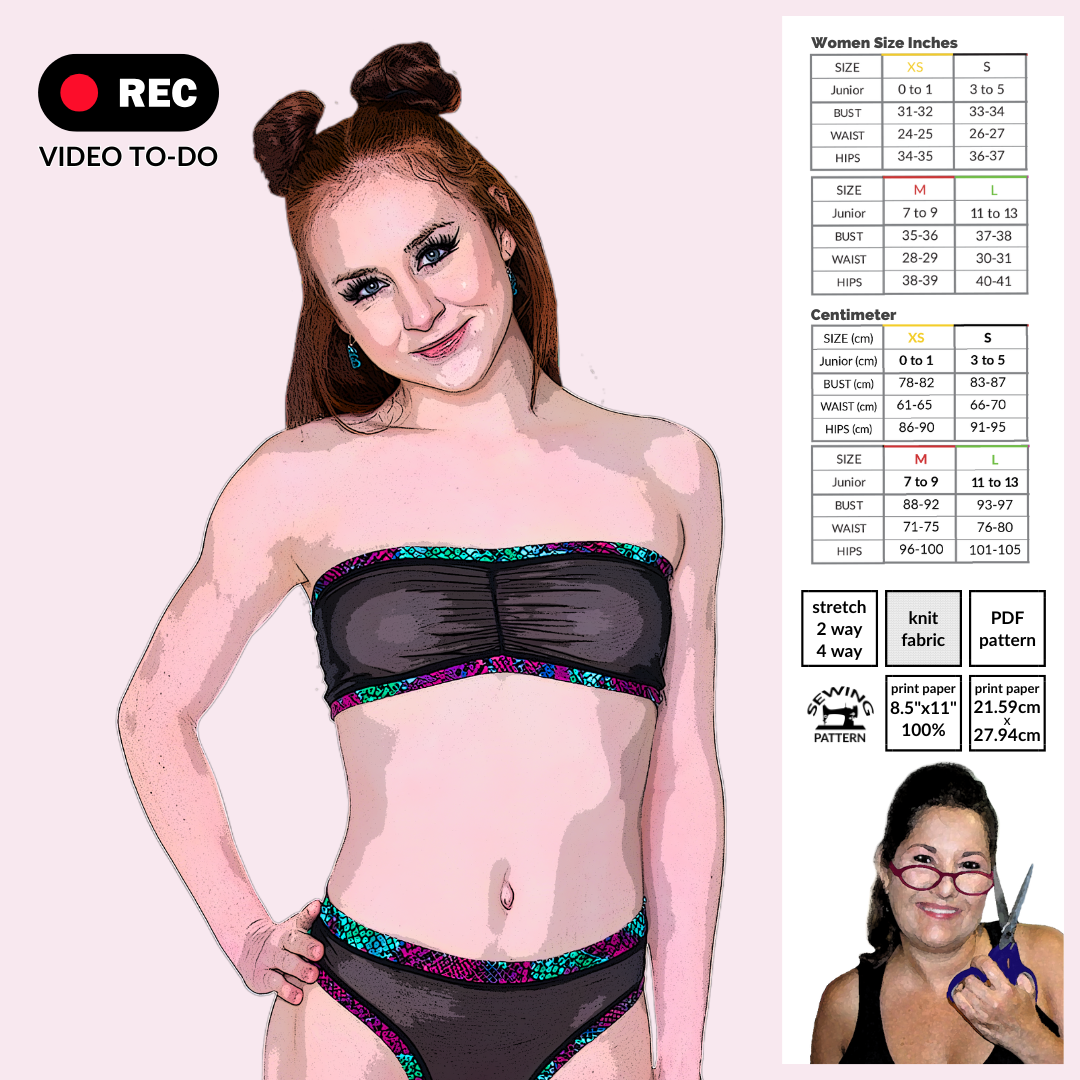

Sew your own skimpy Banded Tube Top with this easy PDF sewing pattern, featuring optional ruching to accentuate the bust and bold stretch bands across the top and bottom.
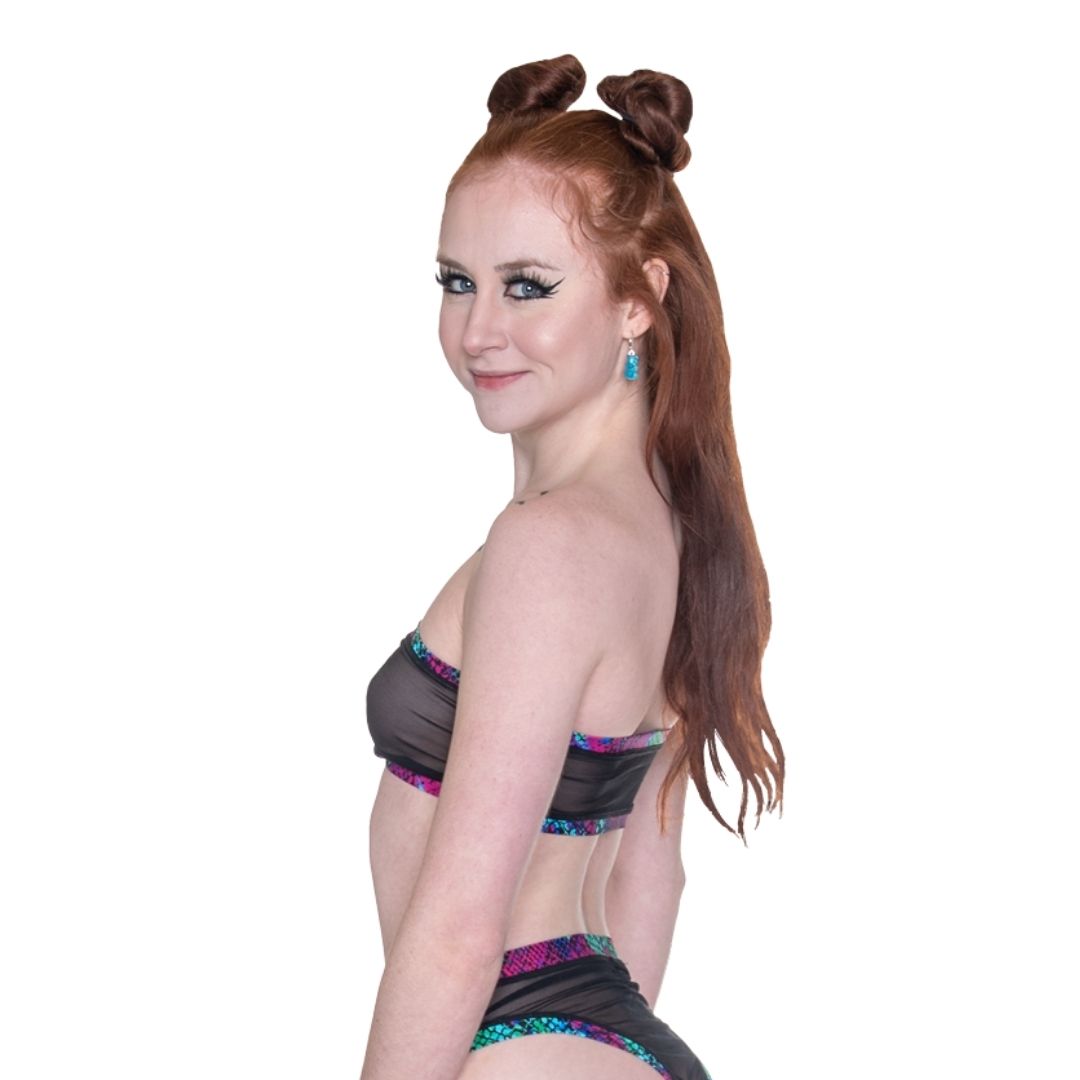
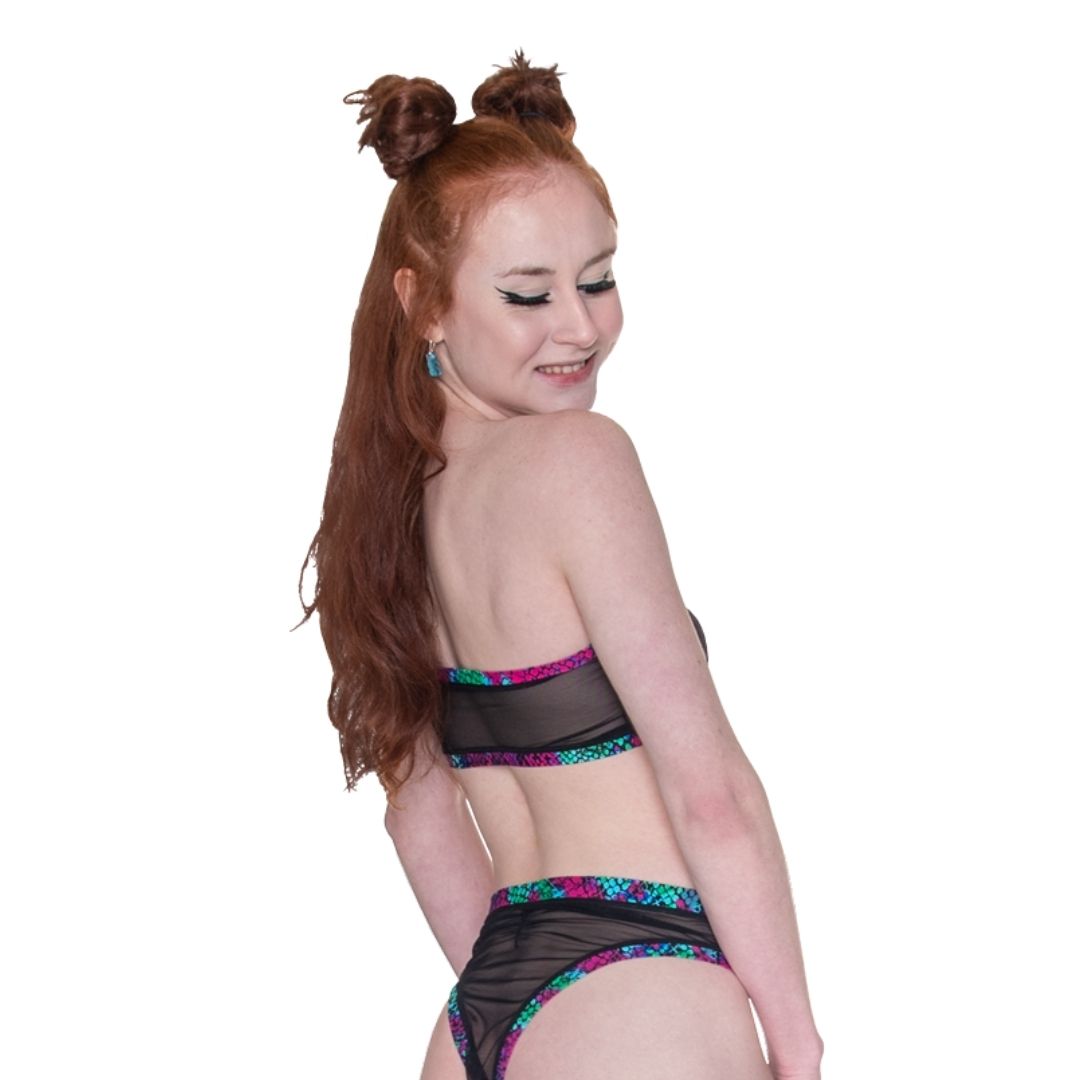
Designed to be quick and beginner-friendly, this DIY top is perfect for mesh fabrics or any 2-way/4-way stretch. Try it in sheer mesh for a flirty look, or use contrasting colors on the bands for extra pop. The snug banded fit makes it a versatile piece for dancewear, cosplay, raves, or layering with your everyday style.
You can sew this pattern on a regular home machine using a zigzag stitch, though a serger is recommended for the cleanest finish on stretch fabrics.
✨ PDF pattern download includes step-by-step instructions, band sizing, and beginner-friendly tips for sewing stretch fabric.
- Includes sizes XS-L
- One coverage option, tube top
- Formatted to print on US letter (8.5 x 11)
- Test square in US 2 x 2 inch and Metric unit 5.08 cm
- Pattern is color coded per size so you can make YOUR custom size
What You Will Need
- ¼ yard of 2-way stretch mesh
- 4 pre-cut stretch bands, 1 ⅜” wide (cut length based on size – see assembly)
- ⅛” elastic for optional ruching
- Matching thread
- Overlock/serger machine (or zigzag stitch on a regular sewing machine)
Pattern Assembly
- Ruching (Optional)
Fold front (1) in half, mark center, open, and sew ⅛” elastic down the wrong side while gently pulling to create ruching. Skip for smooth front. - Side Seams
With right sides together, sew side seams of front (1) and back (2) using ¼” serger stitch. - Prepare Bands
Cut 4 bands measurements available on sewing pattern: Sew short ends to form 2 loops. Fold each in half lengthwise. - Attach Upper Band
Insert one folded band at top edge, match side seams, and serge with ¼” seam while stretching slightly to fit. - Attach Lower Band
Repeat step 4 with second band at bottom edge. - Finish (Optional)
Topstitch seam allowances for a cleaner look.