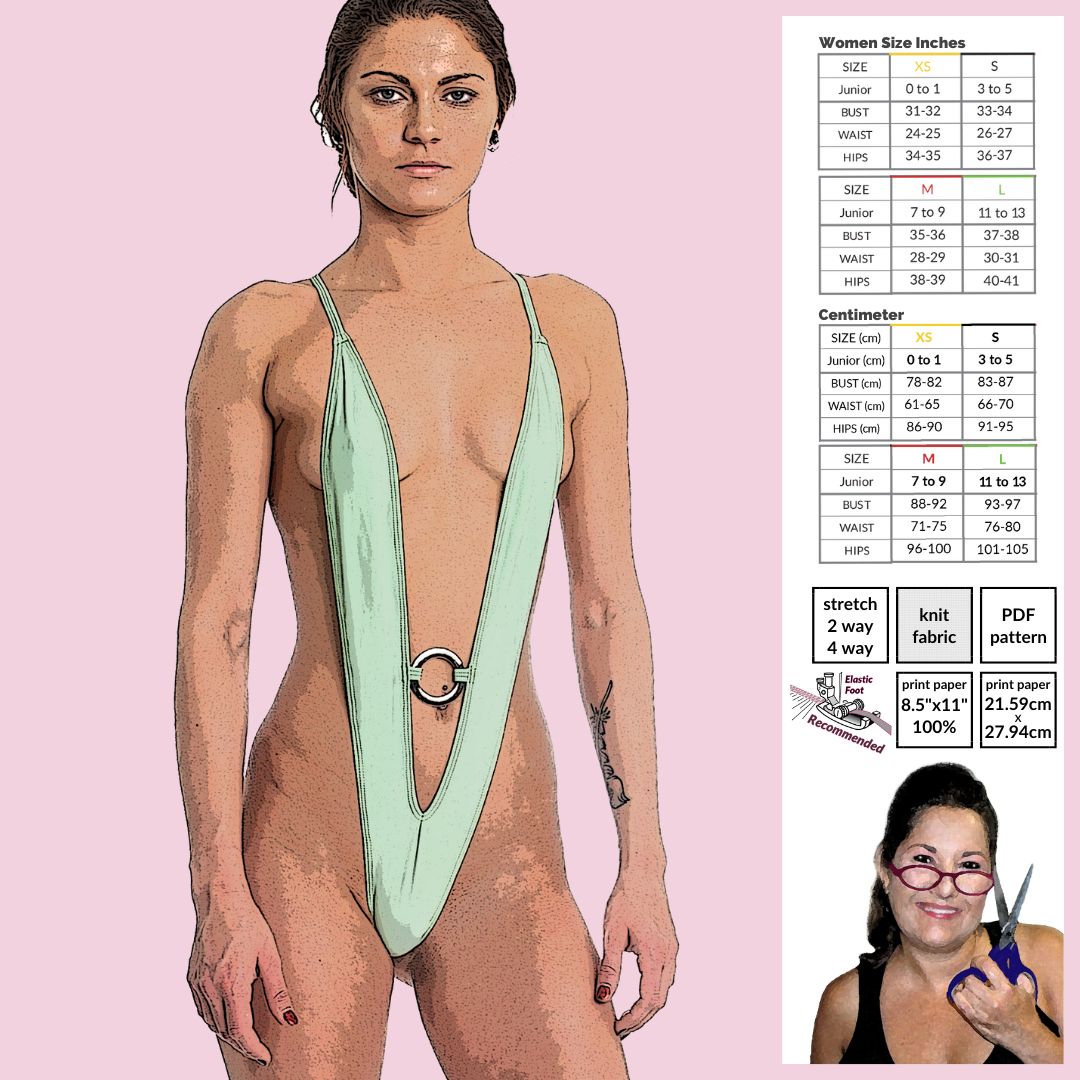
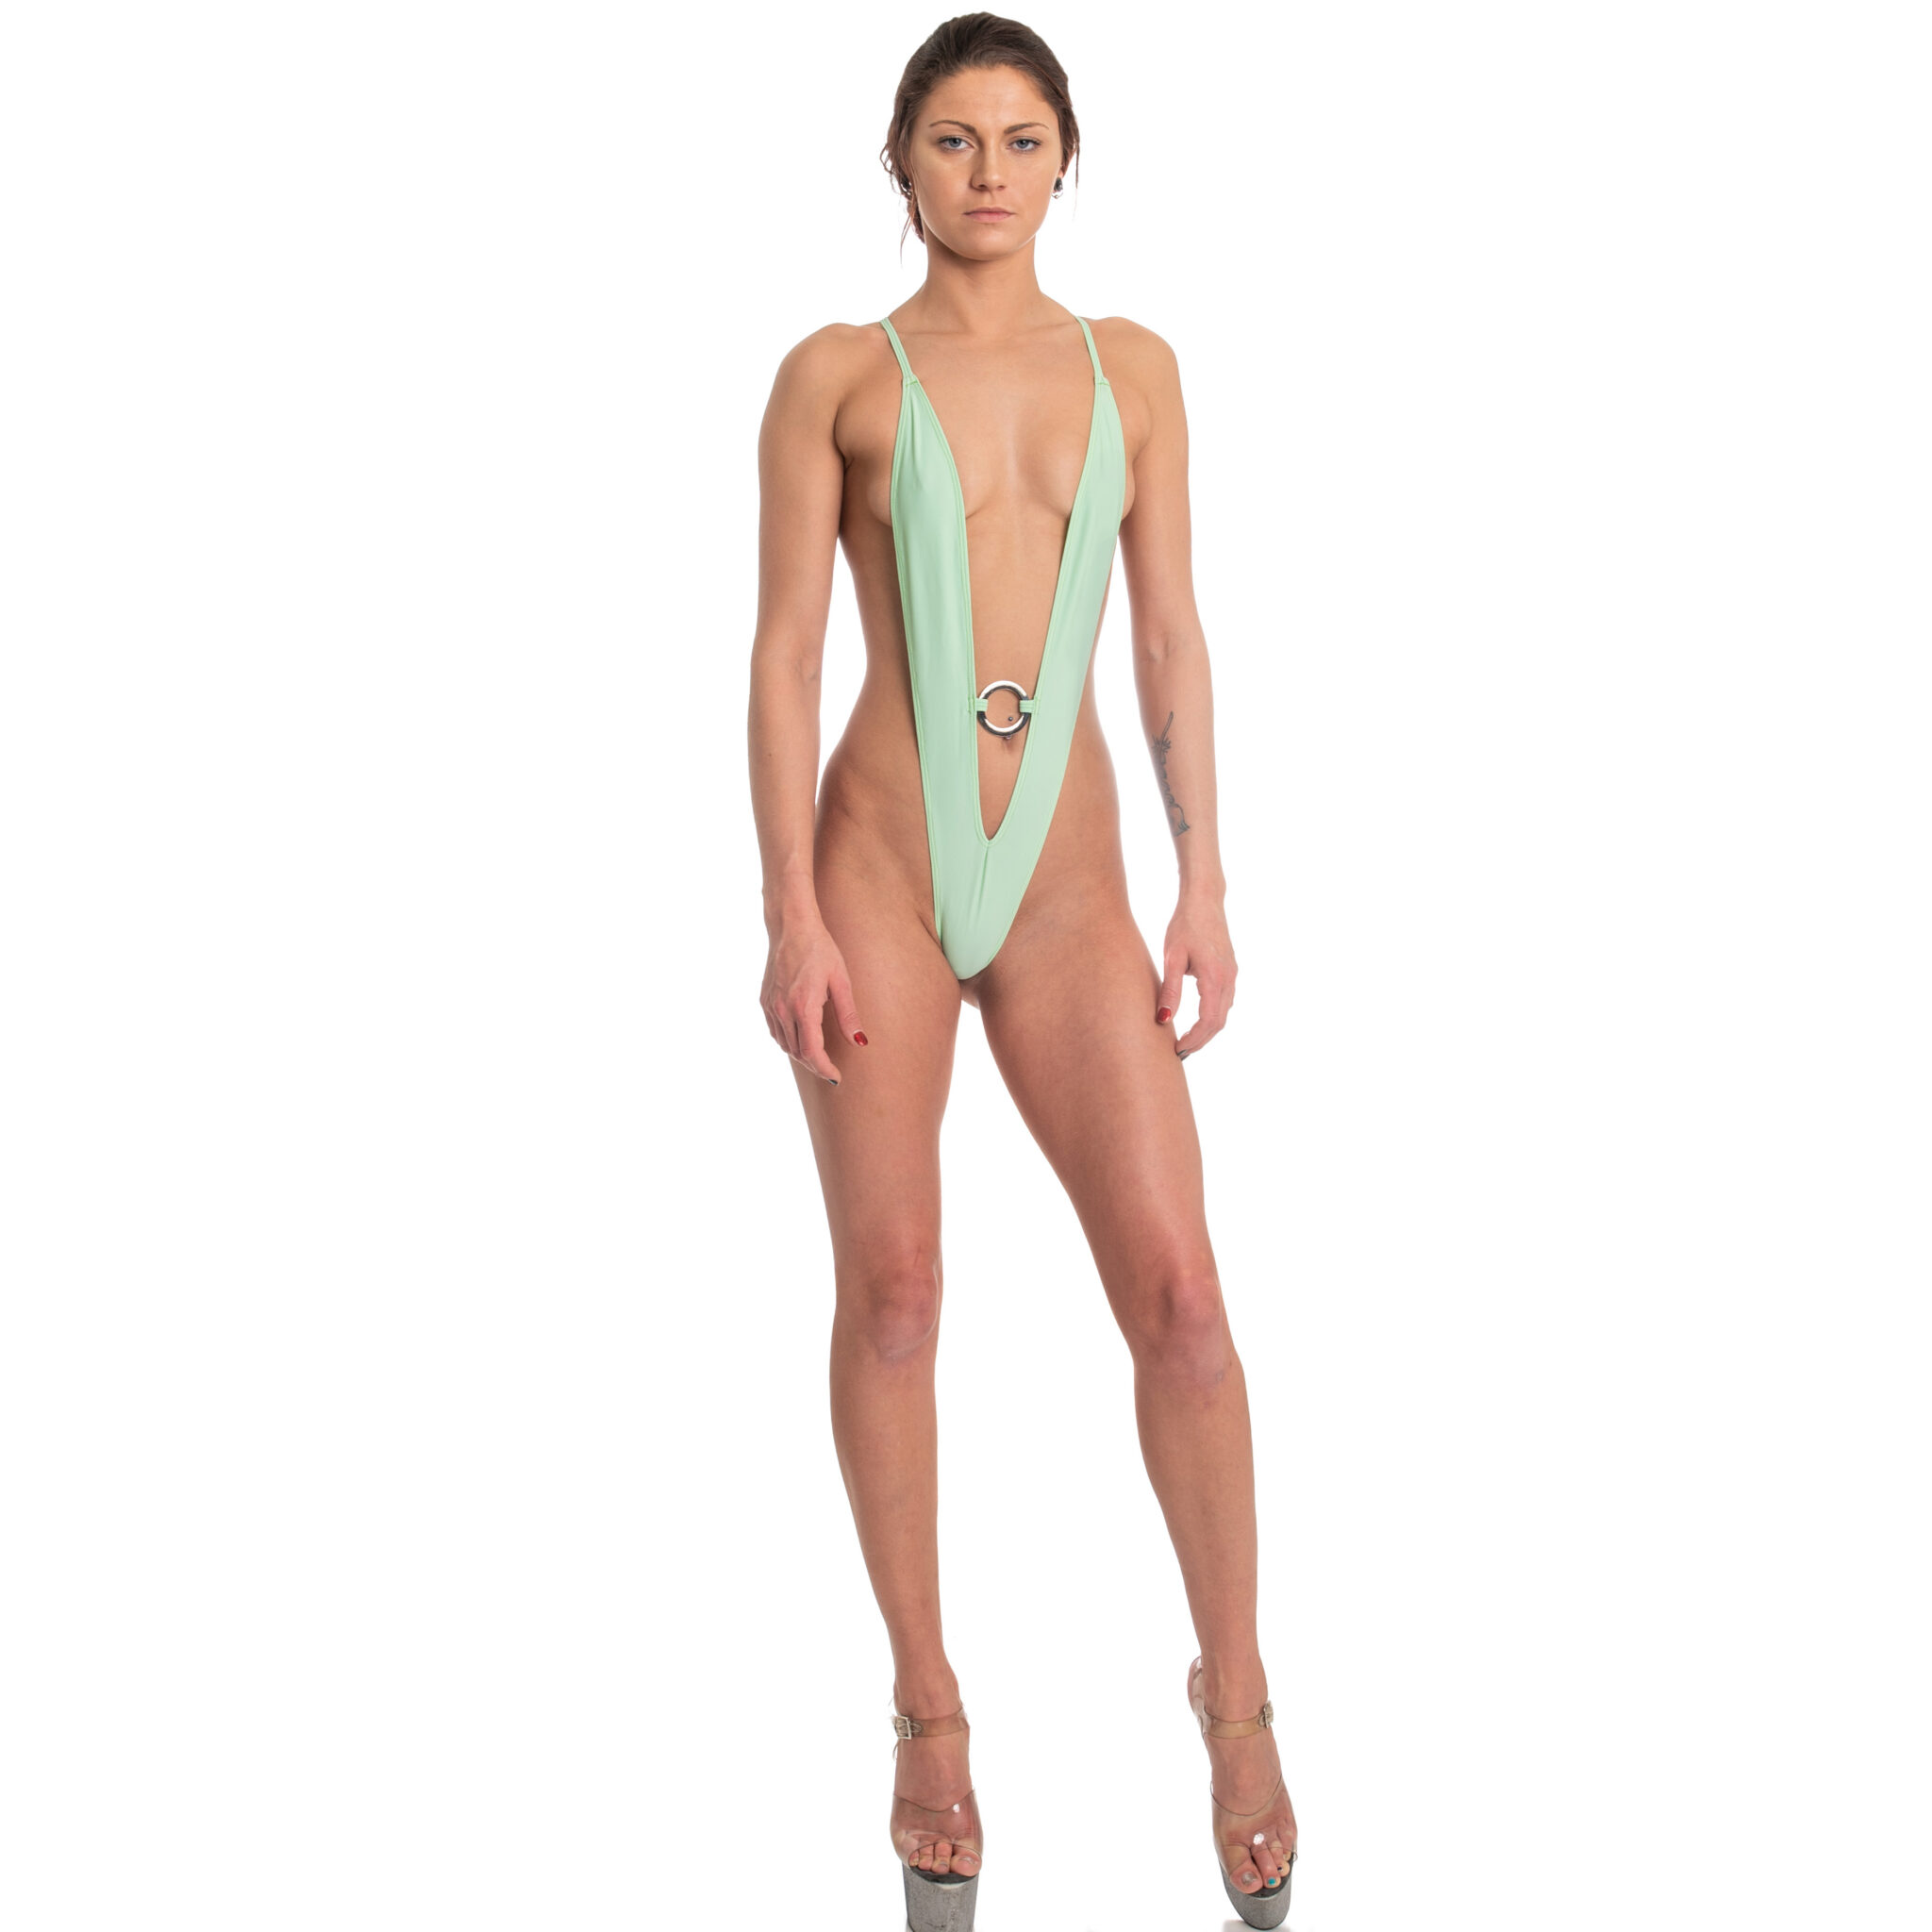
🌟 Introducing the Ultimate Slingshot Bodysuit Sewing Pattern! 🌟 Are you looking to master sewing skills in a flash? Dive into our quickie sewing tutorial series! Unleash your inner fashionista and make a statement with your wardrobe? Look no further! Our Slingshot Bodysuit Sewing Pattern is here to revolutionize your style game. 🎨 Endless Customization: The beauty of sewing your own bodysuit lies in the ability to customize it to your unique taste. Mix and match fabrics, experiment with colors, and add your personal flair with embellishments – the possibilities are endless! I have added a ring accent because it keeps the front in place better than most other bodysuits of this style. Happy sewing, please let me know if you have any questions.
- Includes sizes XS-L
- One coverage option, thong back with plunging bodysuit front
- Formatted to print on US letter (8.5 x 11)
- Test square in US 2 x 2 inch and Metric unit 5.08 cm
- Pattern is color coded per size so you can make YOUR custom size
This is a DIGITAL product, available for instant download immediately after purchase. Due to the nature of this product, returns, exchanges, and refunds are not permitted.
What You Will Need
- 1/2 yard of 2 or 4 way stretch fabric
- ¼” wide braided elastic
- 2 Pieces of bias strip (I use precut binding and strings)
- Optional 2” Ring Accent & 2 small bias strips
- Matching Thread
- Overlock machine / zig-zag stitch on a regular sewing machine
- Elastic Foot is recommended
Pattern Assembly
- Attach ¼” elastic around all the raw edges of (1) except the small ends for the shoulder straps. Use of an elastic foot is recommended. Secure elastic around both sides using a serger stitch or zigzag stitch (for the V in the front; open the V with a slight fold at the point)
- Fold under the elastic and fabric tightly to the edge. Secure the hem down using a coverstitch, zigzag stitch or any stretch stitch.
- To attach the optional ring use two finished bias strip pieces. Fold the bias strips over the sides of the ring. Use the sewing pattern for placement marks. Secure with a straight stitch
- Sew the 2 bias straps (2) for back vertical straps at shoulder and thong back. I recommend using 1 3/8” wide fabric pieces by the suggested lengths available on the sewing pattern
- After finishing the straps (2) place right sides together at top ends of (1) and straight stitch 1/2” down.
- Open the right sides of fabric of (1) & (2) and tuck in the top tip pieces of (1) & (2) strap where you can’t see it. Secure that down with a straight stitch. Cut any excess fabric if necessary
- With right sides pinned together. Sew straps (2) to thong back (1) using a straight stitch. Sew 1/2” from the back of thong piece (1).
- Open the straight stitch and pin down to thong back (1) to hide
- Sew unfinished ends inside thong back using a straight stitch. Cut any excess fabric if necessary
- Attach the optional ring with two 1 3/8” x 2” binding pieces. Use the sewing pattern for placement marks. Fold over ring then straight stitch to secure.
** make personal adjustments according to torso length **
- Quickie Video https://youtube.com/shorts/AWrng1Vaiok


