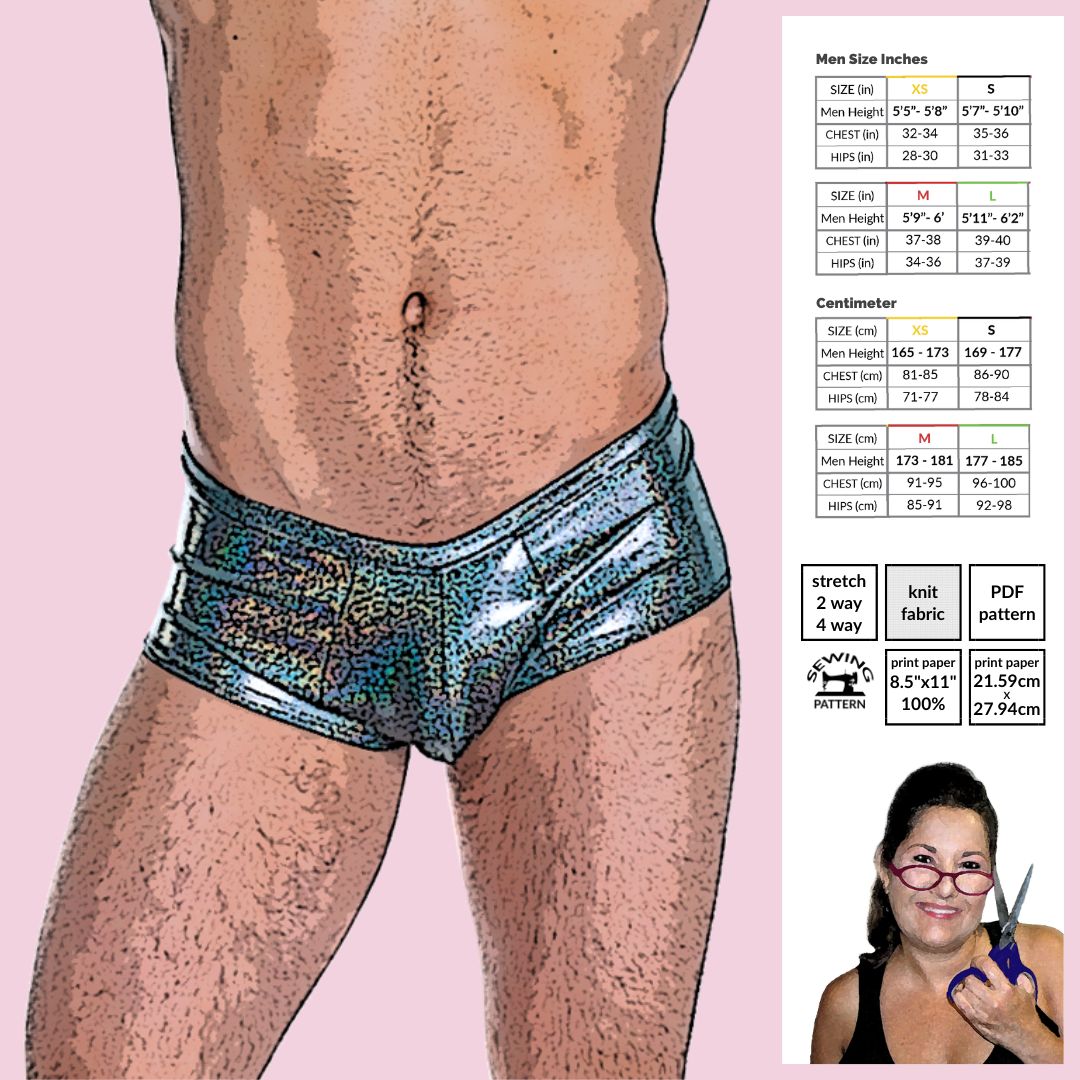
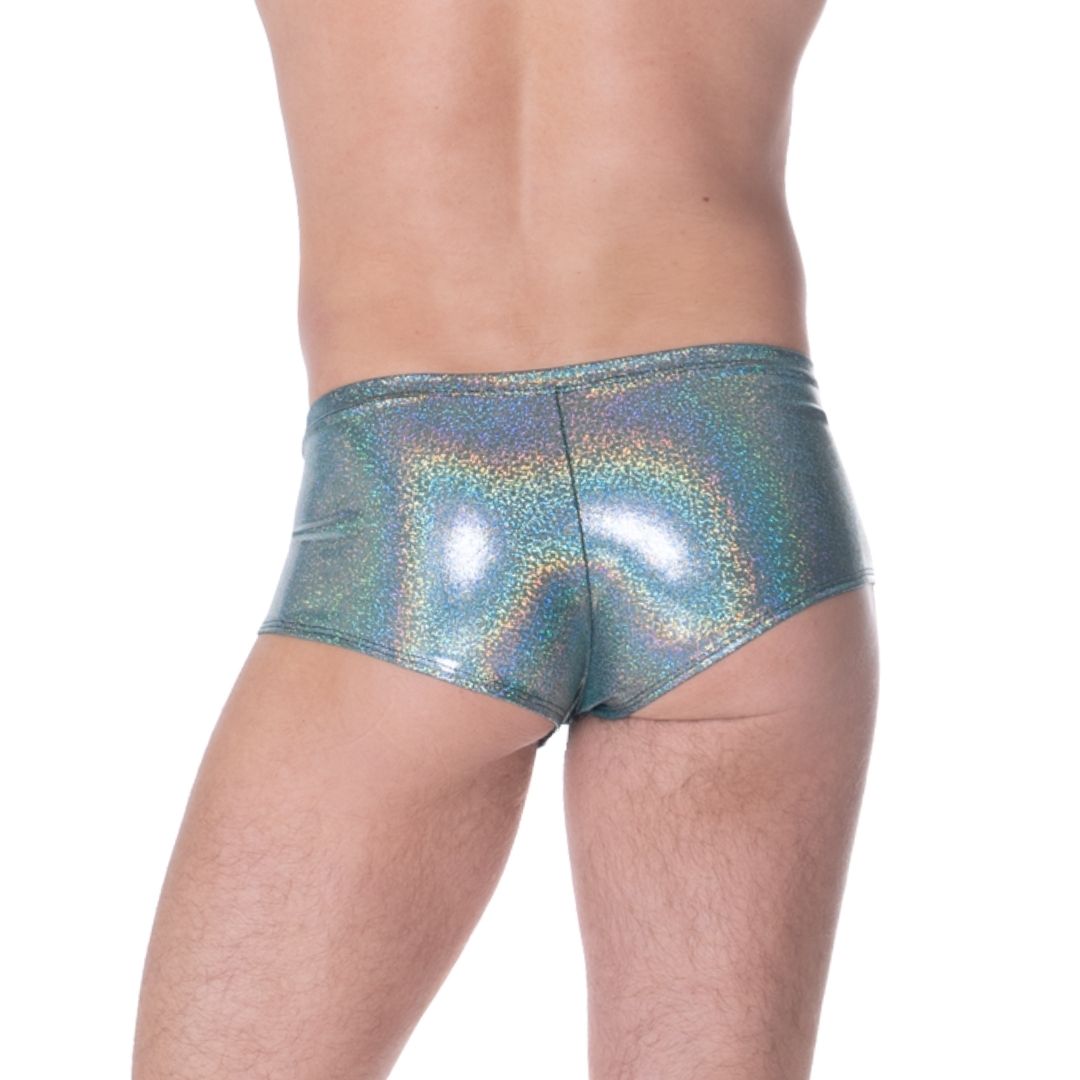
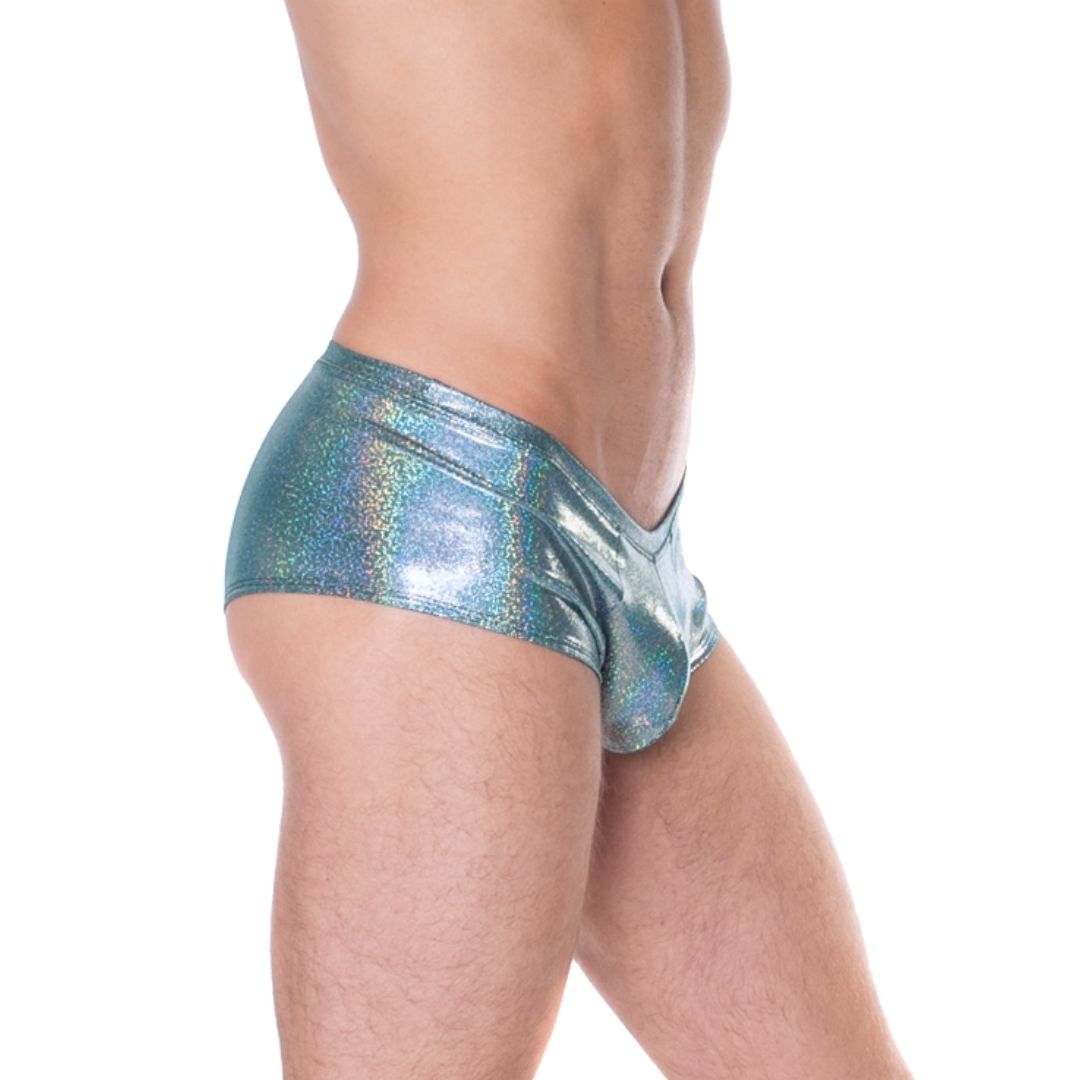
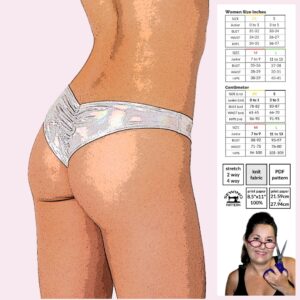
Introducing the Ultimate Men’s Pouch Booty Shorts Sewing Pattern! 🧵Are you ready to take your sewing game to the next level and create stylish, comfortable, and trend-setting shorts for the modern man? Look no further! Our Men’s Pouch Booty Shorts Sewing Pattern is the perfect choice for those who want to make a bold fashion statement while enjoying the comfort of a well-fitted garment. Don’t miss out on the chance to elevate your sewing projects and wardrobe with our Men’s Pouch Booty Shorts Sewing Pattern. Order now and start stitching your way to fashion-forward success! 🧵
- Includes sizes XS-L
- One coverage option, Hip Hugger
- Formatted to print on US letter (8.5 x 11)
- Test square in US 2 x 2 inch and Metric unit 5.08 cm
- Pattern is color coded per size so you can make YOUR custom size
This is a DIGITAL product, available for instant download immediately after purchase. Due to the nature of this product, returns, exchanges, and refunds are not permitted.
What You Will Need
- 3/4 yard of 2 or 4 way stretch fabric 58”- 60” wide
- Matching thread
- Home sewing machine
- Overlock machine / zig-zag stitch on a regular sewing machine
Pattern Assembly
- Sew both of the SIDE SEAMS of (2) to the SIDE SEAMS of the main shorts (1) with right sides of fabric facing each other. Use a serger stitch or straight stitch with a 1/4″ seam
- Open the fabric you’ve sewn for both sides (1) & (2) With right sides facing together stitch the front CENTER SEAM of (1) & (2) (the front CENTER SEAM of (2) down to the front lower CENTER SEAM of (1) is the seam)
- Sew the back seam of shorts (1) with right sides facing each other. Use a serger stitch or straight stitch with a 1/4″ seam
- Open with the wrong side of fabric facing out and place crotch front (2) & (1) and back seam of (1) together. Sew the raw edge of the crotch front and back together. Use a serger stitch or straight stitch with a 1/4″ seam
- Sew together both the small ends of (3) with right sides facing together (measurements are listed on sewing pattern) Now fold the waistband (3) in half the long way with the right side of fabric facing out. Make sure your waistband stretches the long way.
- Sew the waistband (3) raw edge to raw edge of the shorts (1) & (2) with the seam on the inside. Using a stretch stitch (overlock machine is recommended) Pull on the waistband as you sew. The waistband will be smaller than the upper shorts
- You can finish the waistband serger stitch by sewing over it with a cover stitch or zigzag stitch for a more finished look. This step is optional.
- Hem both leg hole openings with a 1/2″ hem. Use a cover stitch, zigzag straight, or any stretch stitch.
- Assembly Tutorial Video https://youtu.be/r58MWNlcuGY

