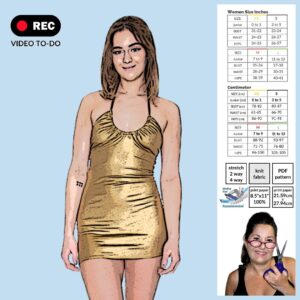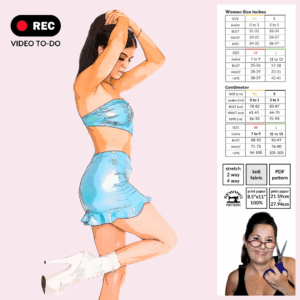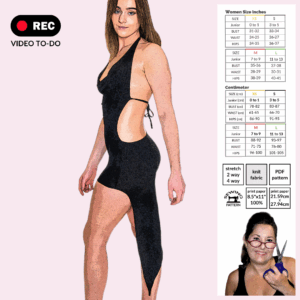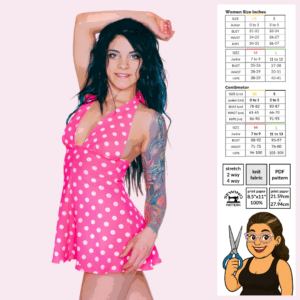
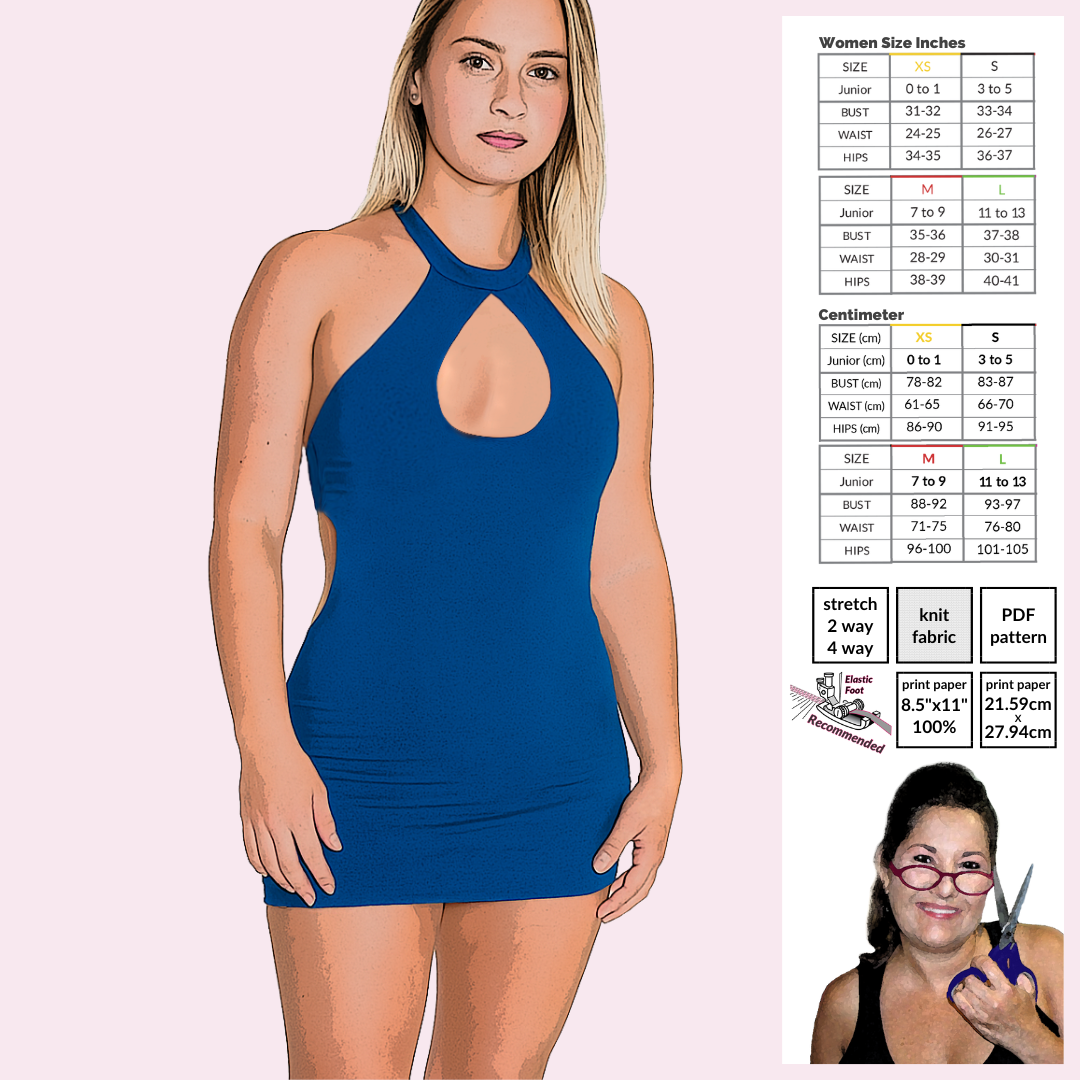
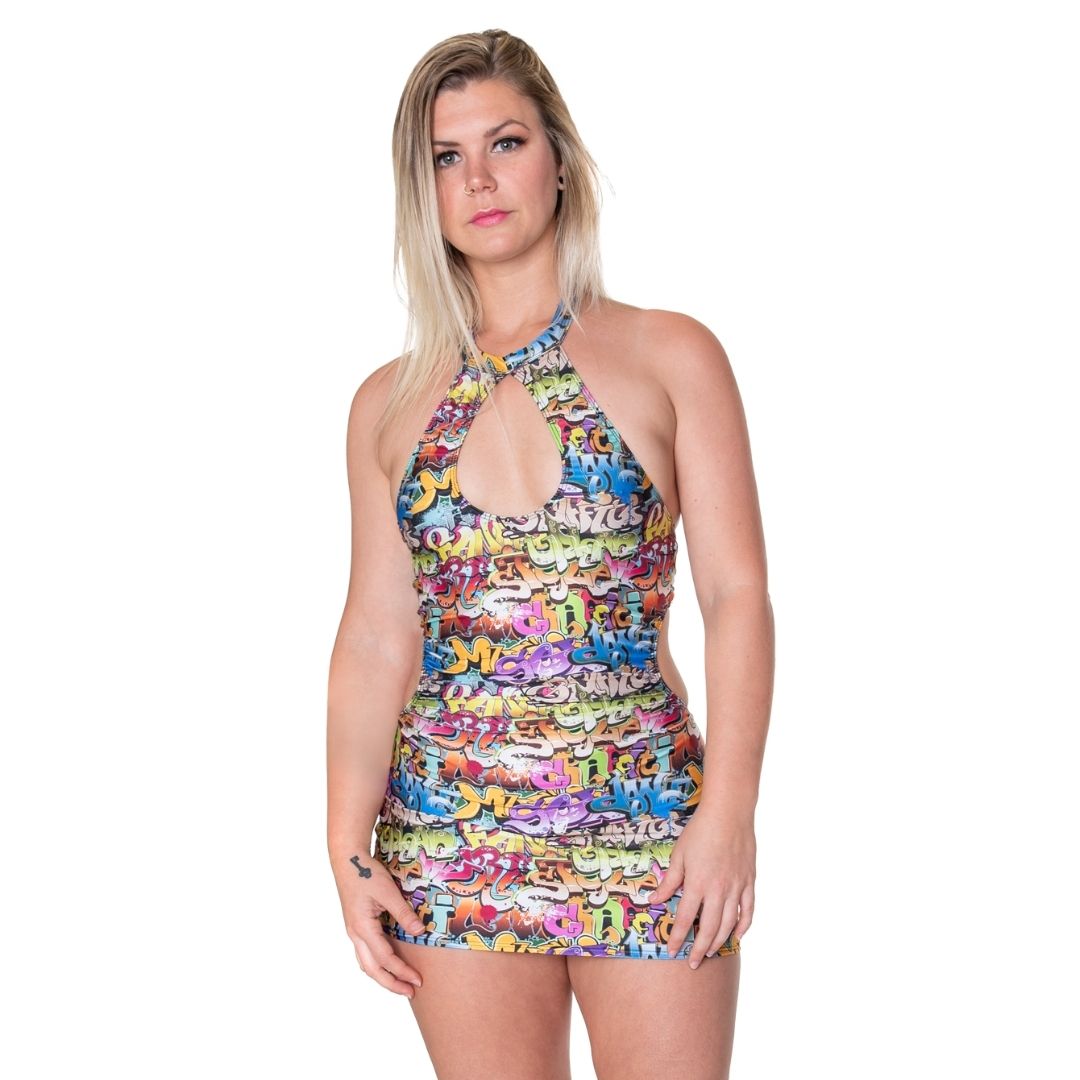
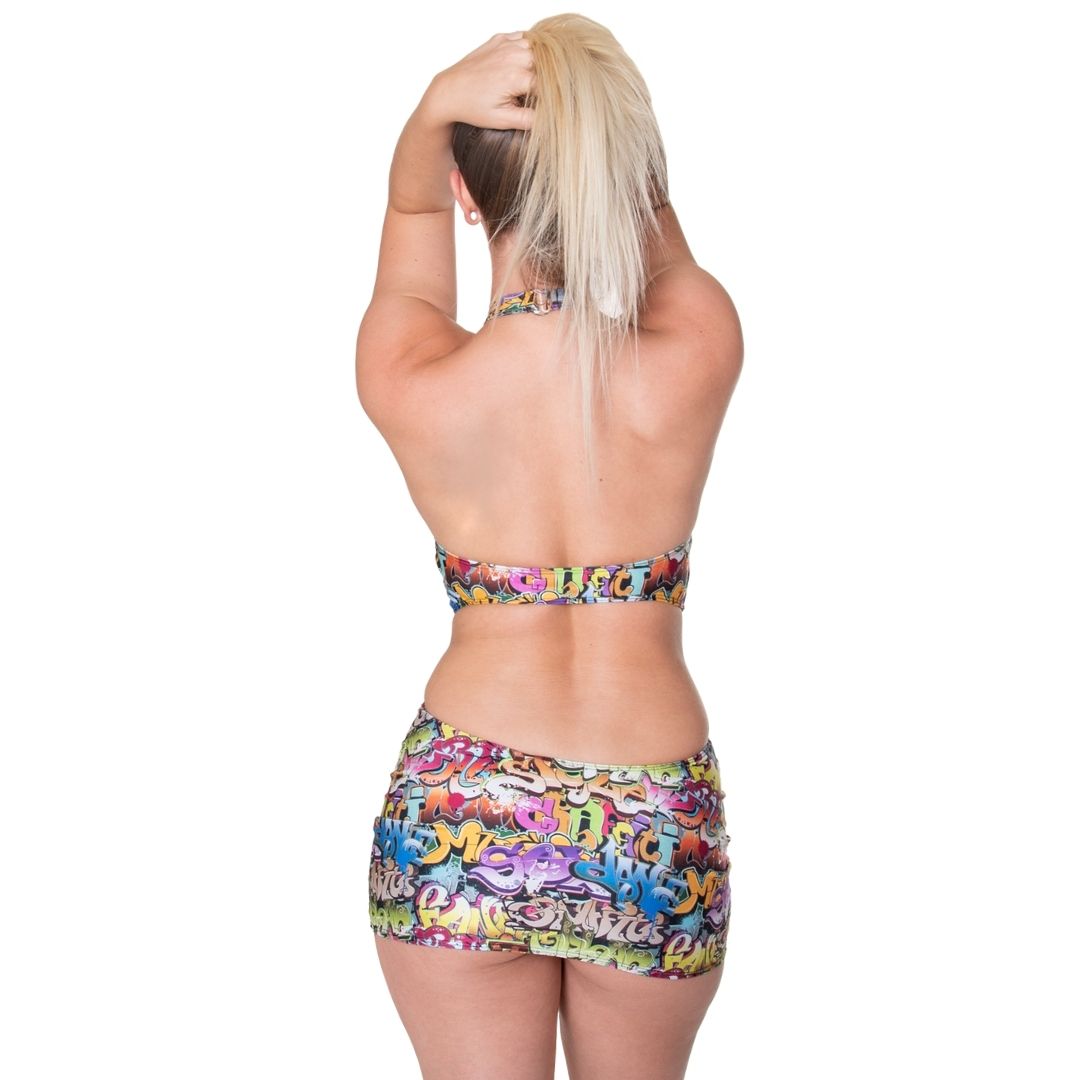


Create your own show-stopping outfit with this Keyhole Dress Sewing Pattern PDF featuring a sultry open back and halter neckline—perfect for raves, cosplay, clubwear, and costume looks. This fitted mini dress includes a dramatic front keyhole, secure S-Hook closure, and body-hugging silhouette designed specifically for stretch fabrics. The high neckline balances the bold open back, making it ideal for festival outfits, exotic dancewear, pole costume styling, or statement club dresses. Clean construction lines and elastic finishing create a sleek, professional result while remaining beginner-friendly with detailed illustrated instructions included in the download.
✨ Includes
Sizes XS–L
Keyhole halter mini dress with open back
US Letter printable format
Dual test squares: 2″ x 2″ and 5 x 5 cm
Color-coded sizes
Filled alignment blocks for accurate page assembly
Separate assembly layout guide
🧵 What You Will Need
1 yard Nylon Spandex (2 & 4-Way Stretch), 58–60″ wide
¼” cotton braided swimwear elastic
Matching thread
Overlock/serger or home sewing machine with zigzag/stretch stitch
¾” S-Hook closure
🧵 Assembly (Shortened Instructions)
Sew the front and back side seams using a ¼” serger seam allowance. Attach ¼” elastic around all outer edges and the keyhole opening, excluding the bottom hem and top keyhole edge. Join the front and back pieces, aligning edges carefully and reinforcing stress points. Fold elastic inward and topstitch with a cover stitch or zigzag. Construct the neck strap into a tube, turn right side out, and attach at the keyhole center. Secure the ¾” S-Hook to one strap end and create a reinforced loop on the opposite side for closure. Longer, detailed instructions are included in the full PDF.
💻 Digital Download
This is a digital PDF sewing pattern available instantly after purchase. No physical product will be mailed. Due to the digital nature of this item, refunds or exchanges are not permitted.
🎥 Sewing Tutorial
Quickie construction walkthrough available.