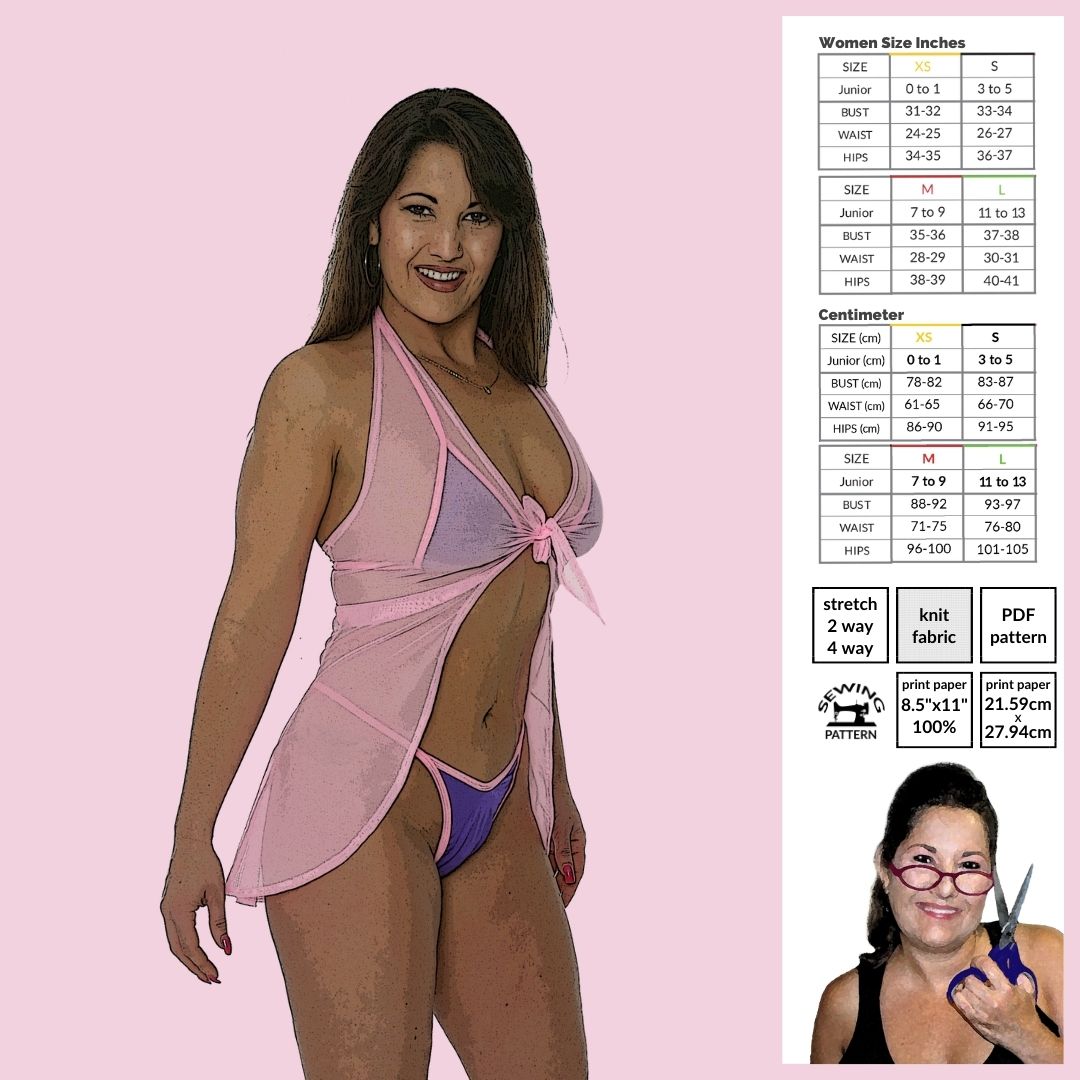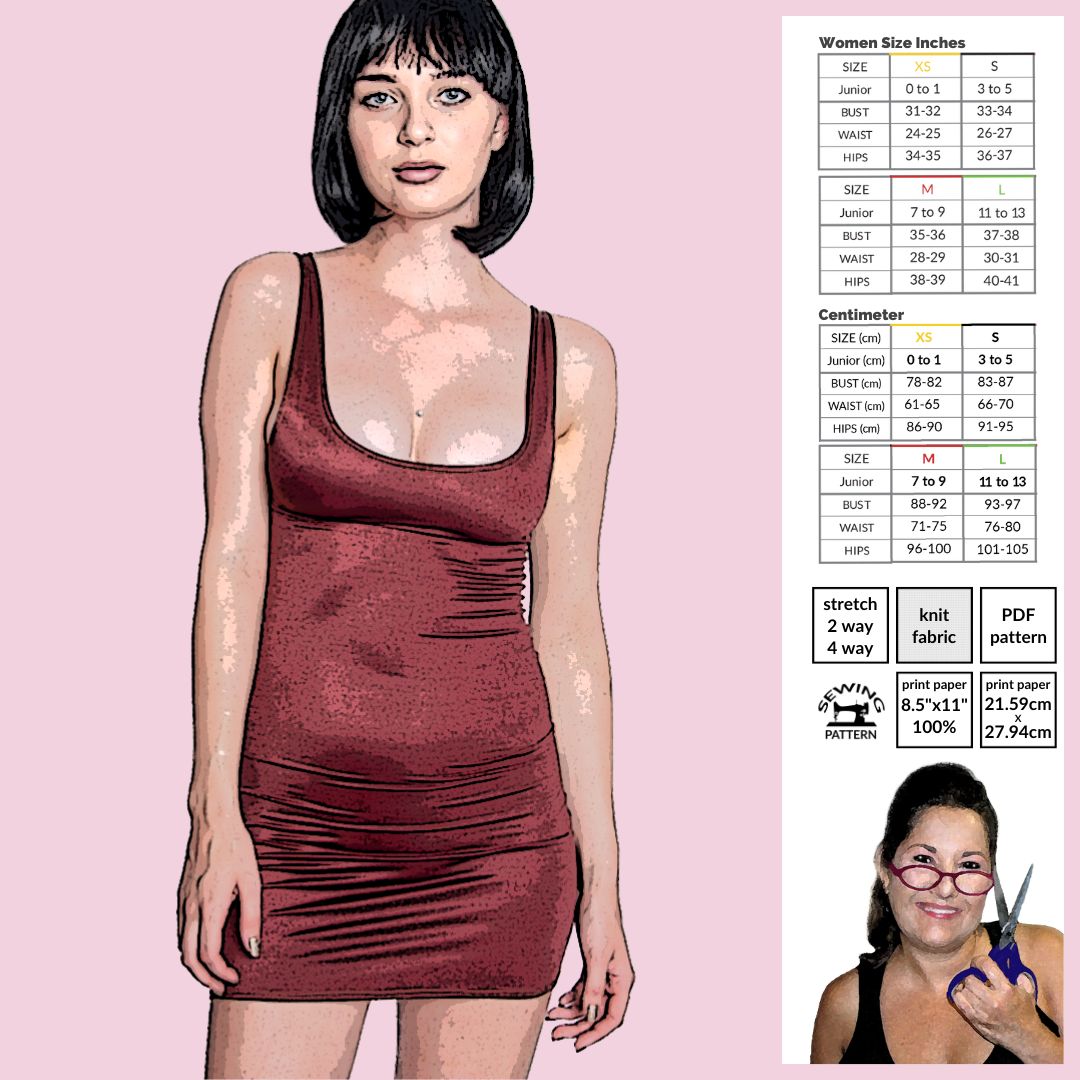
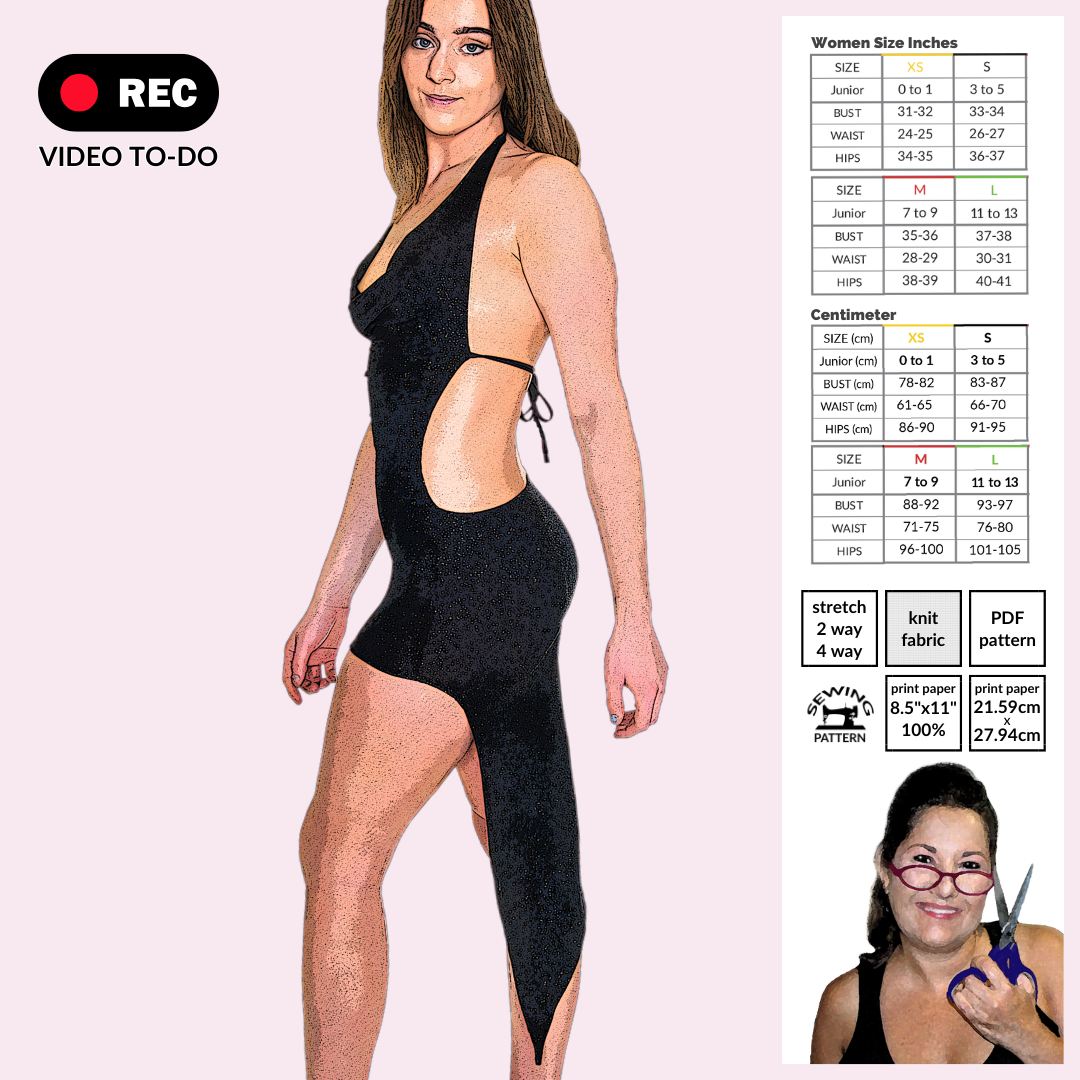
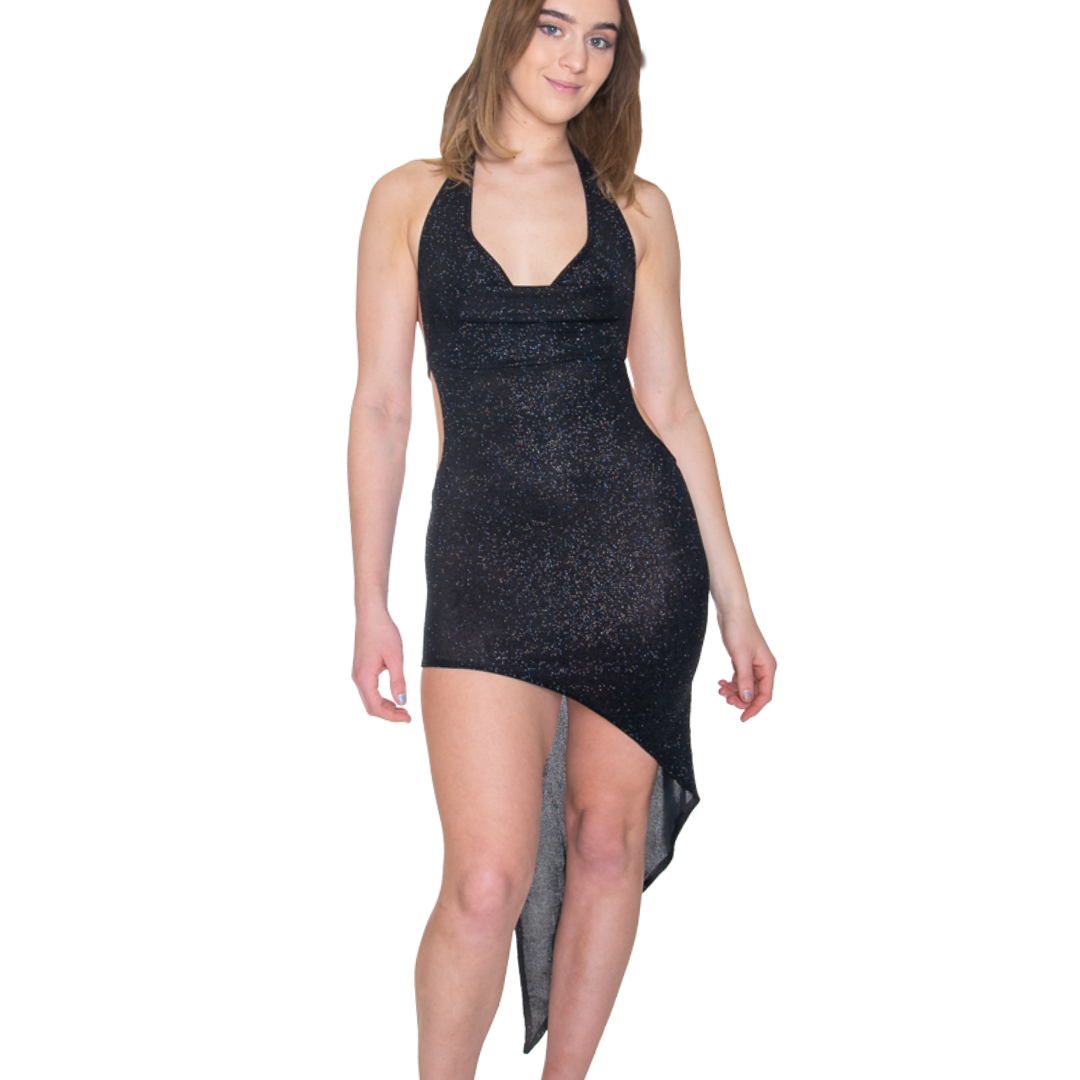
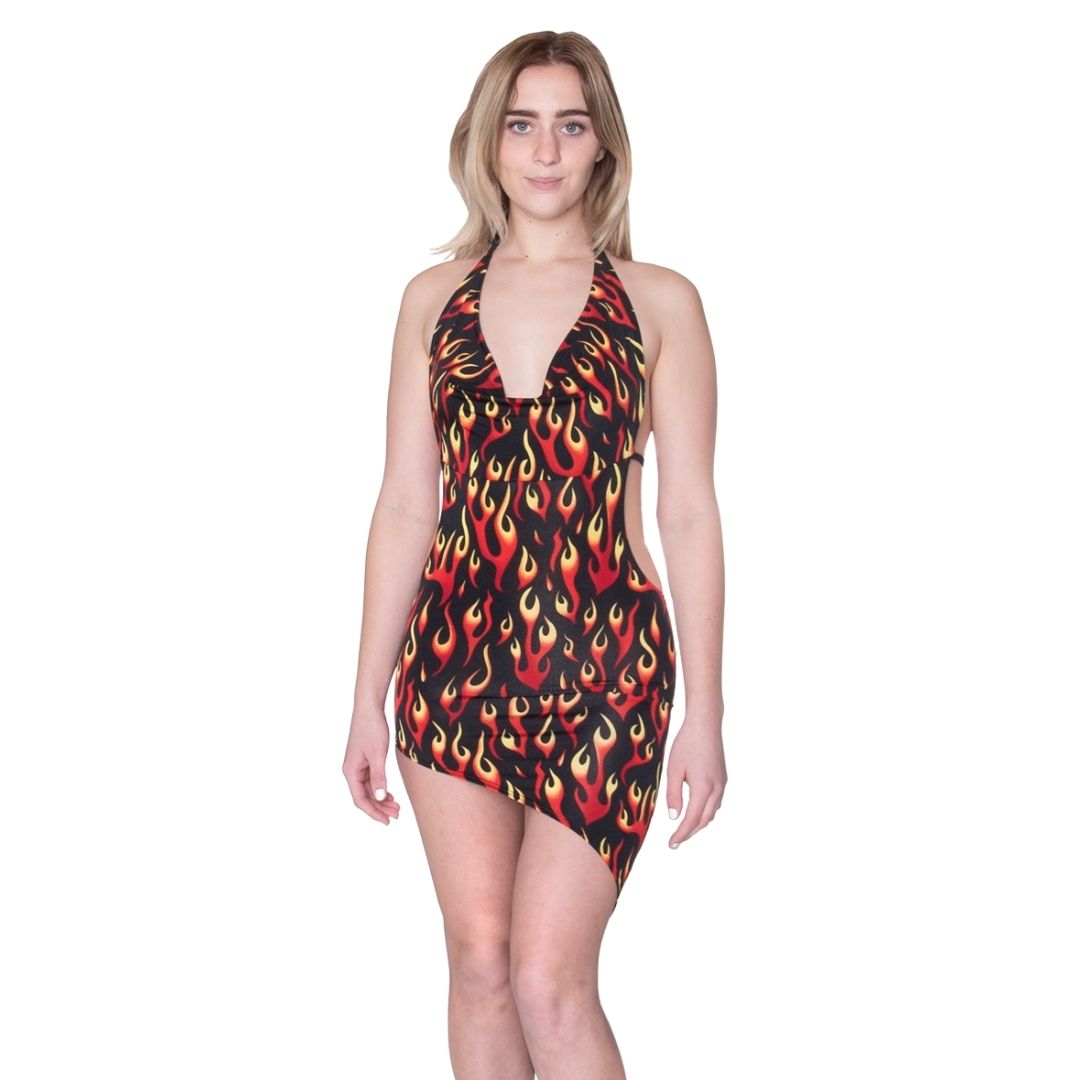
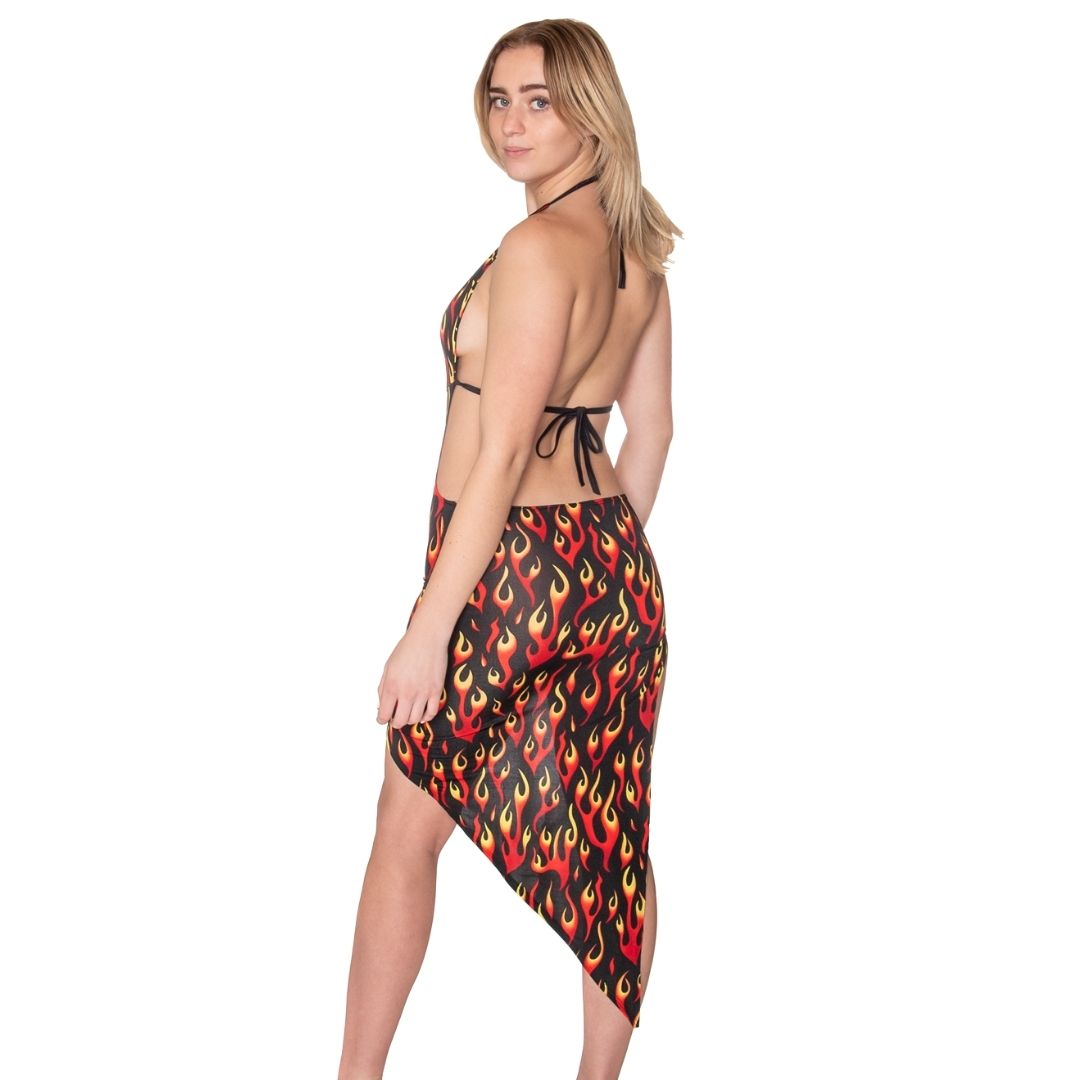
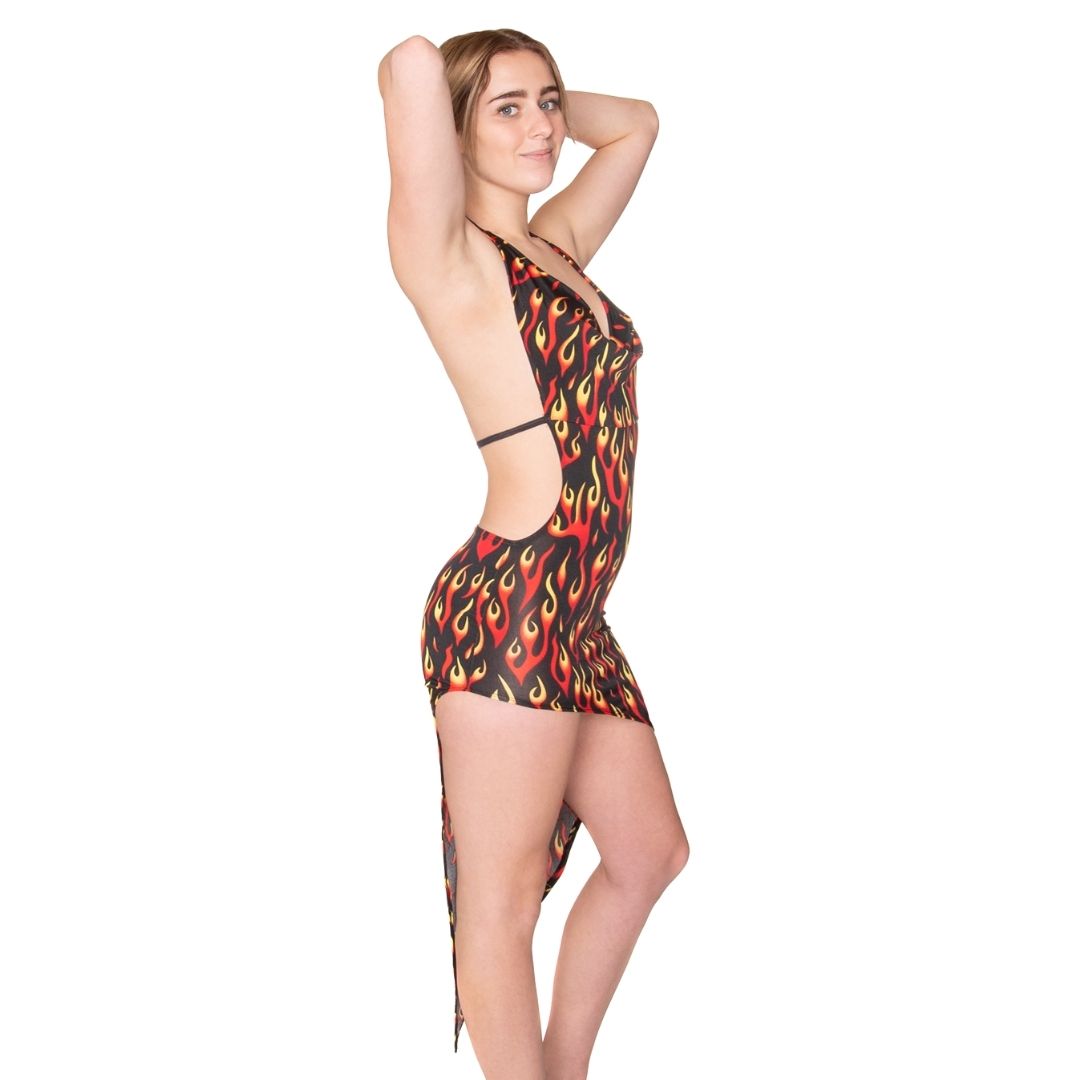
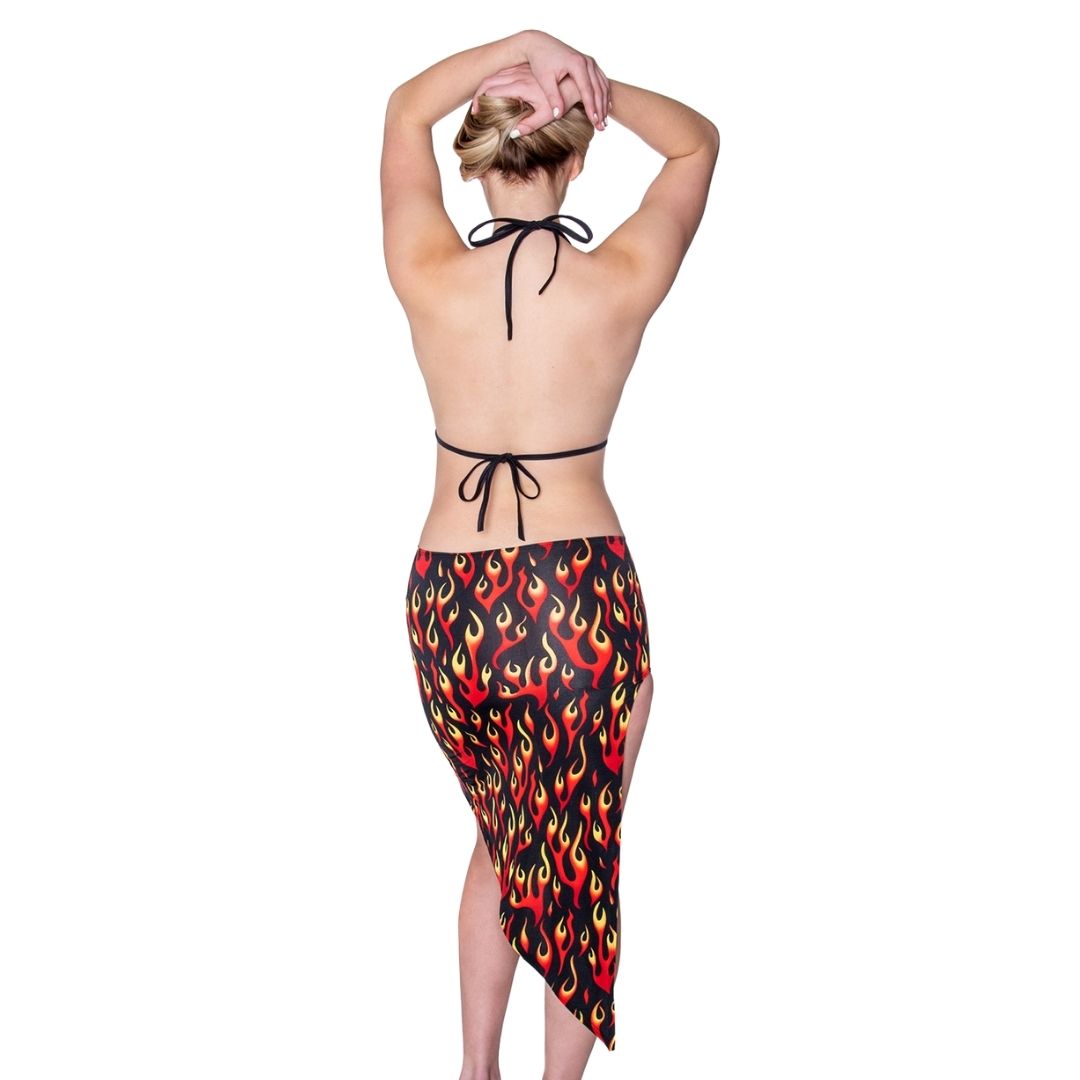
Sew a confident-beginner Cowl Salsa Dress with an open back and draped cowl neckline—an XS–L PDF sewing pattern designed to move, flatter, and turn heads. Designed for dance nights, festivals, and flirty date looks, this skimpy-meets-elegant silhouette flows with every step while keeping construction simple and approachable on a home sewing machine (no special attachments required).
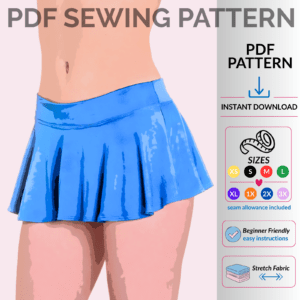
- Includes sizes XS-L
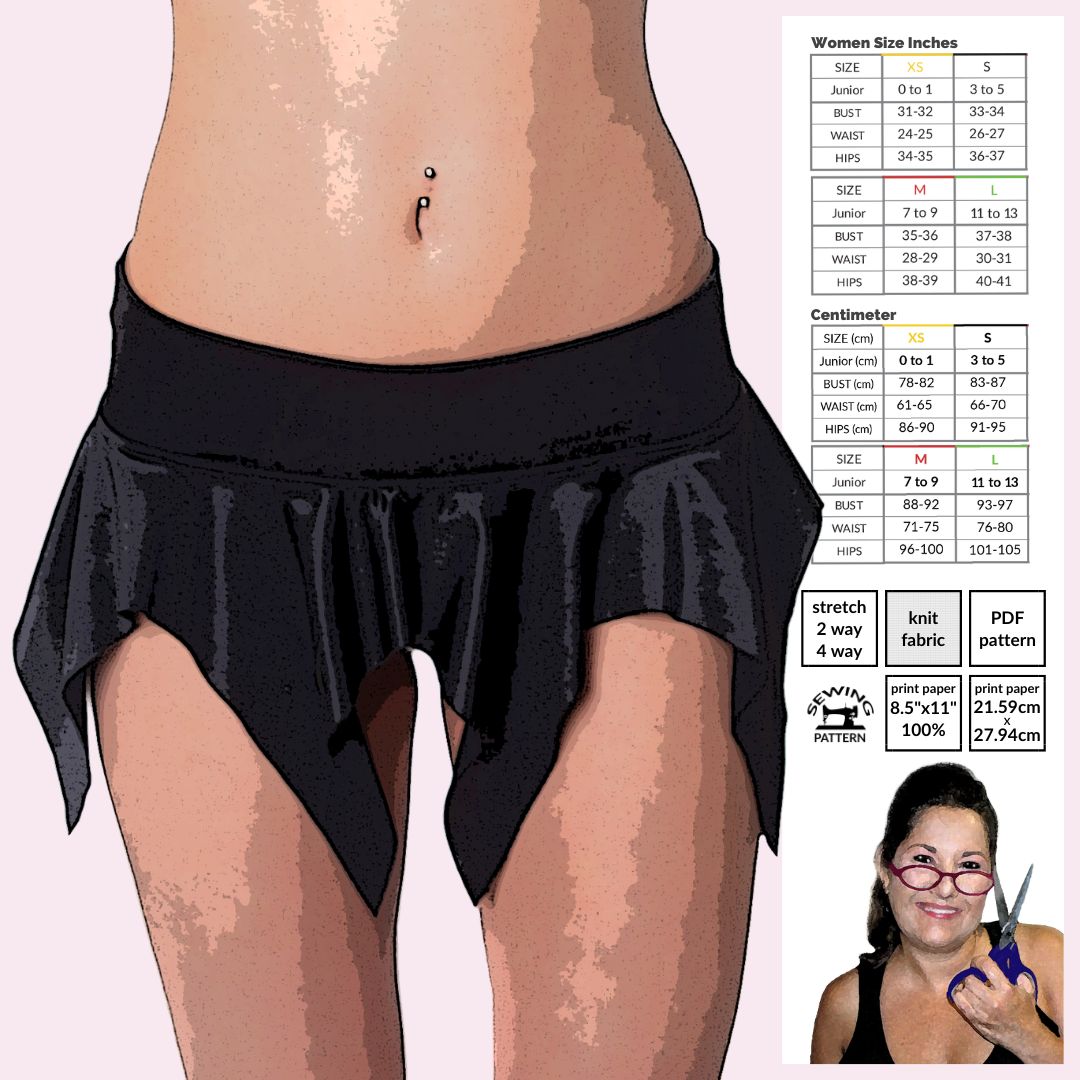
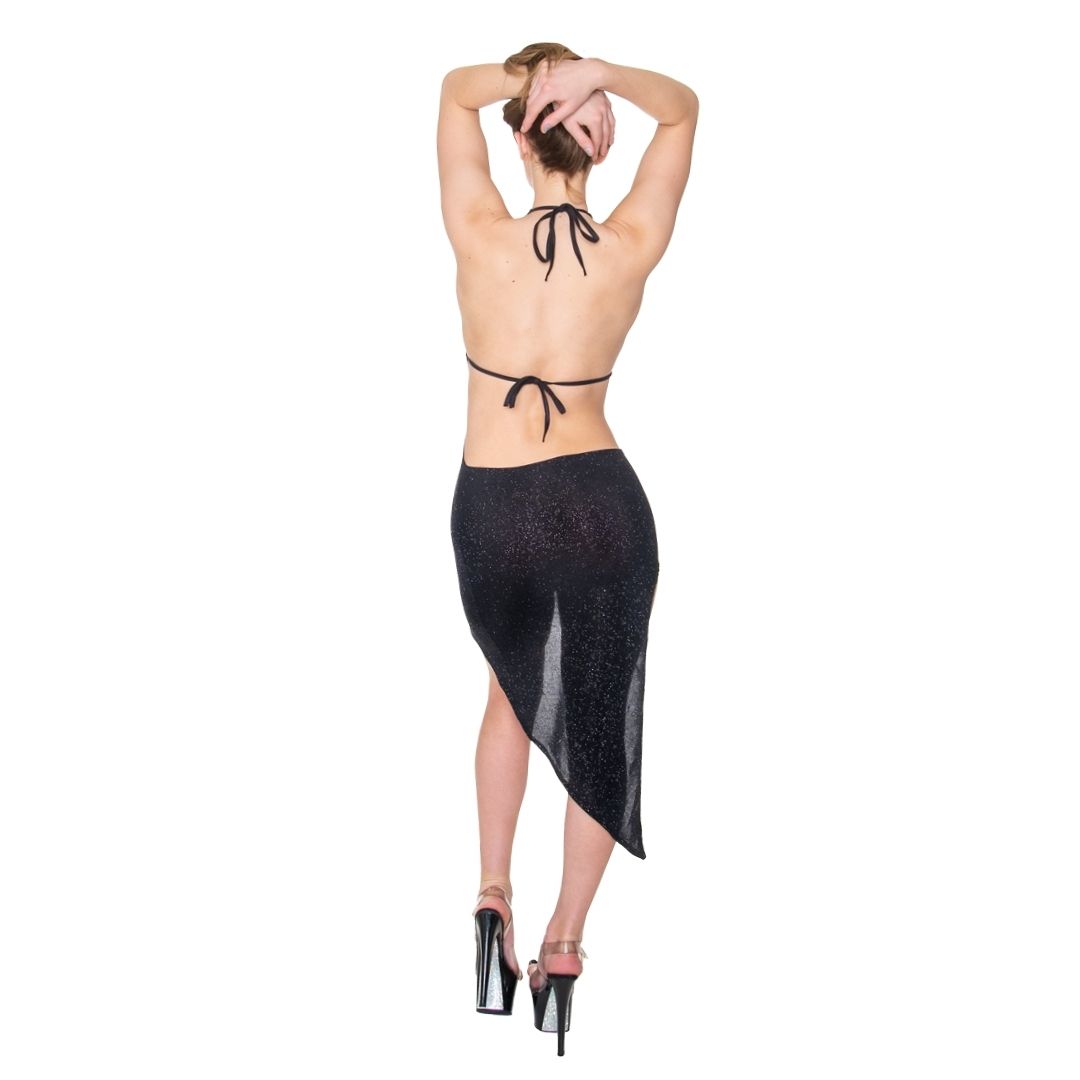
- One coverage option, Open-back detail with back and neck ties
- Formatted to print on US letter (8.5 x 11)
- Test square in US 2 x 2 inch and Metric unit 5.08 cm
- Pattern is color coded per size so you can make YOUR custom size
What You Will Need
- 1 yard of 2-way or 4-way stretch fabric (slinky fabric was my favorite)
- 4 straps (suggested size if making your own included in sewing pattern)
- Polyester or stretch thread to match
- Serger Machine if you have one (preferred for ¼” seams) Zigzag or Coverstitch for hems
Pattern Assembly
-
Sew Side Seams: With right sides together, sew the front (1) and back (2) pieces at the side seams using a ¼” serger stitch. Make sure the short and long side seams line up correctly.
-
Hem Upper Edges: Hem the side edges of the lower torso front (1) and the top back edge of the back (2) with a ½” hem using a coverstitch, zigzag, or stretch stitch. Leave the top edge of the front (1) unfinished — this will attach to the cowl (3) later.
-
Hem Lower Edge: Finish the lower asymmetrical hem of the dress (pieces 1 & 2) with a ½” hem. Tuck the tip under neatly. A rolled hem can also be used for slinky fabrics like ITY rayon. 📺 Tutorial: https://youtu.be/im_LRABmpvU
-
Prep the Cowl: Fold the cowl (3) in half with right sides together. Insert two straps into the tips, leaving ¼” seam allowance free. Stay-stitch the straps in place, checking that both face the same direction.
-
Sew the Cowl: Sew the sides of the cowl with a ¼” serger stitch, leaving the bottom edge open. Turn right side out so the straps and right side of the fabric are visible.
-
Join Cowl to Bodice: Attach the lower unfinished edge of the cowl (3) to the unfinished under bust edge of the front (1) with right sides together. A ¼” serger stitch works well, but use any stretch stitch you prefer. Sew carefully as the cowl layers may slip.
-
Back Binding Straps: Push the seam from Step 6 upward toward the cowl. Place the two back binding straps on the inside of the garment at the side torso where the front (1) and cowl (3) meet. Stitch them in place with a straight stitch, positioning the straps so they cover the seam under the bust for a clean finish.
Assembly Tutorial Video : coming soon!