


Introducing the SkimpyChic Cowl Neck Hoodie Mini Dress Sewing Pattern – your ticket to comfort and style! Elevate your wardrobe with this versatile design that seamlessly blends fashion and skimpy. Our detailed and beginner-friendly video instructions ensure that sewing this mini dress is a breeze. Get ready to unleash your creativity and style with the SkimpyChic Cowl Neck Hoodie Mini Dress Sewing Pattern. Upgrade your wardrobe and enjoy the satisfaction of crafting your own fashion statement! Purchase the pattern today and start sewing your way to fashion bliss.
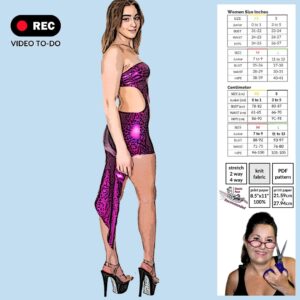
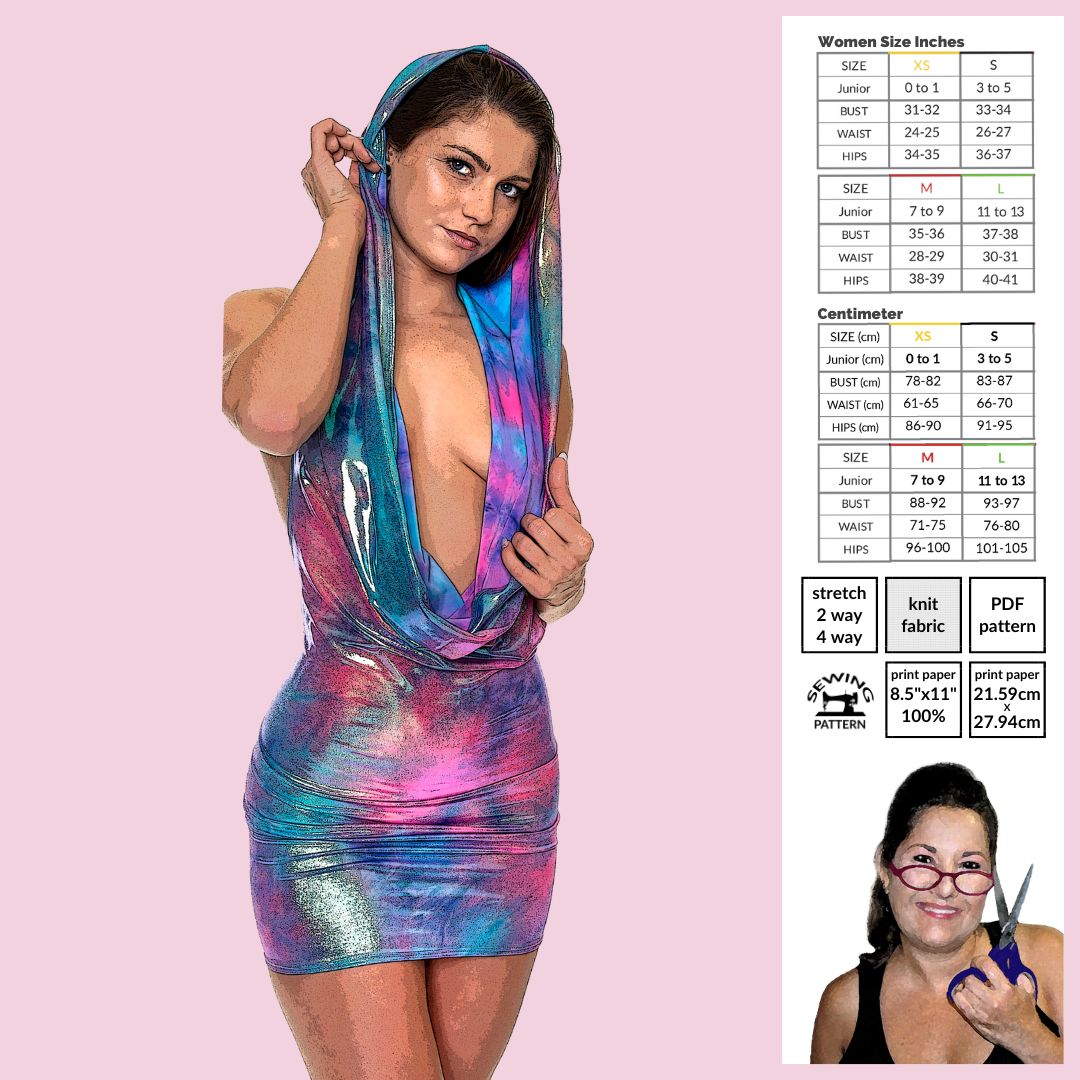
- Includes sizes XS-L
- One coverage option, Hoodie mini dress
- Formatted to print on US letter (8.5 x 11)
- Test square in US 2 x 2 inch and Metric unit 5.08 cm
- Pattern is color coded per size so you can make YOUR custom size
What You Will Need
- 1 yard of 4 way stretch fabric 58”- 60” wide / 1 ¾ yards 2 way stretch fabric
- Matching Thread
- Regular Home Sewing Machine / zig-zag stitch & straight stitch
- Optional Overlock Sewing Machine / Cover Stitch Sewing Machine
Pattern Assembly
-
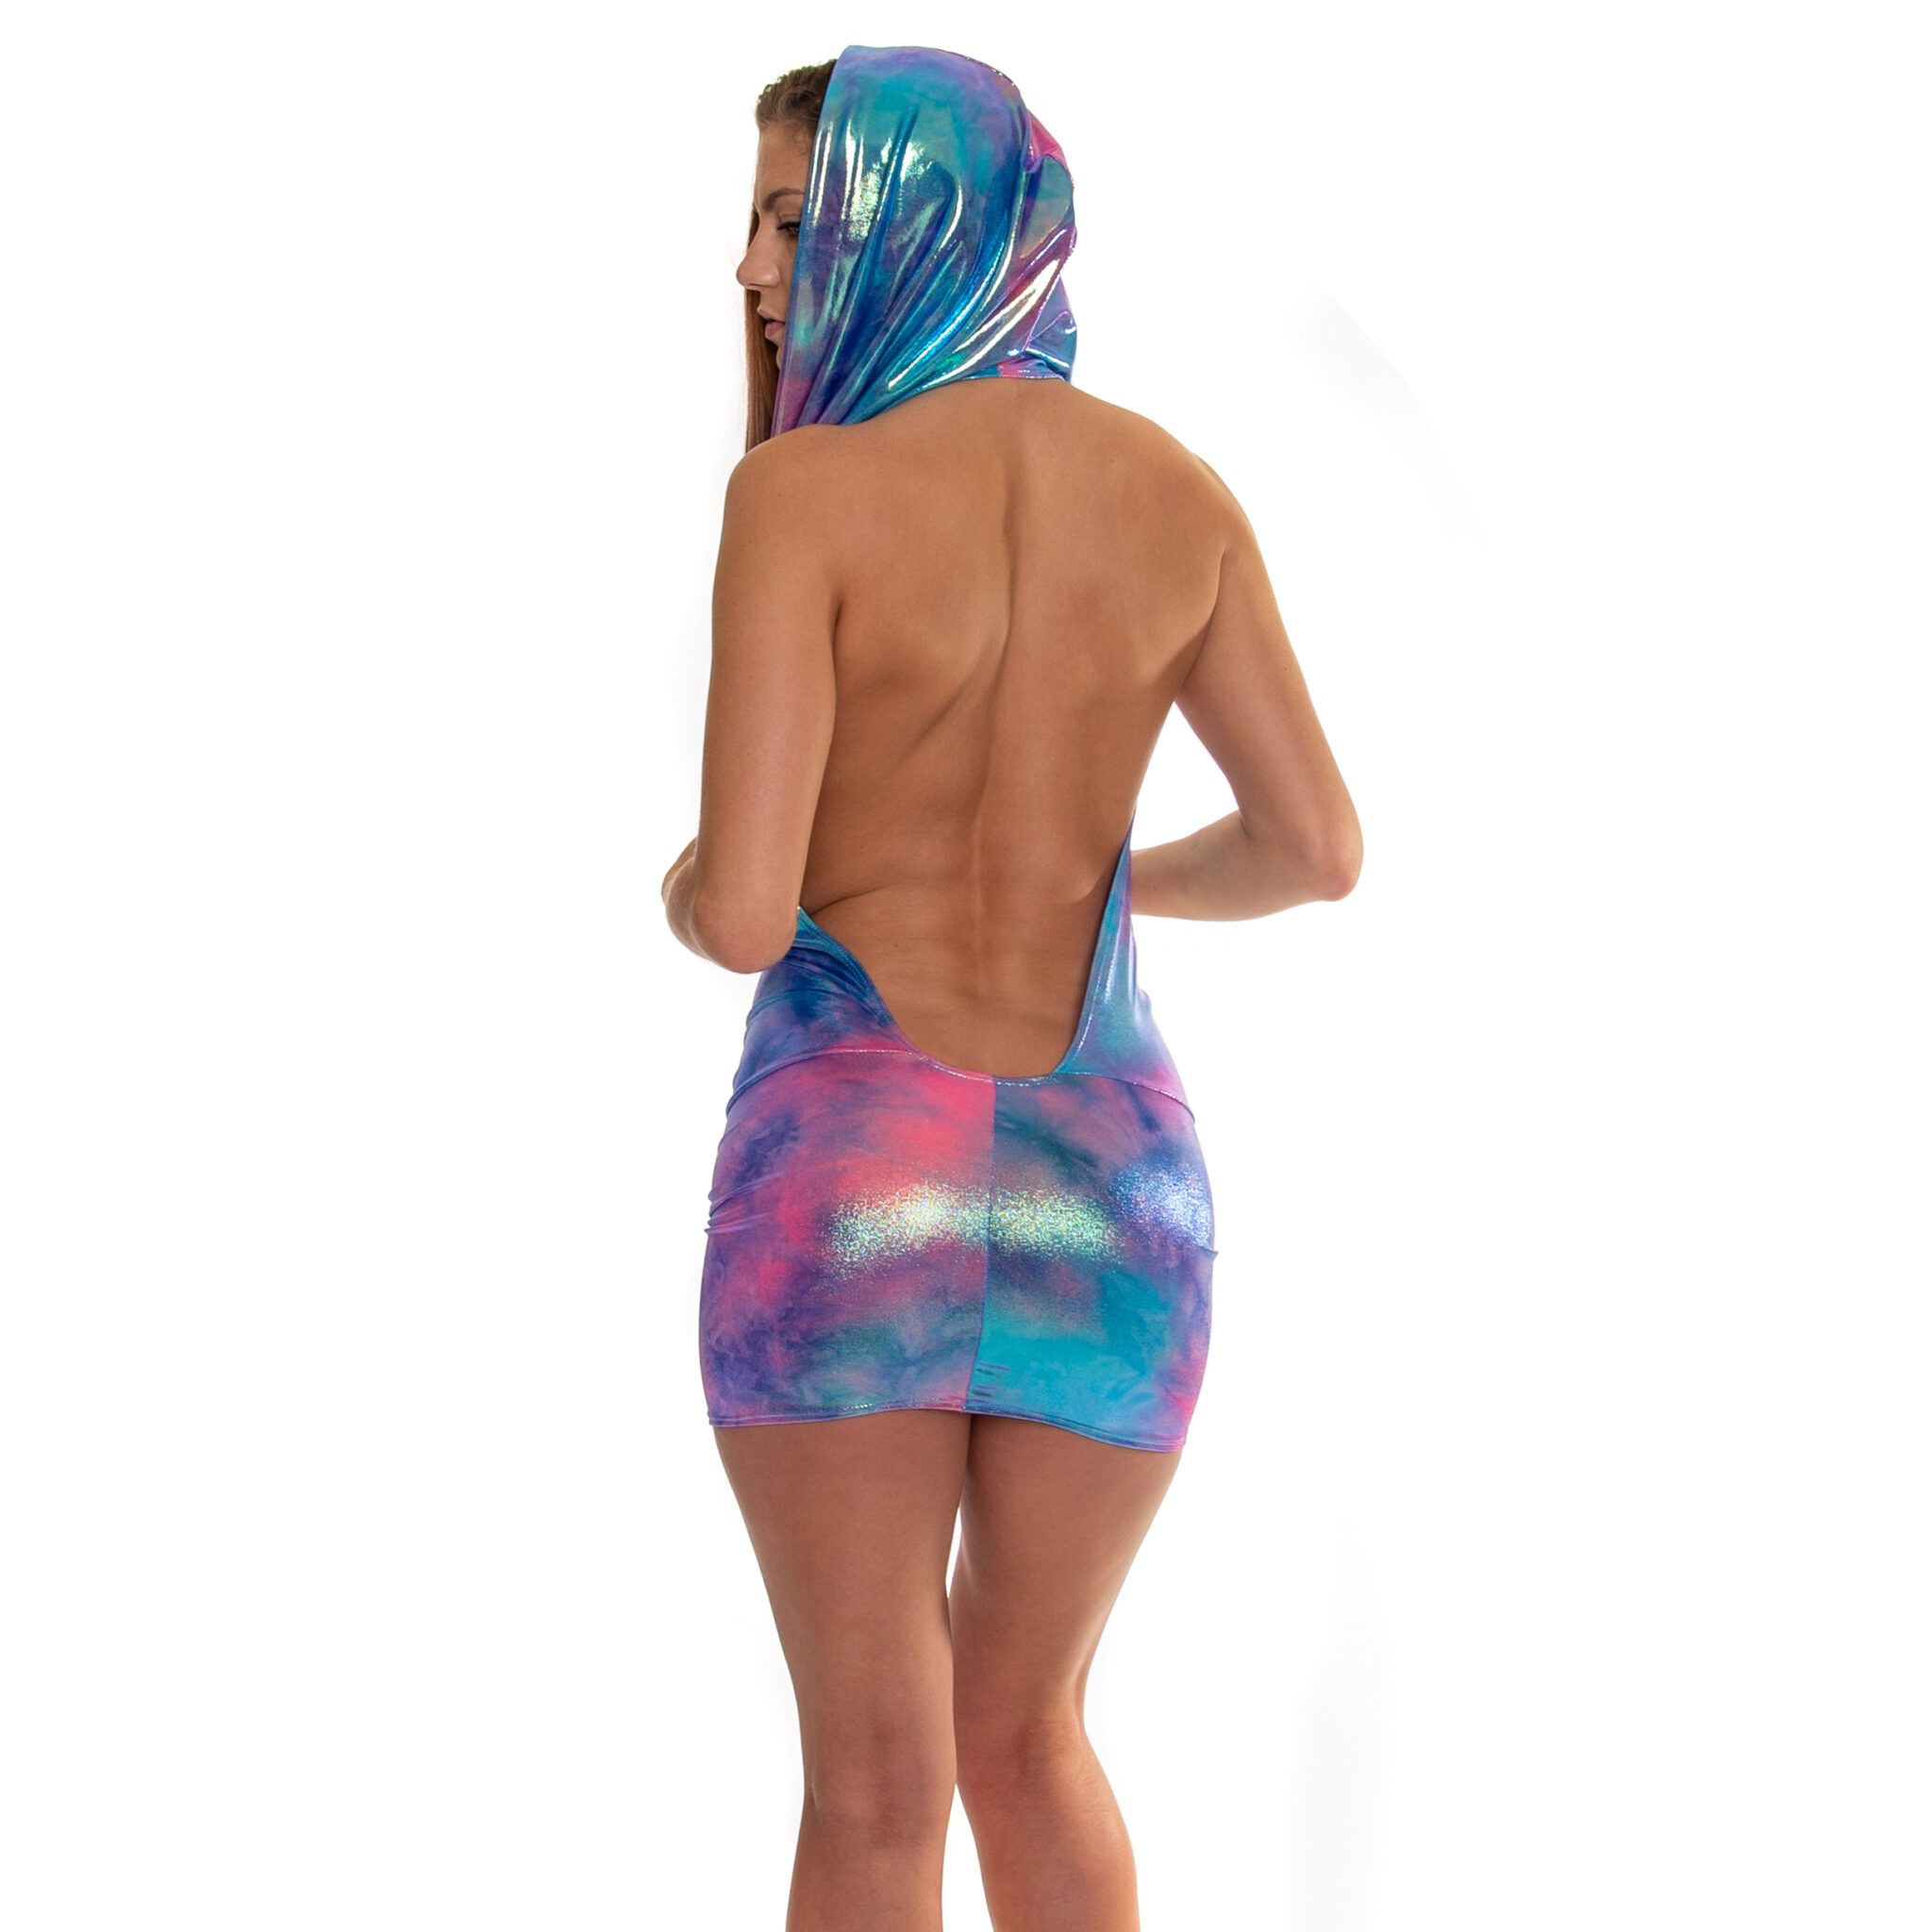
Sew the Hood
Sew the hood section of piece (1) using a ¼” seam allowance. Leave the open back area unsewn — you’ll hem this later. -
Attach the Waistline
With right sides facing, align and pin the center waistline of piece (1) to piece (2). Pin the ends of the waistline of (1) approximately 1″ away from the back seam of piece (2), leaving a small gap that will be hemmed in a later step. -
Sew the Skirt Back Seam
Using a serger or straight stitch, sew the back seam of piece (2) with a ¼” seam allowance. -
Hem the Open Back Edges
Hem the raw open-back edges with a ½” hem using a zigzag, coverstitch, or your preferred stretch stitch.
✂️ Tip: For the upper back skirt and plunging back with the gap, reduce the hem to ¼” to avoid bulk. (I found that hemming all layers at the back seam made it too thick, so I adjusted the construction for a smoother finish.) -
Hem the Bottom Edge
Using a stretch stitch, hem the bottom raw edge of the dress with a ½” hem.
- Quickie Video https://youtube.com/shorts/dDcYvmJC-8I