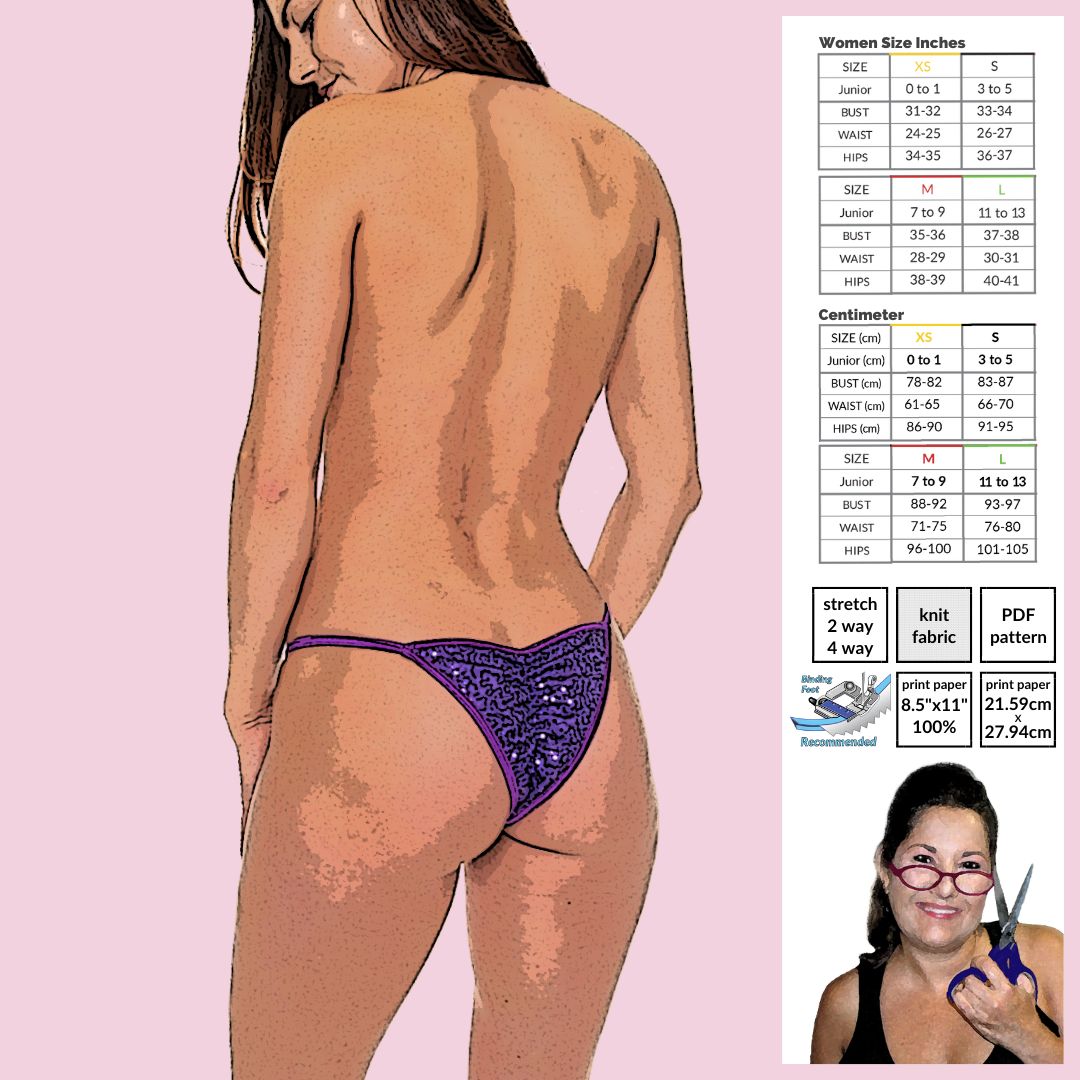
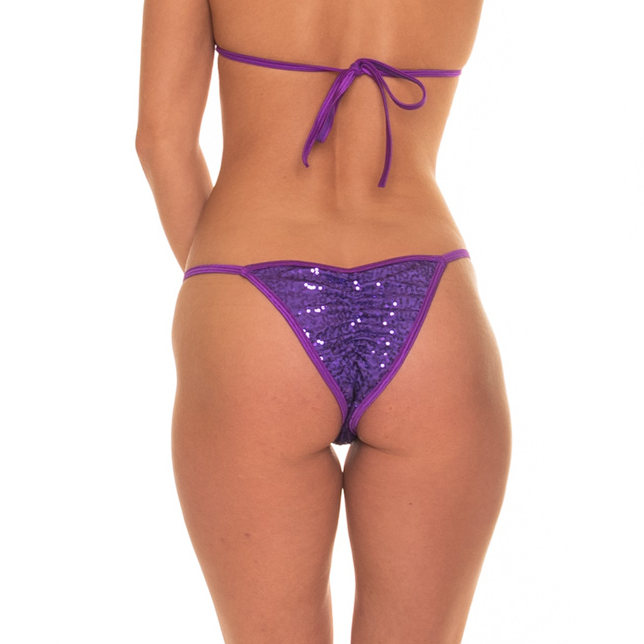
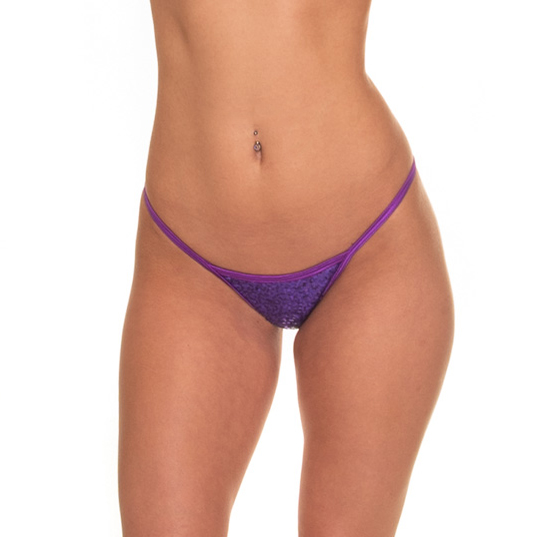
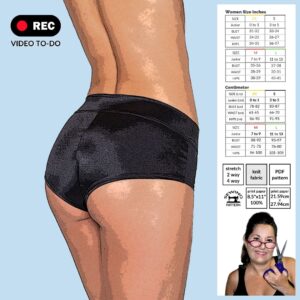
Introducing the Rio Cut Bottom Sewing Pattern, designed for fitness competitors who want to showcase their hard work in style. This Sew Skimpy, flattering design accentuates your physique with bold curves, ensuring you stand out under the spotlight. Whether you’re competing or training, this customizable pattern guarantees a seamless fit to your unique body shape. Use your favorite fabrics to create a look that exudes confidence and power!
- Includes sizes XS-L
- One coverage option, Rio cut back fitness bikini
- Formatted to print on US letter (8.5 x 11)
- Test square in US 2 x 2 inch and Metric unit 5.08 cm
- Pattern is color coded per size so you can make YOUR custom size
This is a DIGITAL product, available for instant download immediately after purchase. Due to the nature of this product, returns, exchanges, and refunds are not permitted.
What You Will Need
- 4 bias strings (measurements in sewing pattern)
- 1 /2 yard 2 or 4 way stretch fabric
- Optional Lining with the same stretch
- 6 inches 1/8″ or 1/4″ braided elastic for ruching
- Matching Thread
- Home sewing machine
- Overlock machine / zig-zag stitch on a regular sewing machine
- Binding Foot is optional (I never used one)
Pattern Assembly
- Gather the back booty ruching with 1/8″ elastic pull. Secure the end with a back stitch. Helpful video link for ruching https://youtube.com/shorts/IQSJJem44kw
- Pin the center of both front and back binding strings (2) to center back and center front (1) also pin the optional lining
- Stay stitch both front and back binding (2) to Rio bottom (1) (measurements available on sewing pattern)
- Wrap front and back binding (2) around both sides of the Rio Bottom (1) Use a cover stitch, zigzag stitch, or any stretch stitch
- Snip off the unfinished ends of the binding (cut 4 binding ends)
- Cut two Waistband/Leg Binding strings (3) (measurements available on sewing pattern)
- When pinning (3) in place, leave a ½” overhang for the back corners of (1) then measure to pin the front of (1) (measurements available on sewing pattern)
- Stay stitch to both of Waistband/Leg Binding strings (3) to right and left sides of Rio bottom (1) leaving the remainder of bias strings to create the waistband
- Wrap bias string (3) around fabric edge of (1) and continue sewing to create the waistband. Finish the stitch using a cover stitch, zigzag stitch, or any other stretch stitch. Stretch fabrics have different amounts of stretch. Adjust accordingly
- Attach the longer bias string of (3) to back 1/2” overhang with a straight stitch and right sides of fabric together. Repeat for the other side (pin in place so it doesn’t slip)
- Tuck in the two ends on both sides and sew down to the inside of the Rio bottom (pin in place so it doesn’t slip)
- Cut off extra thread and bias string to finish your garment
- You can double layer the fabric for the front and back pieces if you intend to wear this for swimwear.
Educational follow along tutorial on YouTube🎥 Watch this sewing tutorial before you sew. This video is very similar when sewing the string bikini together. Happy sewing!
- Helpful Video coming soon!
- Quickie Video about Ruching https://youtube.com/shorts/IQSJJem44kw


Reviews
There are no reviews yet.