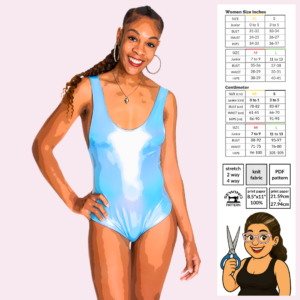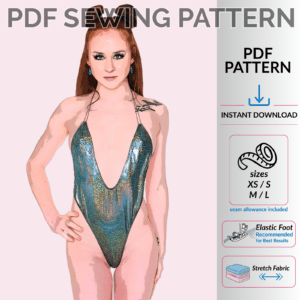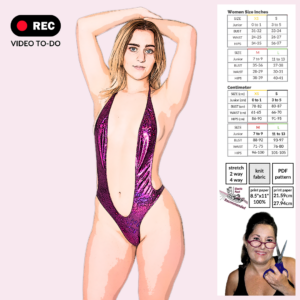

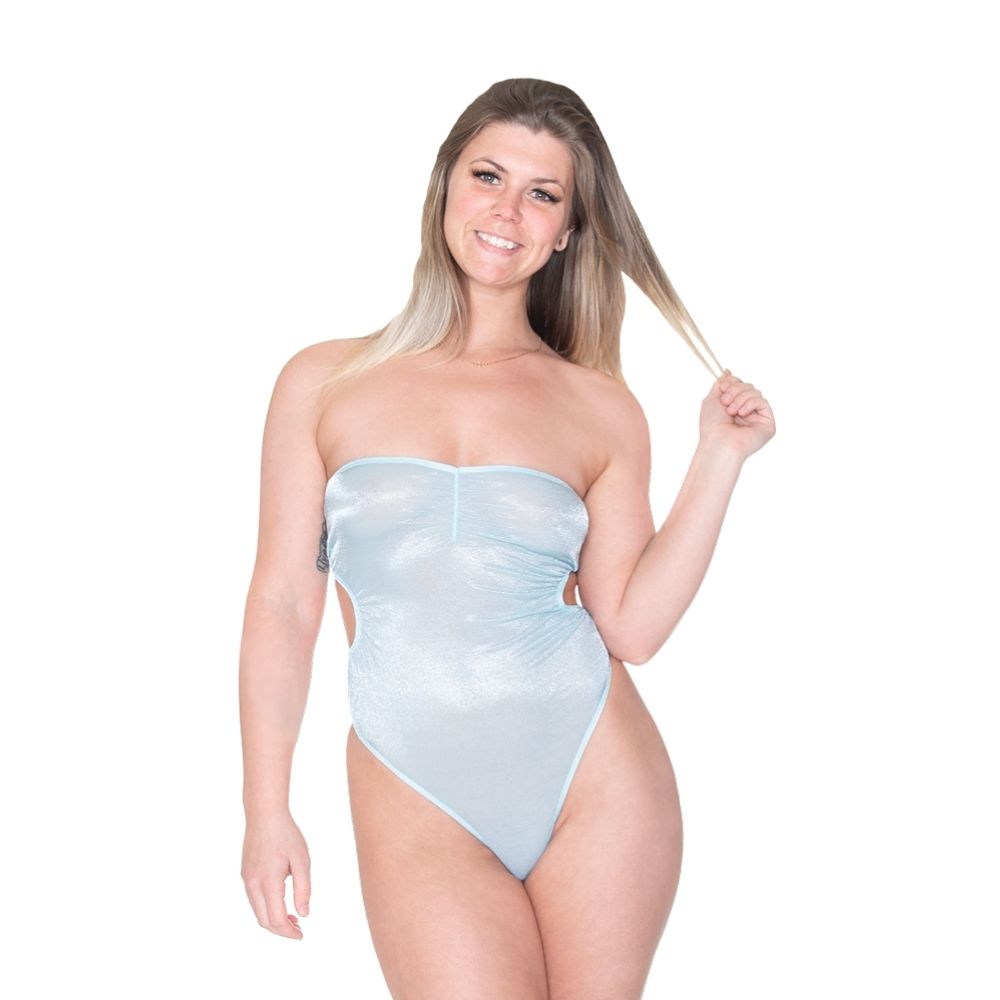

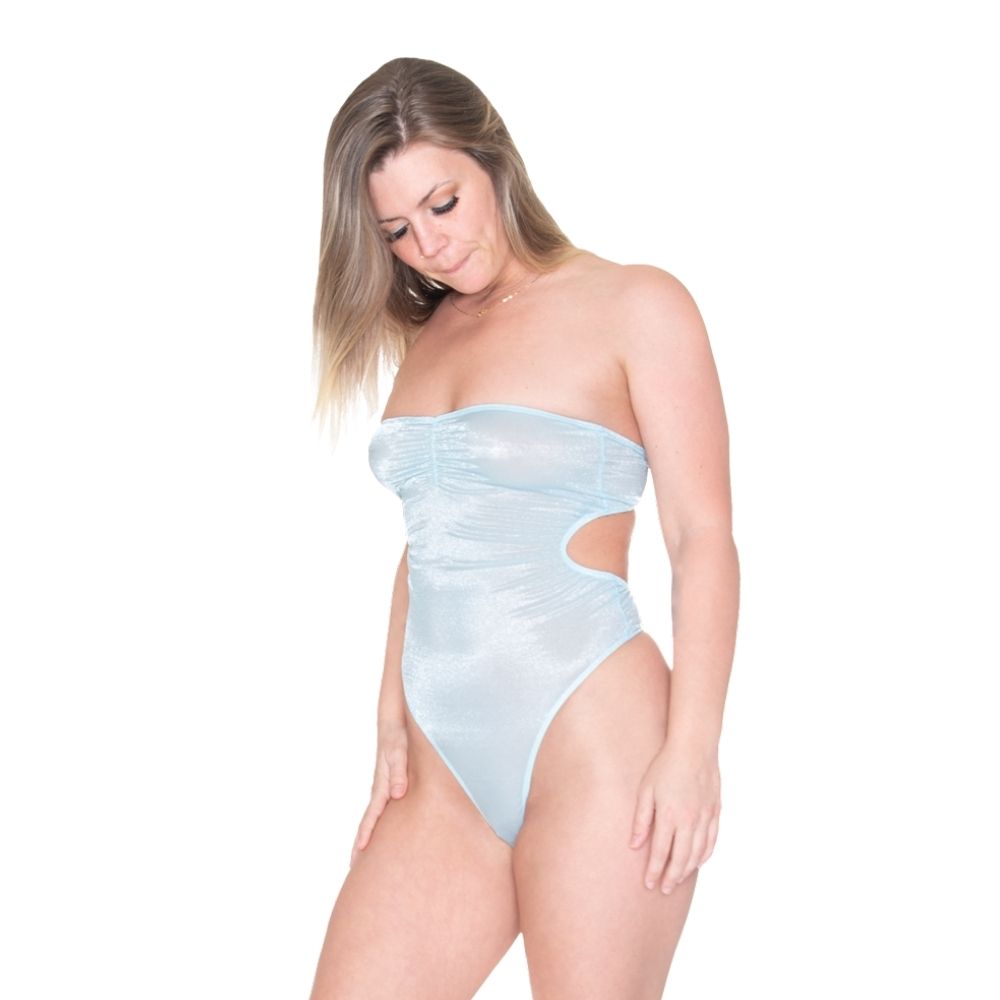
Sew your own Open Back Thong Bodysuit — a sleek, minimal-coverage design made for dancers, performers, festivals, and anyone who loves a sexy open-back look. This skimpy stretch-fabric bodysuit features a clean thong back, optional front ruching, and a functional S-hook closure for an adjustable fit. The open upper back keeps it cool and daring, while the elastic-finished edges contour smoothly to your curves. Designed for 2-way or 4-way stretch fabrics, this Sew Skimpy digital download lets you create a bold, body-hugging piece that moves with you on stage, at the club, or layered for your own DIY fashion vibe.
Includes
• Sizes XS–L
• Optional front ruching
• Open back with S-hook closure
• Thong back, minimal coverage
• Formatted for US Letter (8.5″ x 11″)
• Test squares in both US 2″ x 2″ and Metric 5.08 cm
• Color-coded pattern layers per size
This is a DIGITAL product, available for instant download immediately after purchase.
Due to the nature of digital files, no returns, exchanges, or refunds are permitted.
What You Will Need
• 1 yard of 2-way or 4-way stretch fabric
• ¼” elastic
• ¾” S-hook
• Matching thread
• Elastic foot attachment
• Serger or home sewing machine
Pattern Assembly
1️⃣ Optional Ruching
Sew ⅛”–¼” elastic along the center-front fold of piece (1) while gently pulling to create gathers.
2️⃣ Attach S-Hook Pieces
Place back S-hook connectors (2) right sides together with front (1); serge with ¼” seam allowance.
3️⃣ Join Front & Back
Serge side seams of pieces (1) & (3), leaving crotch open.
4️⃣ Apply Elastic
Using an elastic foot, sew ¼” elastic around all openings except the crotch and S-hook ends.
Leave elastic long at the crotch and ends for easier finishing.
5️⃣ Join Crotch Seam
Stitch crotch edges right sides together using a ¼” straight stitch. Reinforce overlap and trim excess elastic.
6️⃣ Finish Edges
Fold elastic inward and topstitch with a cover stitch, zigzag, or stretch stitch.
7️⃣ Attach S-Hook
Fold one strap end over the ¾” S-hook and stitch securely (two passes recommended).
8️⃣ Sew Loop (Opposite End)
Form a small loop on the opposite strap end and stitch. Loop should be snug but allow the S-hook to slide in smoothly.