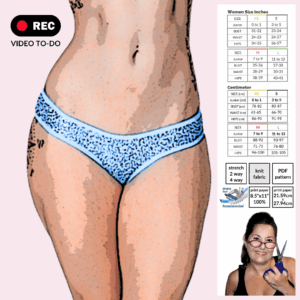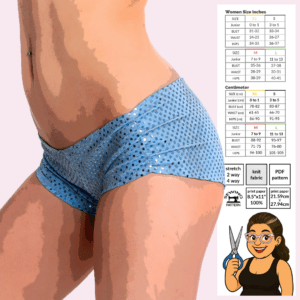
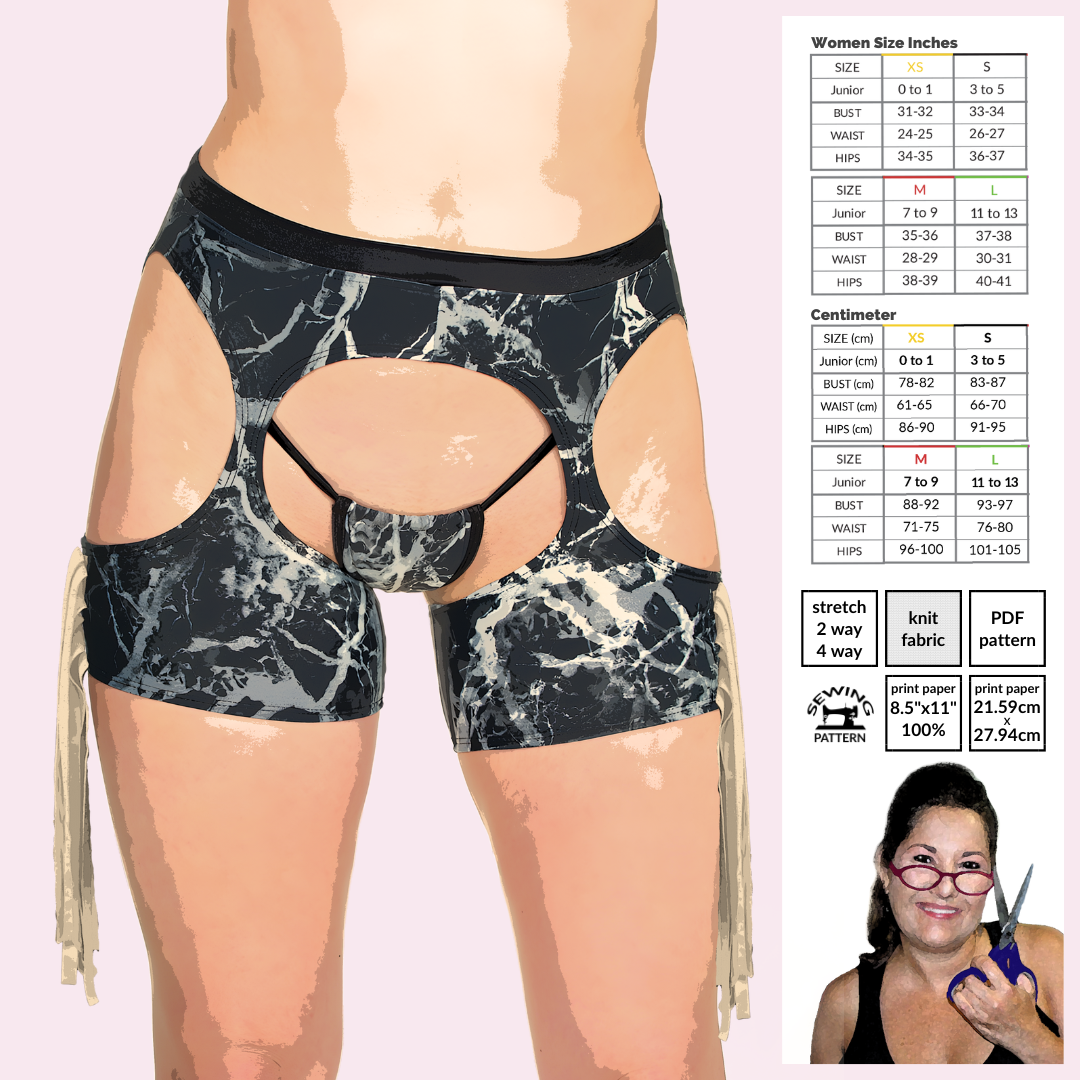

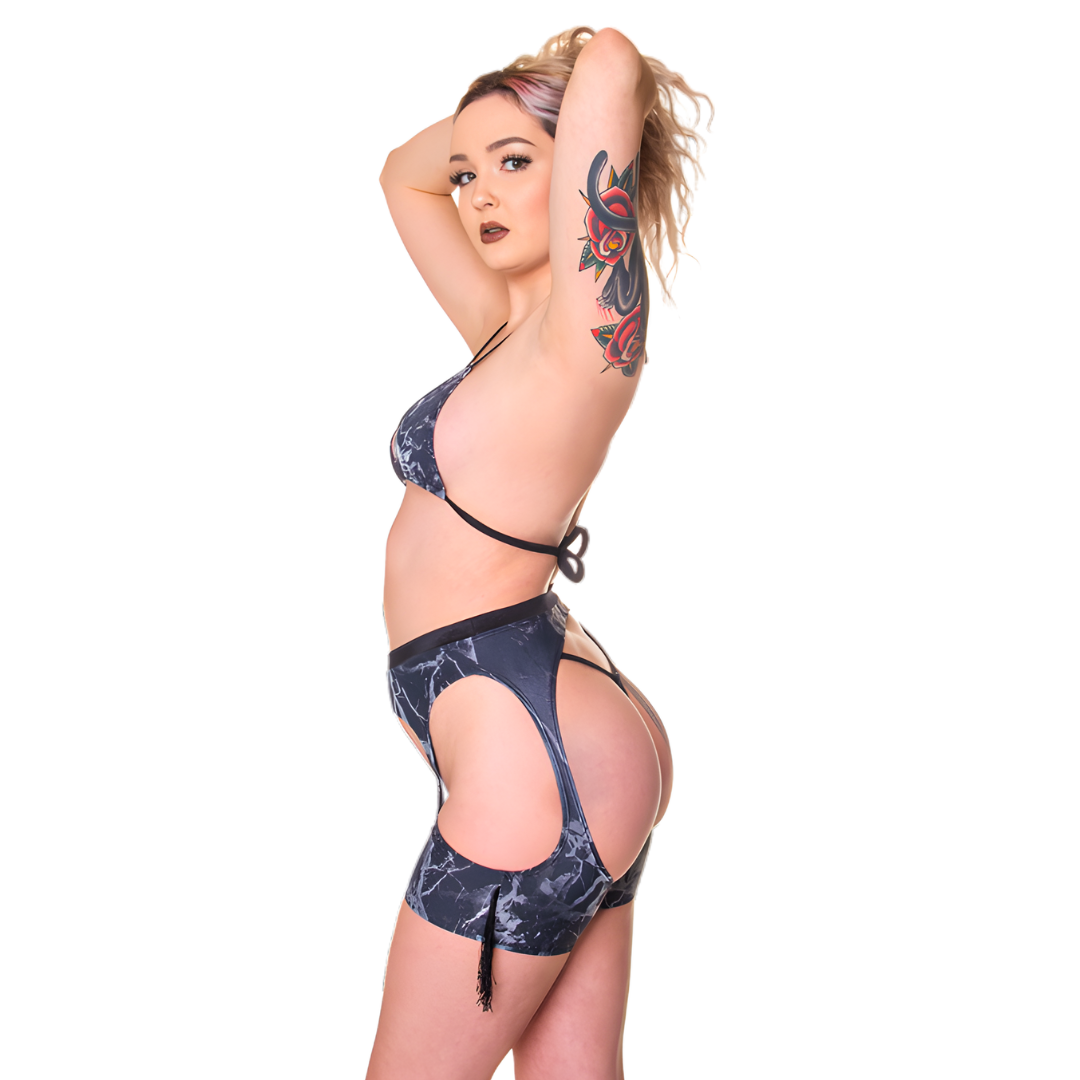
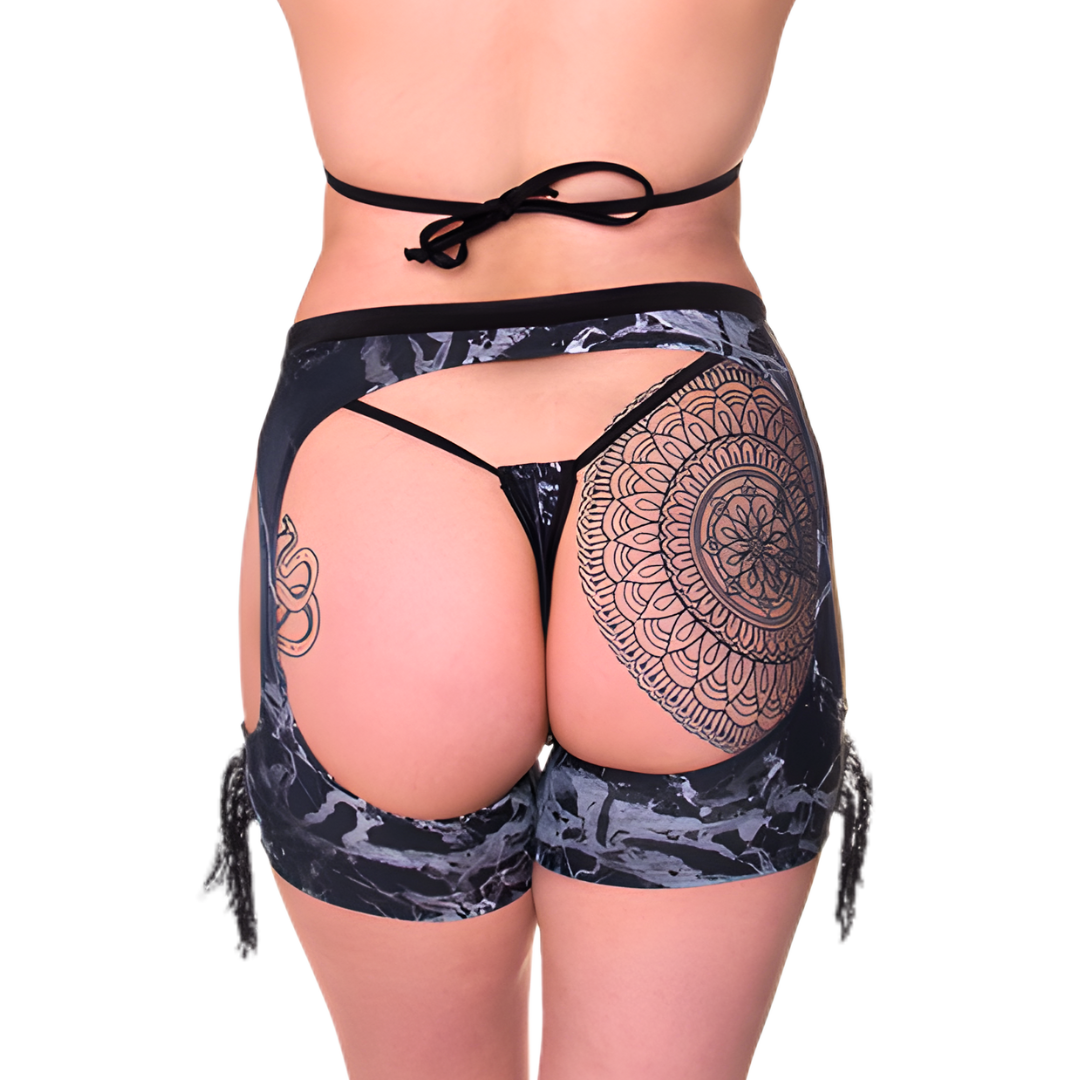
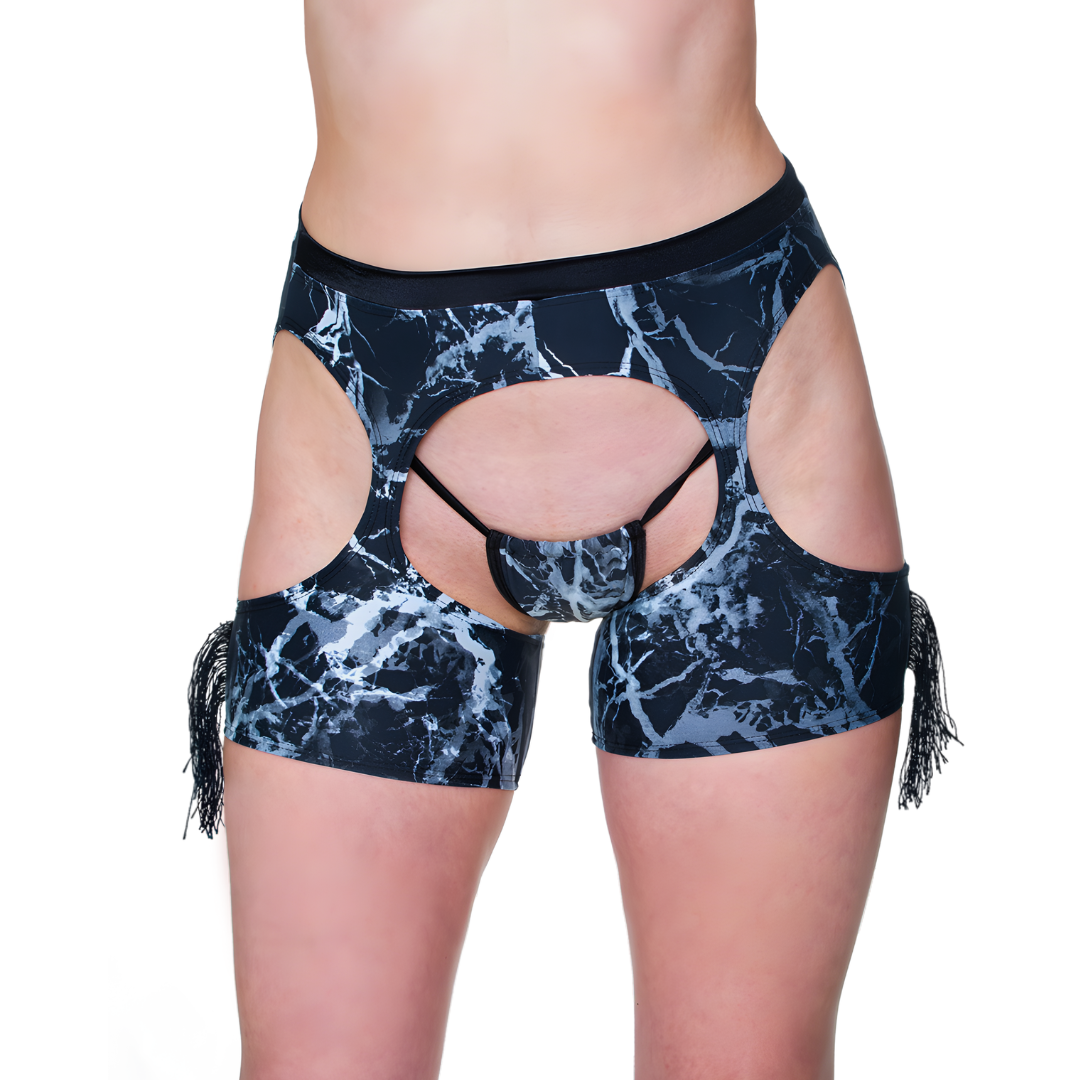
Create your own Mini Fringe Chaps with this beginner-friendly PDF sewing pattern—perfect for festivals, pole fitness, cosplay, and bold DIY outfits. This design brings instant movement and drama with customizable fringe and a flattering low waistband that pairs beautifully over bodysuits, shorts, or swimwear. A simple, confidence-building project that delivers maximum attitude with minimal steps.
✨ Includes:
• Sizes XS–L
• One coverage option with open front & open back
• US Letter (8.5″ × 11″) format with 2″ × 2″ test square
• A4 (210 × 297 mm) format with 5 × 5 cm test square
• Color-coded layers per size for easy printing
• Digital instant download—print and sew immediately
This is a DIGITAL product. Due to the nature of downloadable patterns, no returns, exchanges, or refunds are permitted.
🧵 What You Will Need
• 1/3 yard stretch fabric (2 or 4 way)
• Waistband (use measurements from the pattern)
• ¼ yard optional fringe — or make your own using my fringe-cutting video
• Matching thread
• Serger/overlock recommended (zigzag on home machine works)
✂️ Assembly
(¼” serger seam allowance used by default—your preference is applied.)
1️⃣ Sew Waistband Seams
Place right sides together and sew the lower waistband seams on the front chaps (1) and back chaps (2).
2️⃣ Join Front & Back at Waist
Open the seams, place pieces (1) and (2) right sides together, and sew the small side seams of the waist.
3️⃣ Assemble Waistband Loop
Sew the short sides of waistband piece (3) to form a loop.
4️⃣ Attach Waistband
Fold waistband (3) in half, wrong sides together. With light tension, attach it to the top edge of the chaps using a serger stitch. It’s drafted smaller for stretch—gently pull as you sew.
5️⃣ Optional Topstitch
Topstitch the waistband seam flat using a cover stitch or zigzag for a clean finish.
6️⃣ Add Fringe (Piece 4)
Cut your fringe, then stay-stitch it inside the front and back openings where marked. Use handmade or premade fringe.
7️⃣ Sew Inner & Outer Thigh Seams
Place right sides together and sew inner and outer thigh seams. Be sure the fringe edges are caught inside the seam.
8️⃣ Hem Edges
Turn remaining raw edges under ½” and hem with a stretch stitch.