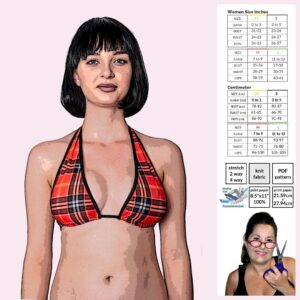


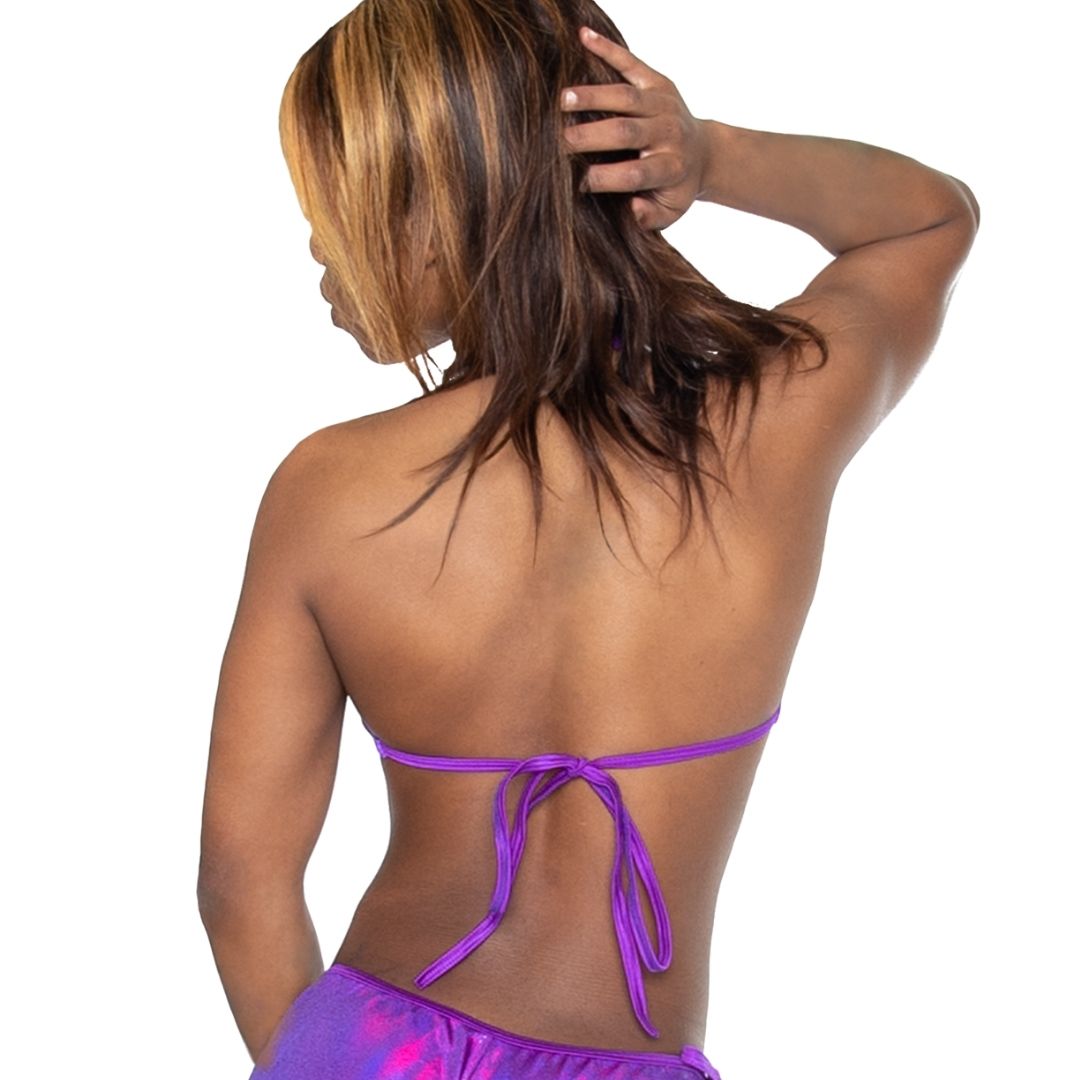
Turn heads with this Keyhole Halter Top PDF Sewing Pattern—a must-have for raves, cosplay, pole fitness, exotic dancewear, or your next summer festival look. This sultry design features a bold keyhole front, a tie-neck halter, and adjustable back string ties for the perfect custom fit.
-
Beginner-Friendly: Simple construction with minimal seams.
-
Stretch Fabric Recommended: Works best with 2-way or 4-way stretch knits.
-
Elastic Foot Optional: For a clean, pro finish, use an elastic presser foot—but a zigzag or stretch stitch works just fine if you don’t have one.
Ready to DIY your next skimpy top? Download and start sewing instantly!
Download, print, and start turning heads today!
- Includes sizes XS-L
- One coverage option, Full coverage tube top
- Formatted to print on US letter (8.5 x 11)
- Test square in US 2 x 2 inch and Metric unit 5.08 cm
- Pattern is color coded per size so you can make YOUR custom size
What You Will Need
- 3/4 yard of 2-way or 4-way stretch fabric, 58”–60” wide
- 1/4” wide braided elastic
- Two pieces of bias tape (precut bias tape may be used)
- Thread matching the fabric color
- Overlock machine or a regular sewing machine with zig-zag stitch capability
- Elastic foot (recommended)
Pattern Assembly
- Add Elastic to the Edges:
Using an elastic foot (or a regular presser foot if that’s all you have), sew ¼” wide elastic all the way around the edges of piece (1), including around the keyhole cutout—but skip the top edge where the neck piece (2) will be attached. - Fold and Sew the Edges:
Fold the elastic to the inside (wrong side of the fabric), then sew it down using either a zigzag stitch or a cover stitch. Leave the side strap elastic ends loose—these will be used to connect your back ties later. - Make the Neck Tube (Piece 2):
Fold the neck piece (2) in half lengthwise, with the wrong side of the fabric facing out. Sew along the long edge to make a tube using a serger or any stretchy stitch on your regular sewing machine. - Turn the Tube Right Side Out:
Use a loop turner or a safety pin to flip the tube so the right side of the fabric is now showing. Optional: Sew along the edge with a zigzag or cover stitch if you want a more finished look. - Attach the Neck Tube to the Keyhole:
Find the center of the neck piece (2), then line it up with the center top of the keyhole on the main piece (1). Pin it in place well—fabric can shift while sewing! Use a straight stitch or zigzag stitch to attach. - Sew the Back Straps (Piece 3): Fold each 1 ⅜″ by 24″ back strap piece in half lengthwise, tuck in the edges to form a bias string, and sew along the center with a stretch stitch. Using a binding foot can help but is optional.
- Attach the Back Straps to the Sides:
Pin the back straps (3) on top of the elastic that’s hanging from the side straps of piece (1). - Sew the Straps to the Body:
With the right sides of the fabric facing each other, sew the back straps to the top corners of piece (1) using a straight stitch. Place your stitch about ½″ down from the very top tip. - Hide and Secure the Strap Ends:
Fold the fabric down to the ½” hem line, tuck the strap ends inside so they’re hidden, and sew a straight line across the top to keep everything in place and looking clean.
- Assembly Tutorial Video Coming Soon
You can line the front of (1) with the same fabric you used for your design. You can also use a stretch lining. Make sure both fabrics stretch the same way and pin it in place before you start sewing.