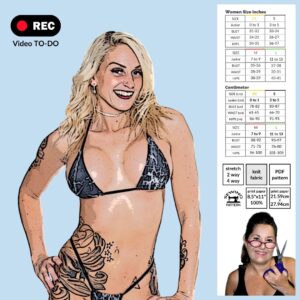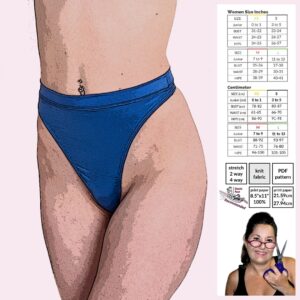


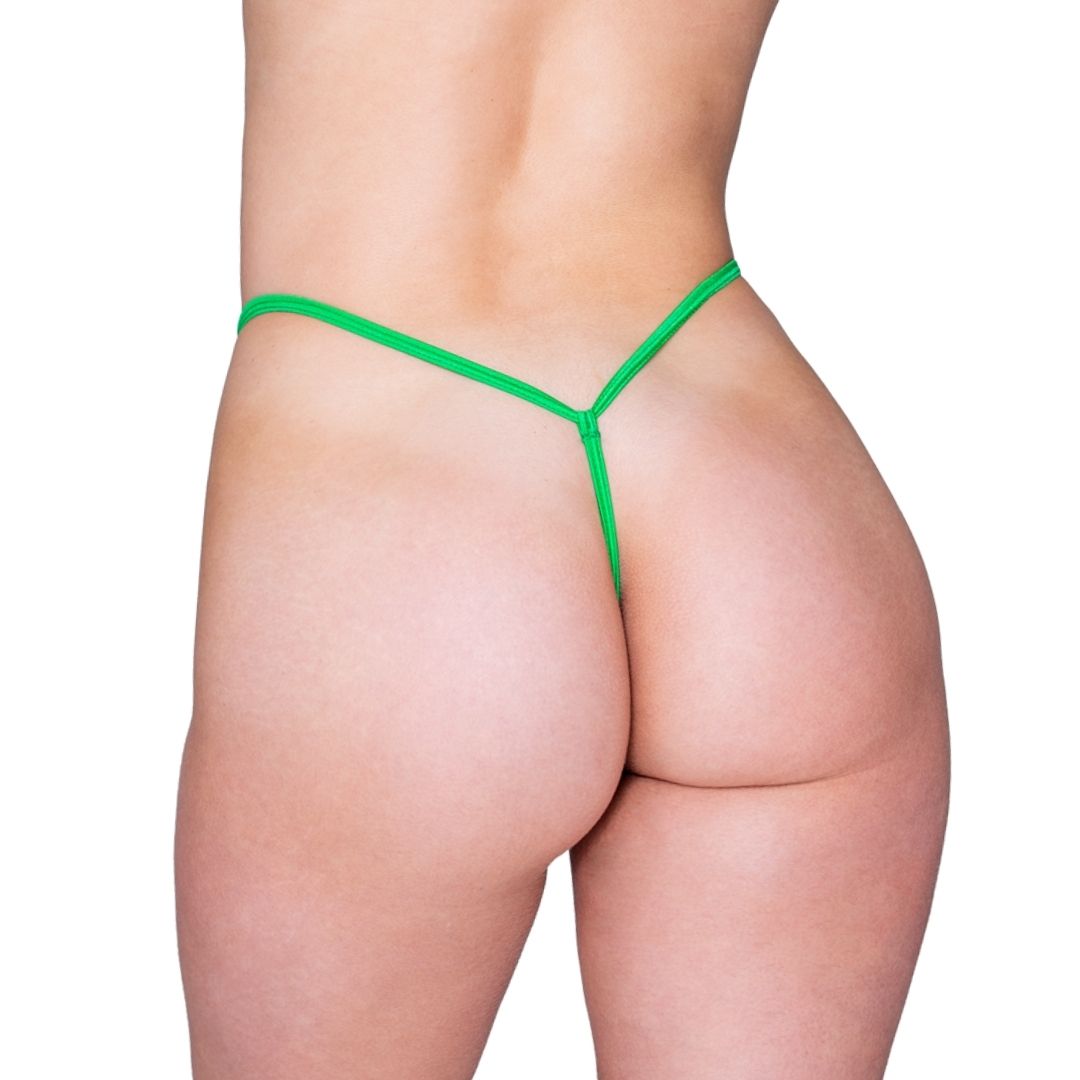
Micro G-sting thong sewing pattern with instructional tutorial from Sew Skimpy🧵 This style of thong provides minimal coverage. This thong has thin straps that sit on the hips. The front consists of a low rise triangular piece of fabric. The back is characterized by a very thin string that sits between the buttocks and attaches to the waistband, leaving most of the buttocks exposed. This design results in minimal visible panty lines under clothing 🎥Learn to sew your own G-string thong for lingerie, swimwear or a private night at home. Happy sewing!
- Includes sizes XS-L
- One coverage option, micro g-string back
- Formatted to print on US letter (8.5 x 11)
- Test square in US 2 x 2 inch and Metric unit 5.08 cm
- Pattern is color coded per size so you can make YOUR custom size
This is a DIGITAL product, available for instant download immediately after purchase. Due to the nature of this product, returns, exchanges, and refunds are not permitted.
What You Will Need
- 1 ¼-yard binding/piping of 2 or 4 way stretch fabric (I use precut binding)
- ¼ yard 2 or 4 way stretch fabric (you can use scraps) place pattern on the fabric grain / arrow
- ¼ yard optional lining (you can use scraps) match fabric stretch with Tri-Top
- Matching Thread
- Overlock machine / zig-zag stitch on a regular sewing machine
- Binding Foot is optional (I never used one)
Pattern Assembly
- Serger stitch optional lining top to thong top (1)
- Hem under top front of thong & lining (1) with a 1/2” hem
- Mark with a Pin binding/piping piece (2) that will connect to the back point at the bottom of the thong & lining. leave ½ overhang that you will cut off in the step 5. Use a binding foot if you have one
- Stay Stitch that one side of (2) to (1) using a serger stitch or any stretch stitch.
- Fold in and tack down the back piece of (2) only (do not start the finishing binding stitch yet) Cut off the extra ½” you left in step 3.
- Measure and Pin a piece of the binding (2) you just pinned to the top of the hemmed thong (1) as follows 1 3/8” BY XS 5.5”, S 6”, M 6.5”, L 7”, Use a binding foot if you have one
- Make an opening with the piping/binding (2) for the waistband. Measure and Pin to the opposite side of thong front (1) using these suggested measurements. 1 3/8” BY XS 19”, S 21”, M 23”, L 25” Use a binding foot if you have one
- Pin the remanding piping/binding (2) where you will start your stay stitch. Using these suggested measurements for the other back end. Attaching binding (2) to the thong and lining. XS 5”, S 5.5”, M 6”, L 6.5”
- Stays stitch the binding/piping (2) side to thong and lining (1) you just pinned in step (8) This will overlap the binding piece you created in step (4)
- Wrap binding/piping piece (2) around fabric of (1) Sew with a stretch stitch starting at the bottom point you just pinned (this is the thong back)
- Continue to wrap and secure binding (2) through to the hemmed front and the waistband all the way to the other hemmed side and over the secured binding of step (4)
- For the next step my G-string thong back length recommendations are as follows XS 3.5”, S 4”, M 4.5”, L 5”
- Find the center back of the thong waistband (2) and stay stitch the G-string length you chose in step (12) end to center leaving ¾” to fold over
- Fold over G-string end and straight stitch it down to secure
- Assembly Video https://youtu.be/VvB0XyHVKUk