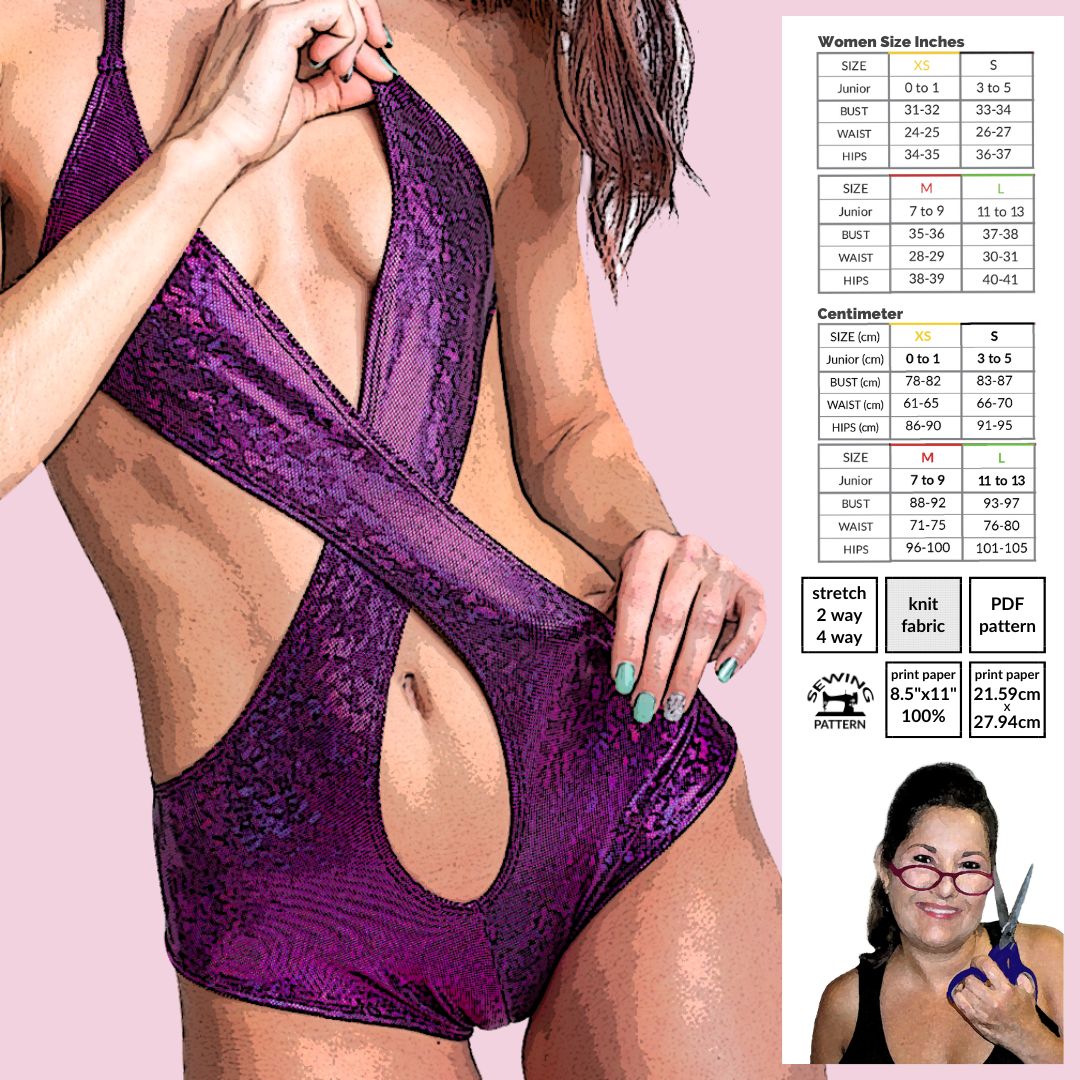
Introducing the Sew Skimpy Cross Front Bodysuit Sewing Pattern! 🎉Are you ready to take your wardrobe to the next level with a chic and versatile piece? Look no further! Our Cross Front Bodysuit sewing pattern is here to elevate your style game. 🧵Express Your Creativity by Sewing your own clothes. Create your own trends—it’s about expressing yourself and creating garments that are uniquely yours. With our Cross Front Bodysuit sewing pattern, you have the freedom to unleash your creativity and design a piece that speaks to you. Great for raves, cosplay, pole fitness, costumers, circus, and more.
- Includes sizes XS-L
- One coverage option, cheeky with a cross front
- Formatted to print on US letter (8.5 x 11)
- Test square in US 2 x 2 inch and Metric unit 5.08 cm
- Pattern is color coded per size so you can make YOUR custom size
This is a DIGITAL product, available for instant download immediately after purchase. Due to the nature of this product, returns, exchanges, and refunds are not permitted.
What You Will Need
- 1/2 yard of 2 or 4 way stretch fabric 58”- 60” wide
- 2 pieces 1 1/3 yards each strips of 2 or 4 way stretch fabric (I use precut binding/bias string)
- Matching Thread
- Regular Home Sewing Machine / zig-zag stitch & straight stitch
- Optional Overlock Sewing Machine / Cover Stitch Sewing Machine
Pattern Assembly
- Using a overlock or a straight stitch sew the center front and center back shorts of (1)
- Open shorts of (1) and match up the front and back seams. Overlock stitch or straight stitch the crotch together
- Hem every raw edge of (1) with 1⁄2” hem using a cover stitch, zigzag stitch, or any stretch stitch. Leave the side and top tips unsews for the strings (2) you will create in the next step
- Sew the 4 bias strings (2) for around the neck and back with a cover stitch, zigzag stitch, or any stretch stitch
- Attach the neck and back strings (2) to (1) with a straight stitch with the right sides of fabric together. The stitch should be 1/2″ from the top tips of (1) & (2)
- Open the right sides of fabric of (1) & (2) and tuck in the top tip pieces of (1) & (2) strap where you can’t see it. Secure that down with a straight stitch for all 4 strings
Quickie Video – https://youtu.be/zRPnsw0Wc_M


