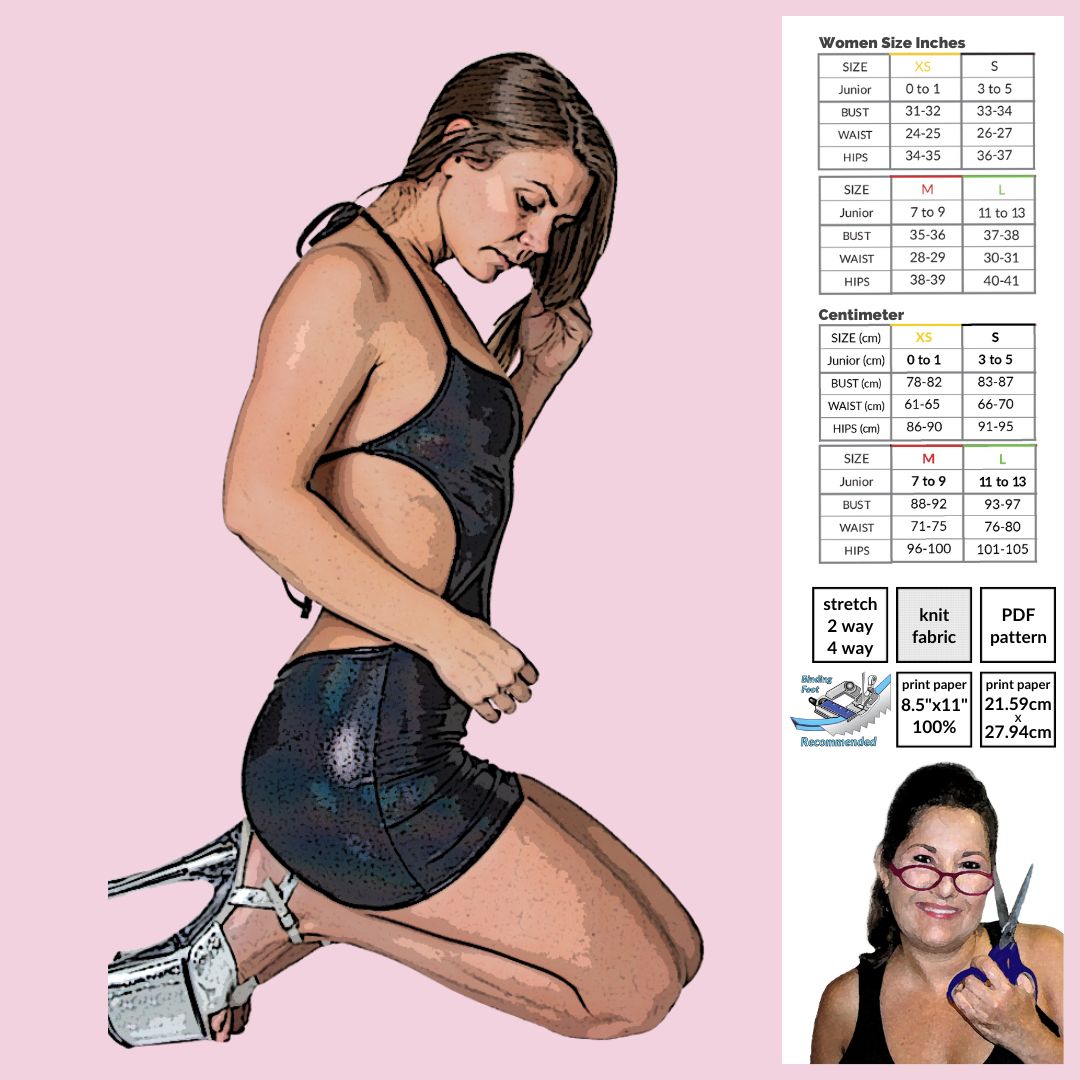
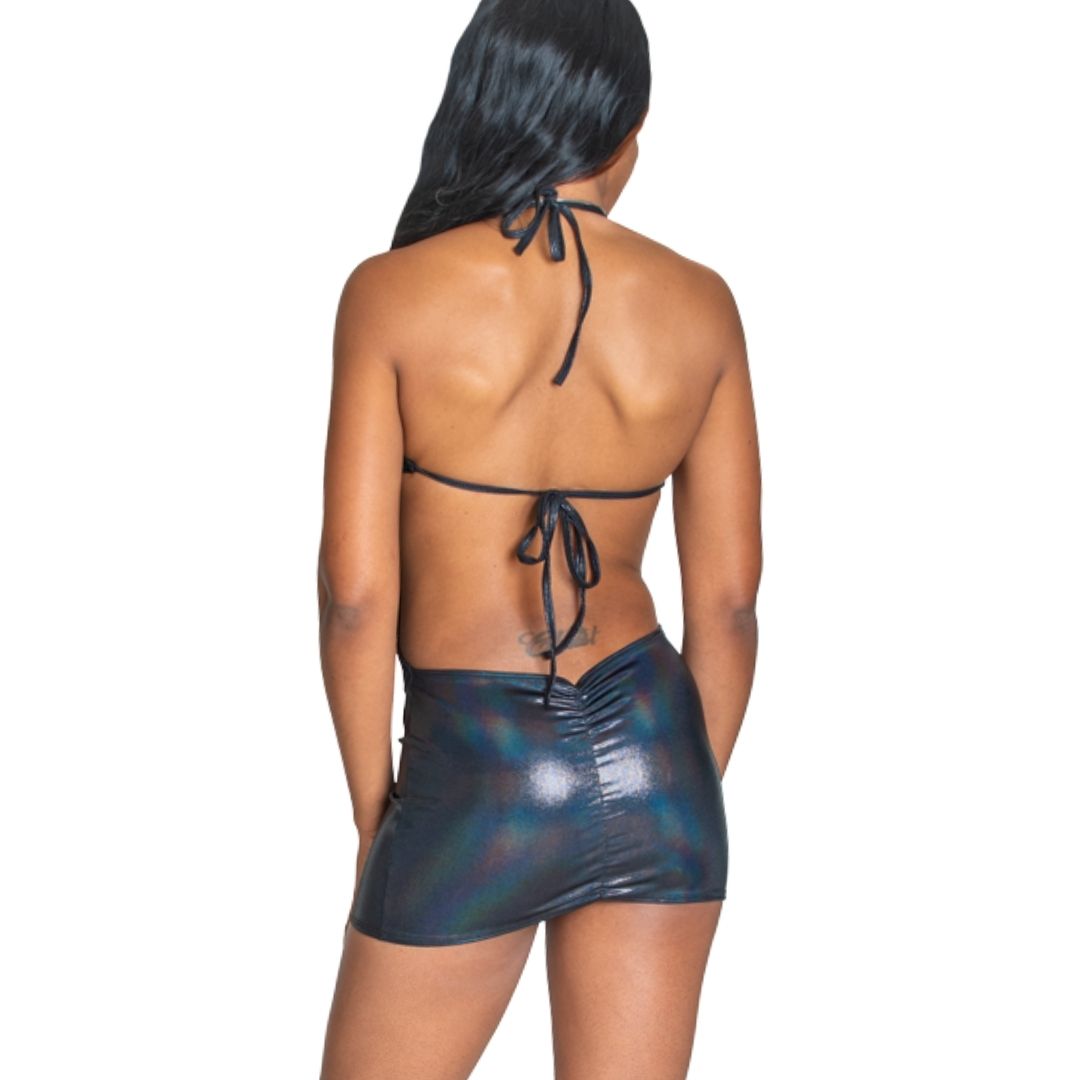
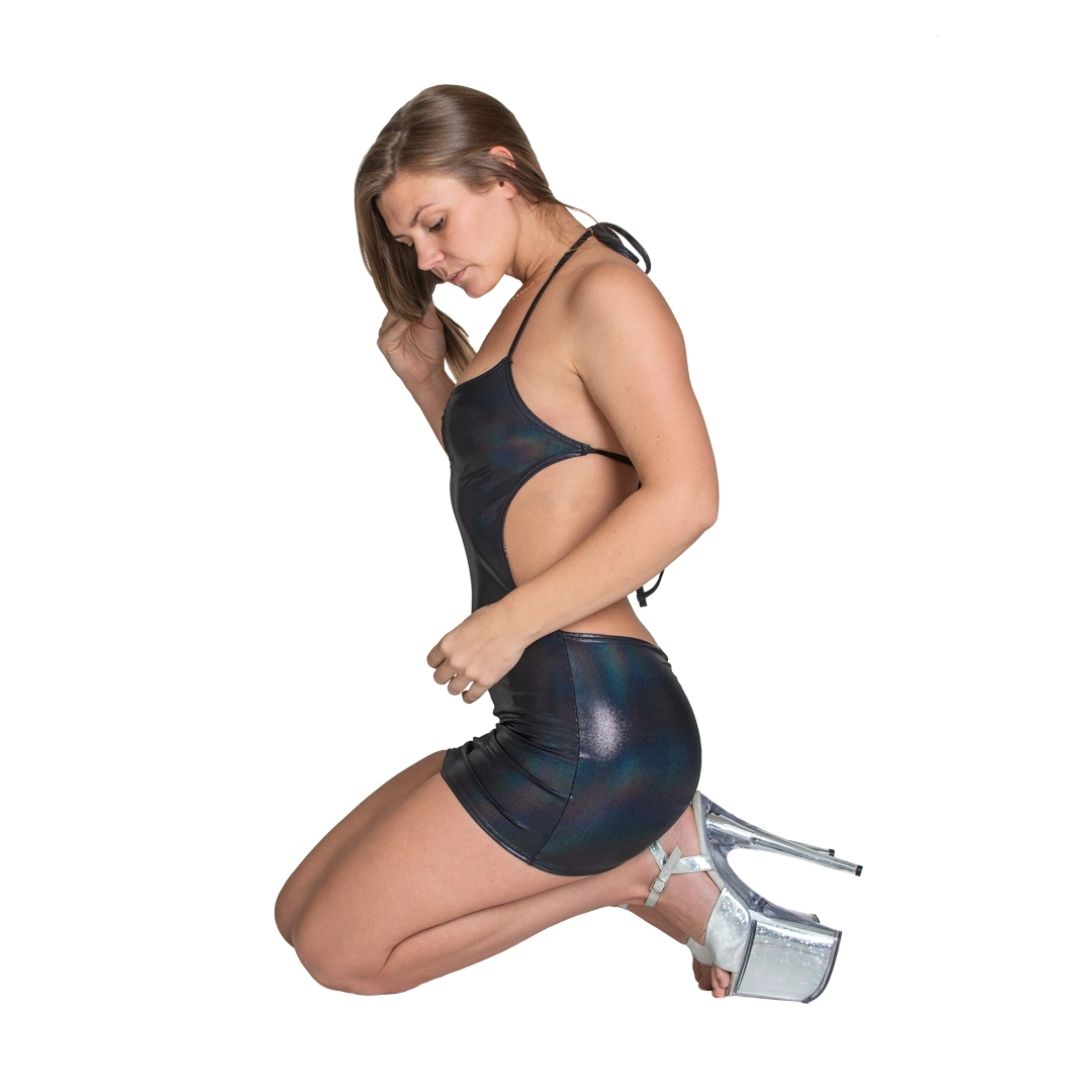
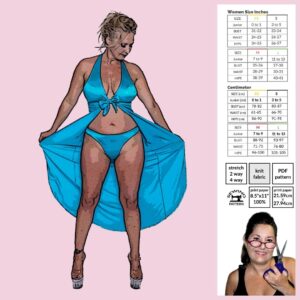
Introducing our stunning Backless Mini Dress with Ties Sewing Pattern – the epitome of elegance and allure! Elevate your style with this chic and on-trend design that seamlessly combines sophistication and a touch of playfulness. Plunging Back Detail Embraces your confidence with a daring plunging backless feature that adds a hint of allure. It’s the perfect balance between sophistication and a touch of sultriness. Our sewing pattern is designed with clear and easy-to-follow instructions, making it suitable for all skill levels.
- Includes sizes XS-L
- One coverage option, mini dress
- Formatted to print on US letter (8.5 x 11)
- Test square in US 2 x 2 inch and Metric unit 5.08 cm
- Pattern is color coded per size so you can make YOUR custom size
This is a DIGITAL product, available for instant download immediately after purchase. Due to the nature of this product, returns, exchanges, and refunds are not permitted.
What You Will Need
- 1 yard of 2 or 4 way stretch fabric 58”- 60” wide
- 4 Straps (1 3/8” x 24” suggested strap length if you make your own)
- Matching Thread
- Regular Home Sewing Machine / zig-zag stitch & straight stitch
- Optional Overlock Sewing Machine / Cover Stitch Sewing Machine
Pattern Assembly
- Add optional ruching between the bust line and at the booty. I prefer using 1/8” elastic, 1/4” elastic works just as well.
- With right sides of fabric facing together sew front (1) and back (2) sides together using a 1/4” serger stitch. You can also use a straight stitch.
- Hem all raw edges of fabric with a 1/2” hem. Using a cover stitch, zigzag or any stretch stitch
- Fold in the 4 string straps (3) of fabric measuring 1 3/8″ x 24″. Finish the stitch using a cover stitch, zigzag stitch, or any stretch stitch. Use a binding foot if you have one (watch binding video https://youtu.be/VhzPHJw7f1A) *Be creative with the straps. You could use ribbon, cord, chain…..*
- Attach two of the strings (3) you created in step 4. to create the back ties. Use a straight stitch to secure the strings sewing forward and backwards to secure with right sides together.
- Fold in the unfinished fabric ends of (1) & (3) inside the dress. Sew down the pieces of (1) & (3) using a straight stitch
- Attach the last two strings you made in step 4. for neck tie strings (3) with a straight stitch at the square corners of the front top of dress (1) Hide the strings (3) small ends on the inside of the dress using a straight stitch sewing forward and backwards to secure the stitch.
- Tie the ends of the strings on both sides. Two neck strings and two back stings. Larger sizes will require longer string to tie around the back.
- Assembly Tutorial Video https://youtu.be/q7wpKz-U7-k

