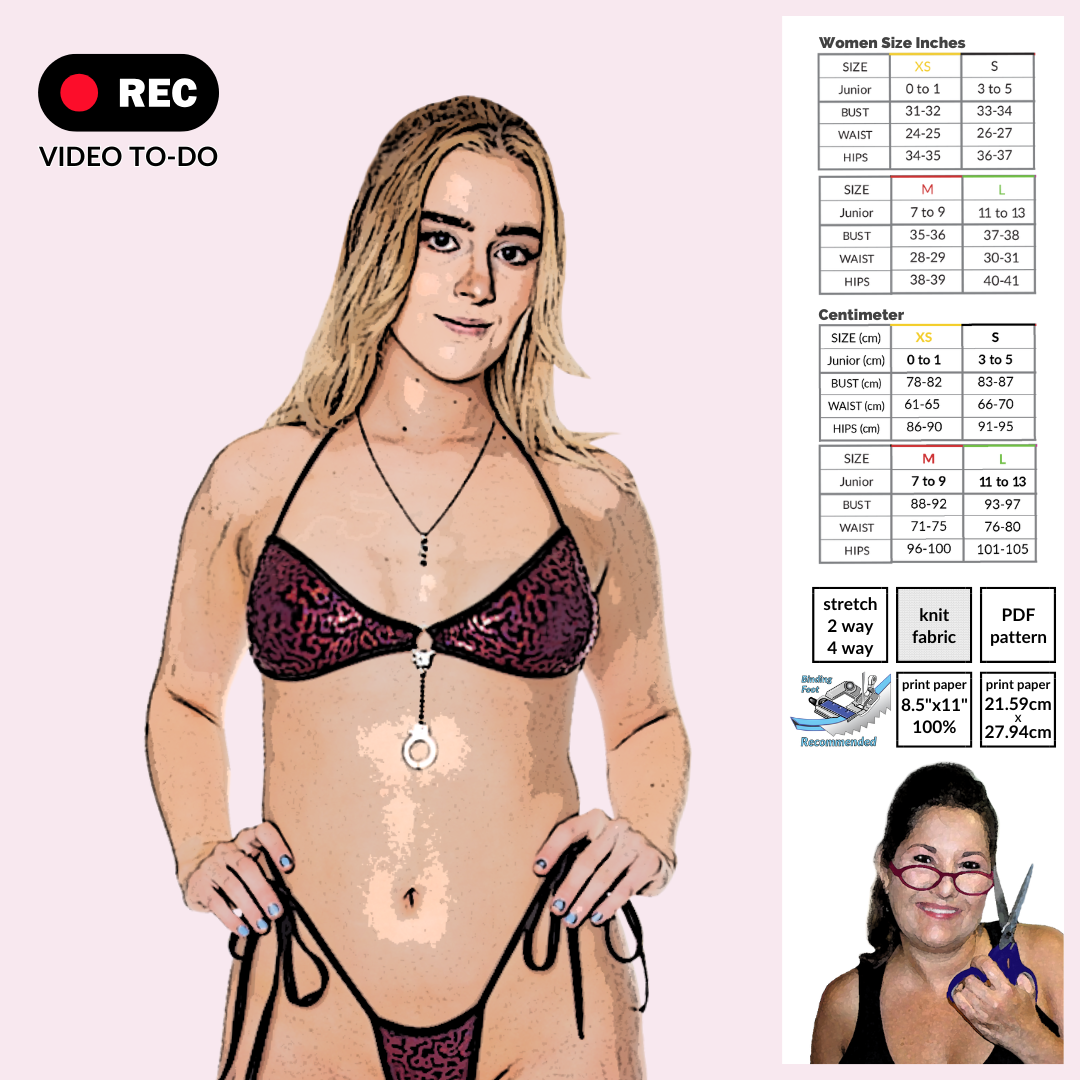
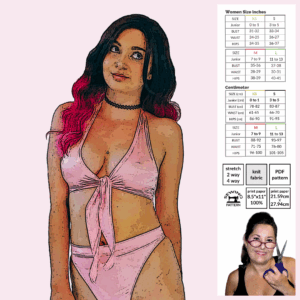
The Accent Slider Top is all about customization and sass. This digital PDF sewing pattern lets you slide the sides and drop in any accent you want in the center. Go glam with a rhinestone connector, edgy with chain, or cute with a bow. The options are endless and totally up to you!
Perfect For:
✨ Raves & Festivals✨ Pole Fitness & Exotic Dancewear✨ DIY Baddie Outfits✨ Clubwear & Skimpy Looks✨ Custom orders if you sew & sell
- Includes sizes XS-XL
- One coverage option, top runs smaller than most
- Formatted to print on US letter (8.5 x 11)
- Test square in US 2 x 2 inch and Metric unit 5.08 cm
- Pattern is color coded per size so you can make YOUR custom size
This is a DIGITAL product, available for instant download immediately after purchase. Due to the nature of this product, returns, exchanges, and refunds are not permitted.
What You Will Need
- ¼ yard of 2-way or 4-way stretch fabric (scraps are suitable); be sure to align the pattern with the fabric grain or indicated stretch arrow
- Four small pieces of binding, (I found precut binding works well)
- Two side bust strings, at least 1 yard in length each
- Matching thread
- Overlock machine / zig-zag stitch on a regular sewing machine
- Binding Foot is optional (I never used one)
Pattern Assembly
- Using a serger or an overlock stitch, finish both longer outside edges of the top pieces (1) for a clean look.
- Stay stitch binding (2) to the top and bottom edges of both bust pieces (1). Leave about a ½” overhang on each end of your binding strips.
- Fold and tuck the binding (2) in and under and securely attach to (1) with a stretch stitch. Trim off any extra ½” at the center and side edges for a neat finish.
- Add your chosen accent—like a ¾” ring—by inserting the small center ends of both top pieces (1) into the ring. Fold the fabric over the accent and secure it with a straight stitch (switching to a zipper foot makes this step easier and more precise).
- Sew a ½” loop for casing on each of the larger sides of the top (1) to create channels for the sliding string.
- For the side bias slider strings, cut two pieces (3)—each 36” long (feel free to adjust the length as needed).
- Fold in and secure the 36” side strings (3) with a stretch stitch to finish the bias strings.
- Use a string turner to thread the string through the side channels you created.
- Secure the slider string (3) end with stitching or tie a knot at the end to prevent fraying.
Follow Along Video: coming soon

