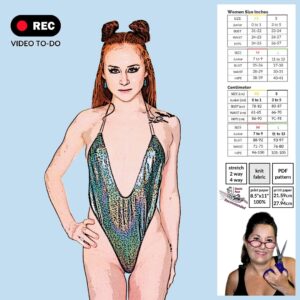


The Showboat Bodysuit Sewing Pattern is a sexy thong-back design that’s perfect for raves, cosplay, exotic dancewear, and bold DIY fashion. Originally drafted in the 1990s, this classic Sew Skimpy style has made a huge comeback and is ready for today’s DIY creators.
✨ Why you’ll love it:
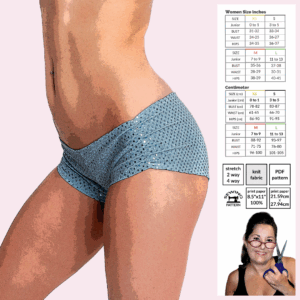
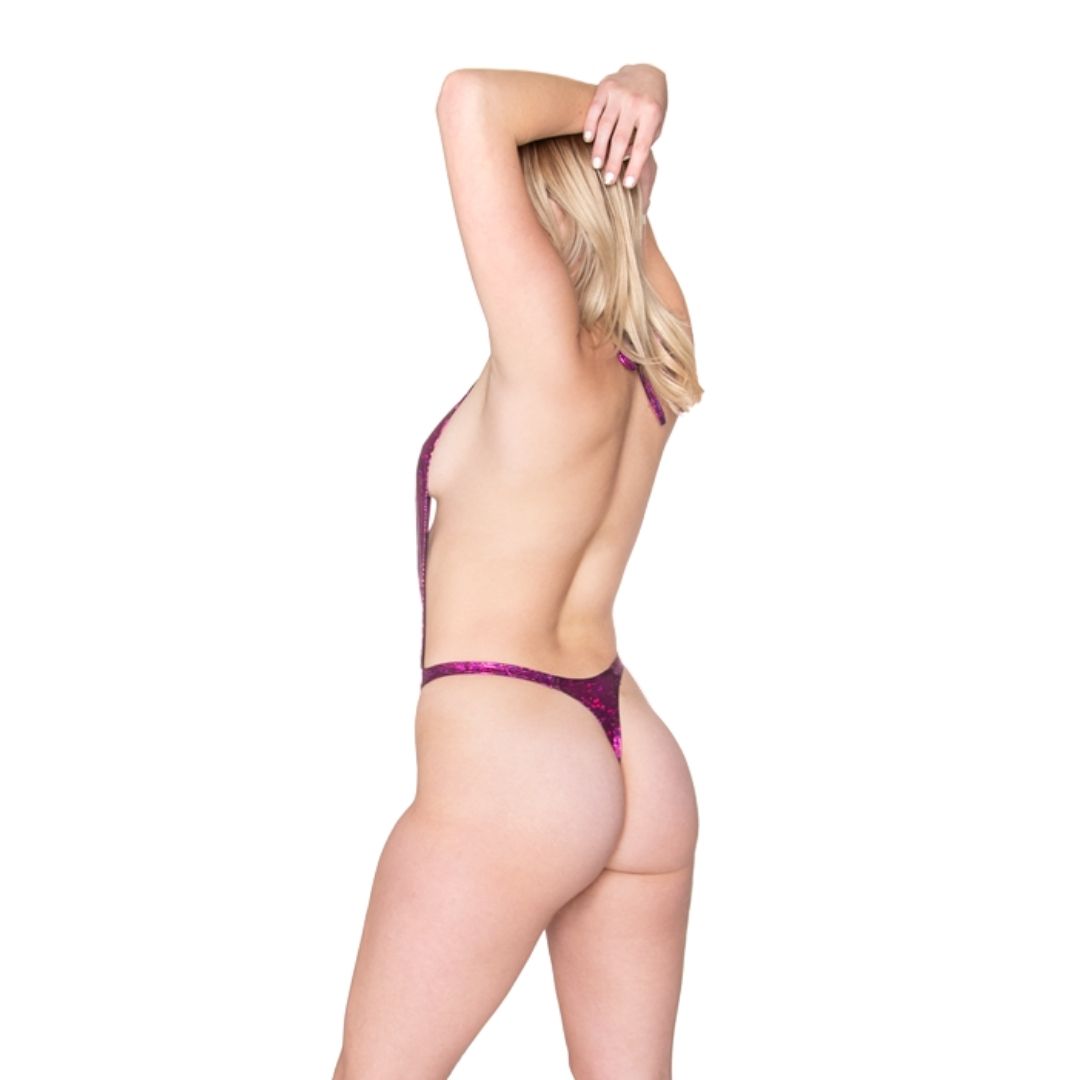
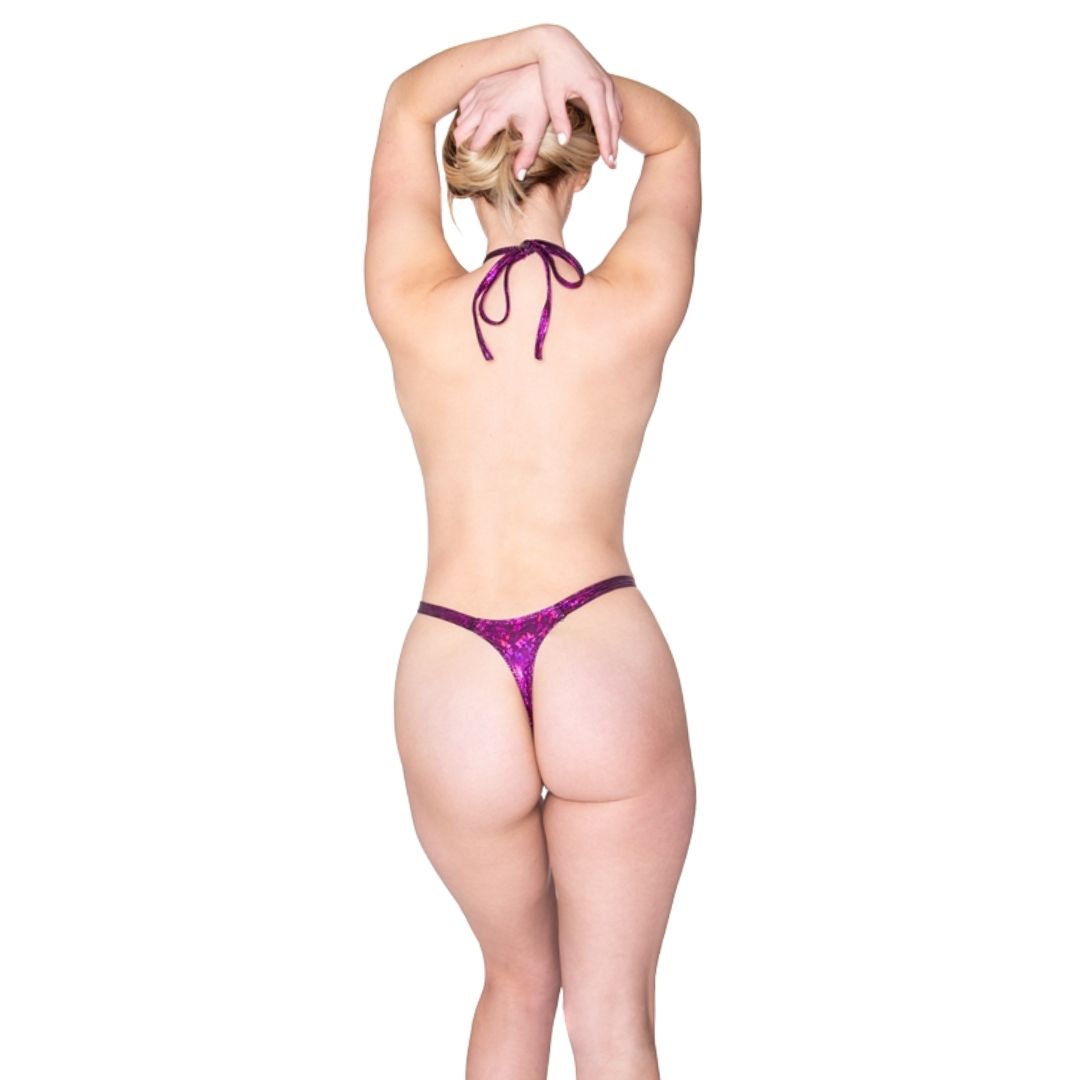
- Thong Back Design: Sexy, minimal coverage with a curve-hugging cut.
- Multiple Sizes: Available in four sizes, because one size never fits all.
- DIY Ready: Sew your own show-stopping bodysuit using stretch fabrics.
- Skill Level: Confident beginner friendly—an elastic foot is recommended for a clean, pro finish, but a zigzag stitch works too.
💡 Fabric & Styling:
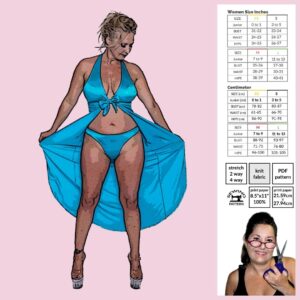
Choose a 2-way or 4-way stretch fabric for the best results. This bodysuit works great on its own or styled with mini skirts, leg warmers, or rave accessories.
📥 What you get:
- Instant PDF download
- Print-at-home pattern
- Step-by-step sewing instructions
From the club to the cosplay floor, the Showboat Thong Bodysuit Sewing Pattern lets you create an outfit that’s as bold and unique as you are.
- Includes sizes XS-L
- Formatted to print on US letter (8.5 x 11)
- Test square in US 2 x 2 inch and Metric unit 5.08 cm
- Pattern is color coded per size so you can make YOUR custom size
This is a DIGITAL product, available for instant download immediately after purchase. Due to the nature of this product, returns, exchanges, and refunds are not permitted.
What You Will Need
- ½ yard of 2-way or 4-way stretch knit
- ¼” wide braided elastic
- 1 yard of fabric straps (or make ties from the same fabric)
- Matching thread
- Regular home sewing machine (serger/overlock optional)
- Elastic foot recommended for easier application
Pattern Assembly
- Attach Elastic to Main Body (Piece 1) Sew ¼” elastic around all edges of piece (1) using an elastic foot on your sewing machine.
- Reinforce the Front V Sew elastic along the front V-cut. At the point, slightly fold the V and stitch through to secure the elastic neatly and create a point.
- Finish Elastic Edges Fold the elastic to the inside. Hem all edges of piece (1) with a zigzag or coverstitch.
- Prepare Neck Ties Cut two fabric straps (about 1 3/8” wide by 1 yard) or use 1 yard of prepared fabric string. Stitch closed lengthwise to form ties.
- Attach Neck Ties Place the ends of the straps right sides together with the top edge of piece (1). Straight stitch ½” down to secure.
- Finish Strap Ends Fold the seam allowance inside and topstitch to hide raw edges.
- Sew Waist Straps (Piece 2) With right sides together, sew along the long edge of each waist strap using a zigzag or serger stitch to form a tube.
- Cut two waist side straps (Piece 2): Measurements available on the sewing pattern
- Turn Waist Side Straps Use a loop turner or safety pin to turn the straps right side out.
- Attach Waist Straps Place the open ends of piece (2) right sides together with the waist ends of piece (1), aligning with the elastic. Straight stitch ½” down through all layers.
- Clean Finish Fold seam allowances and elastic to the inside. Topstitch with a straight stitch for a neat finish.
Quickie Video – coming soon!