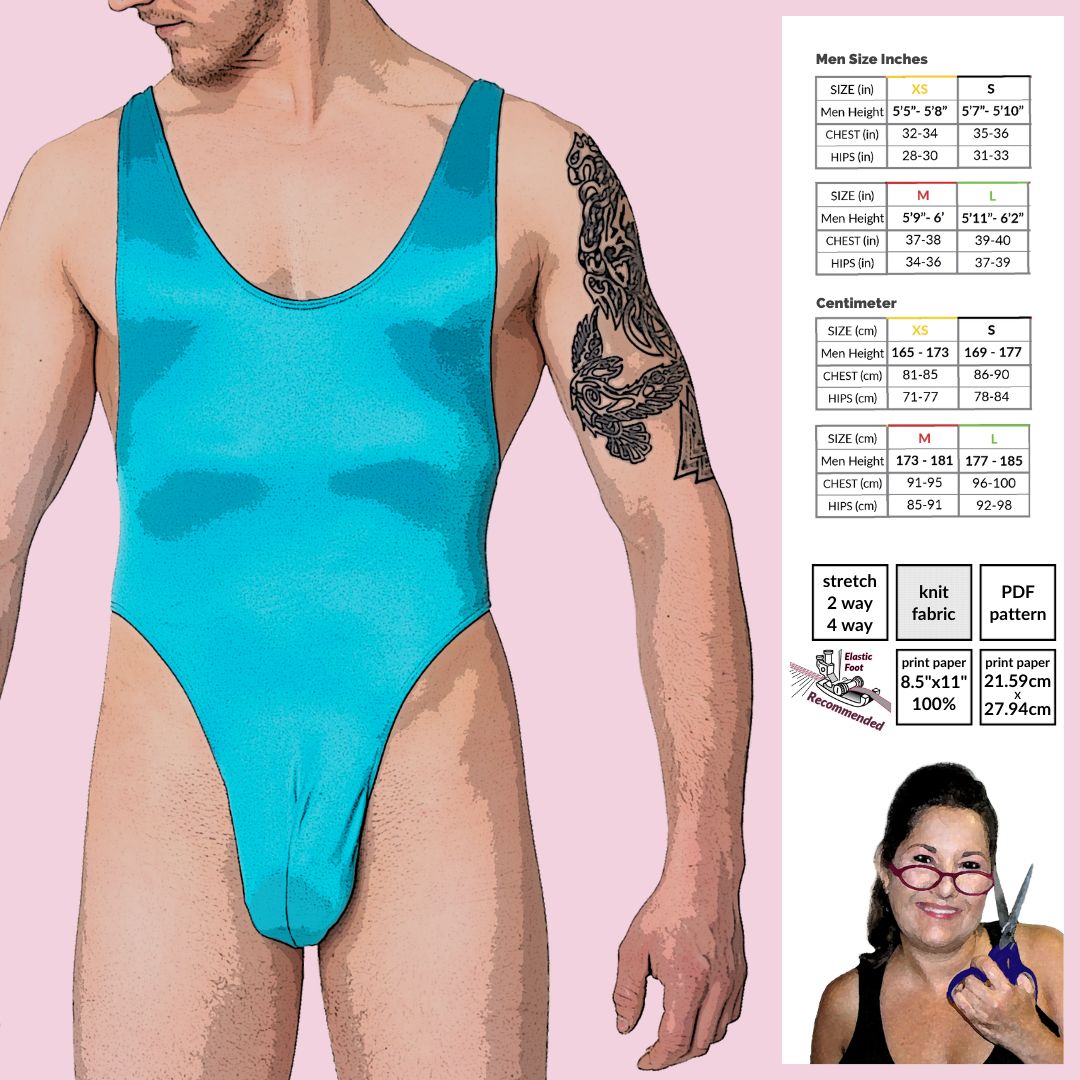
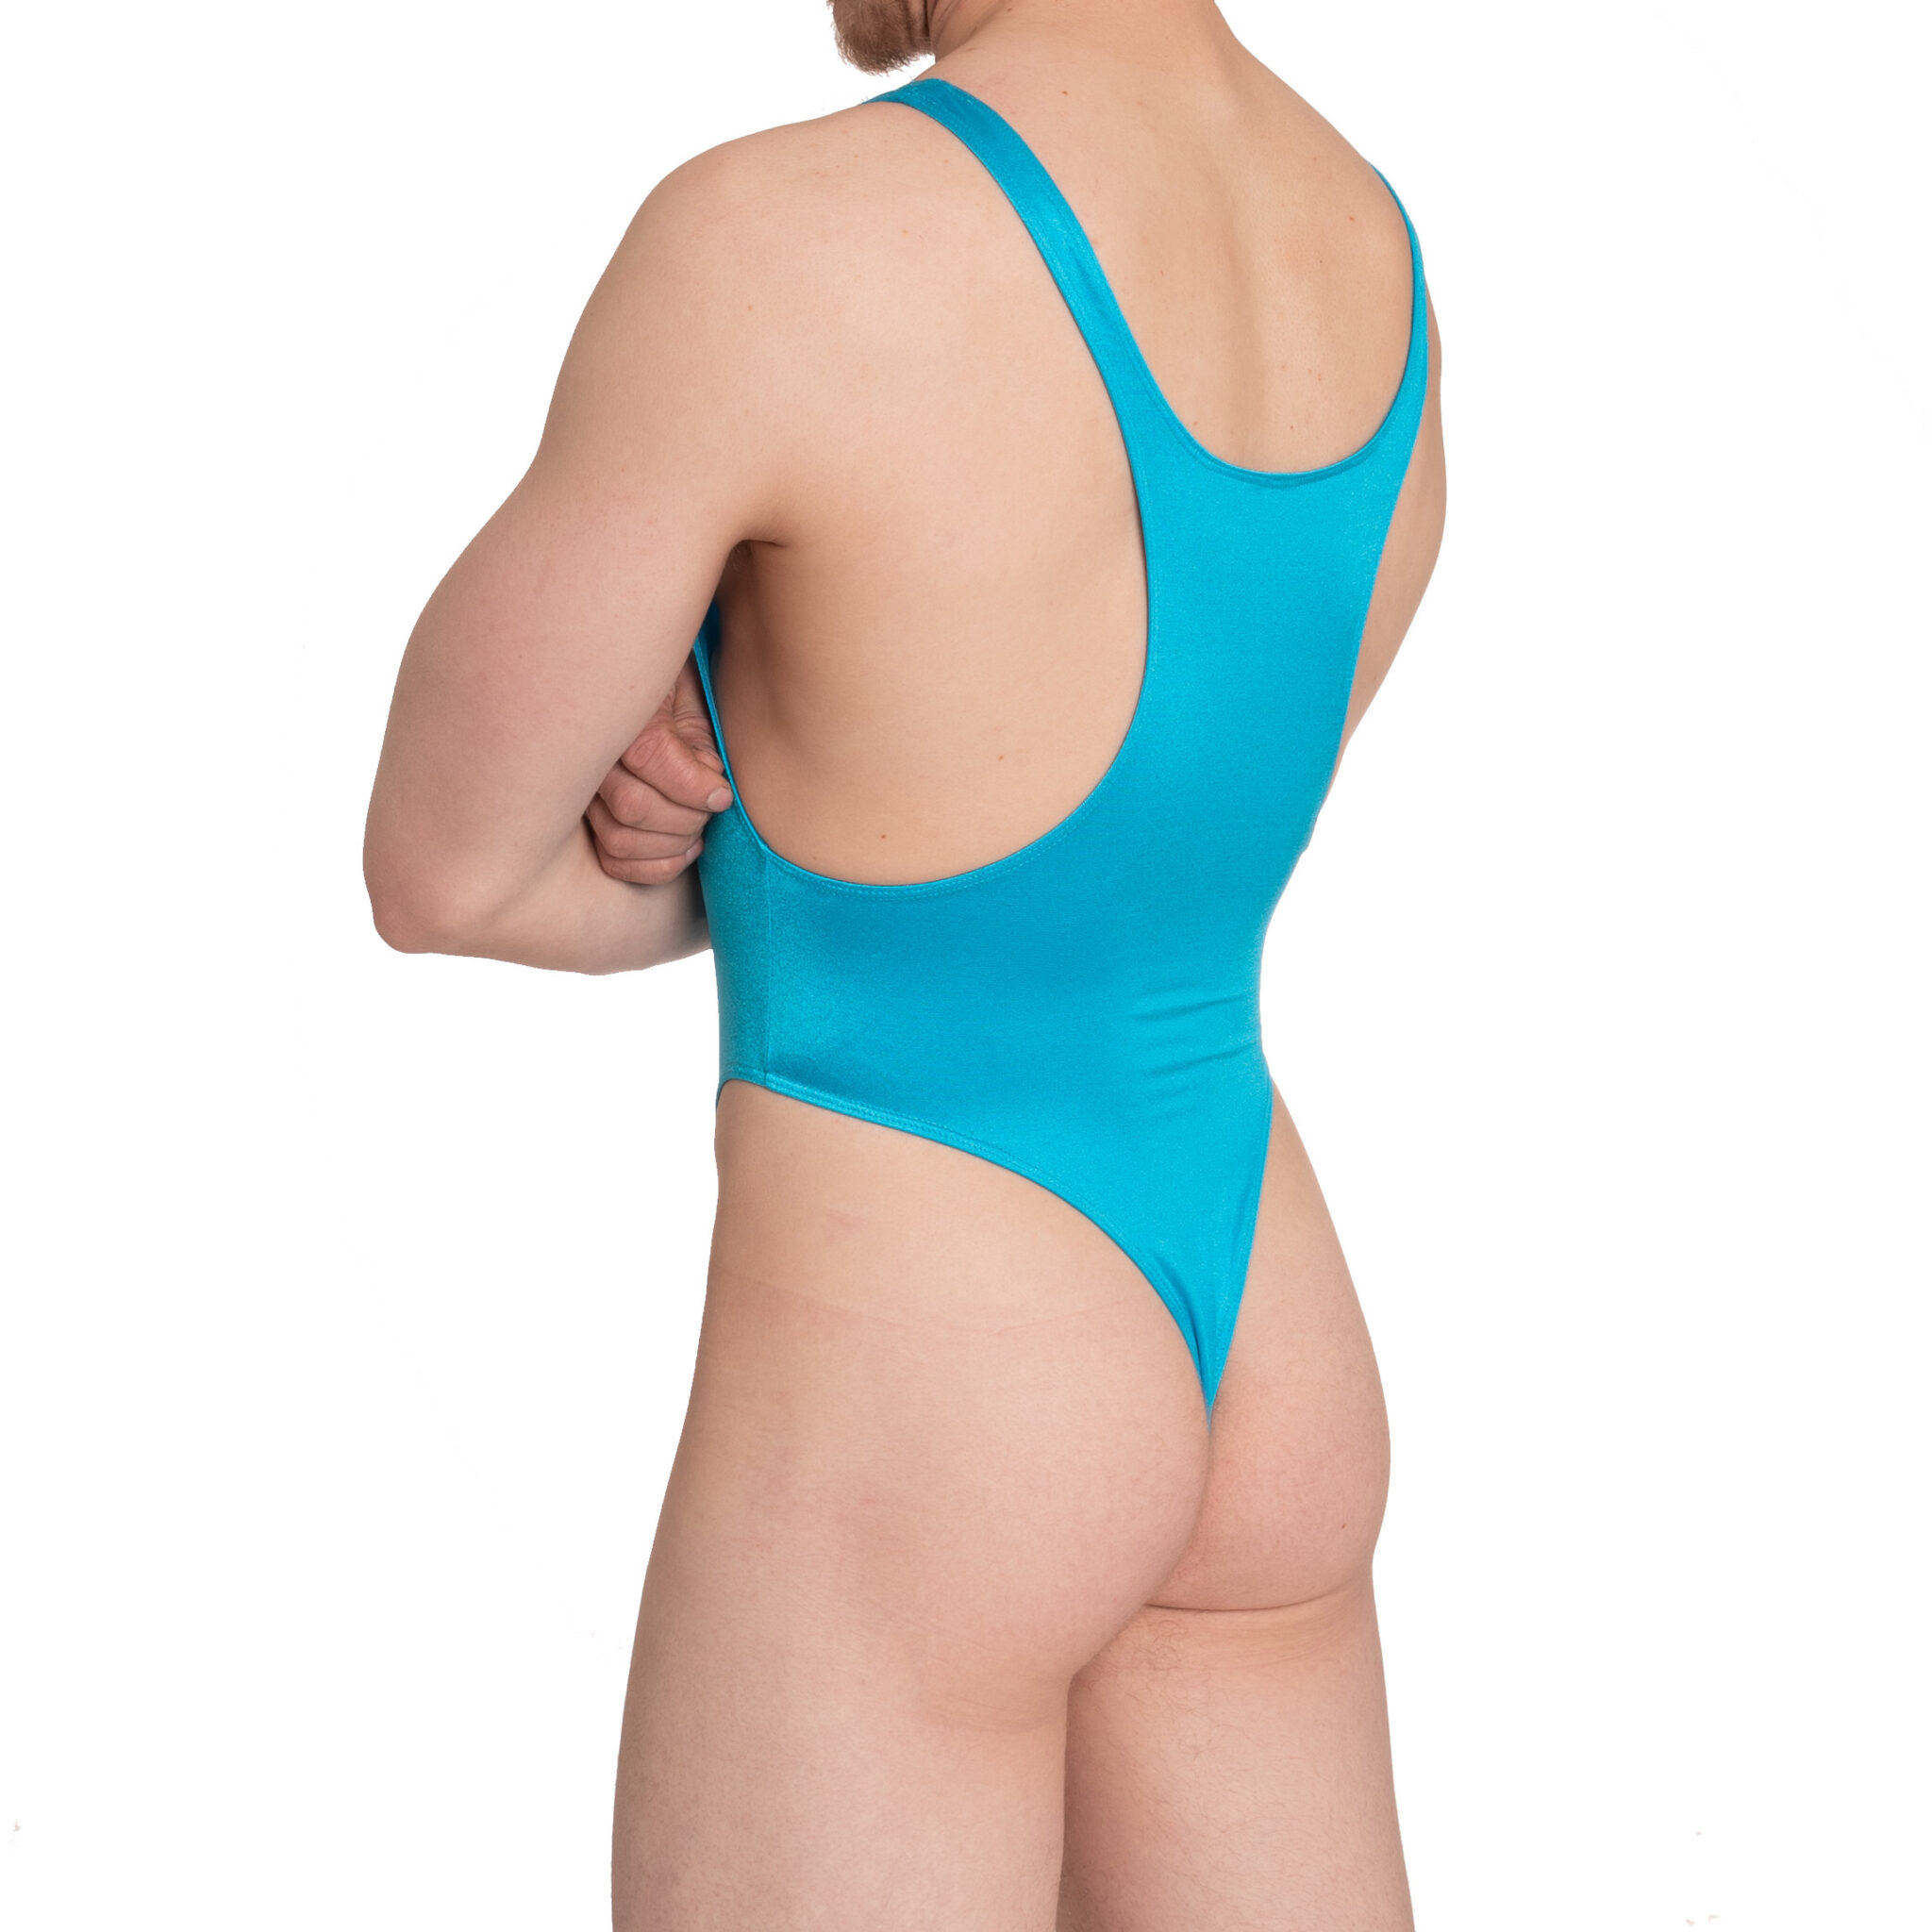
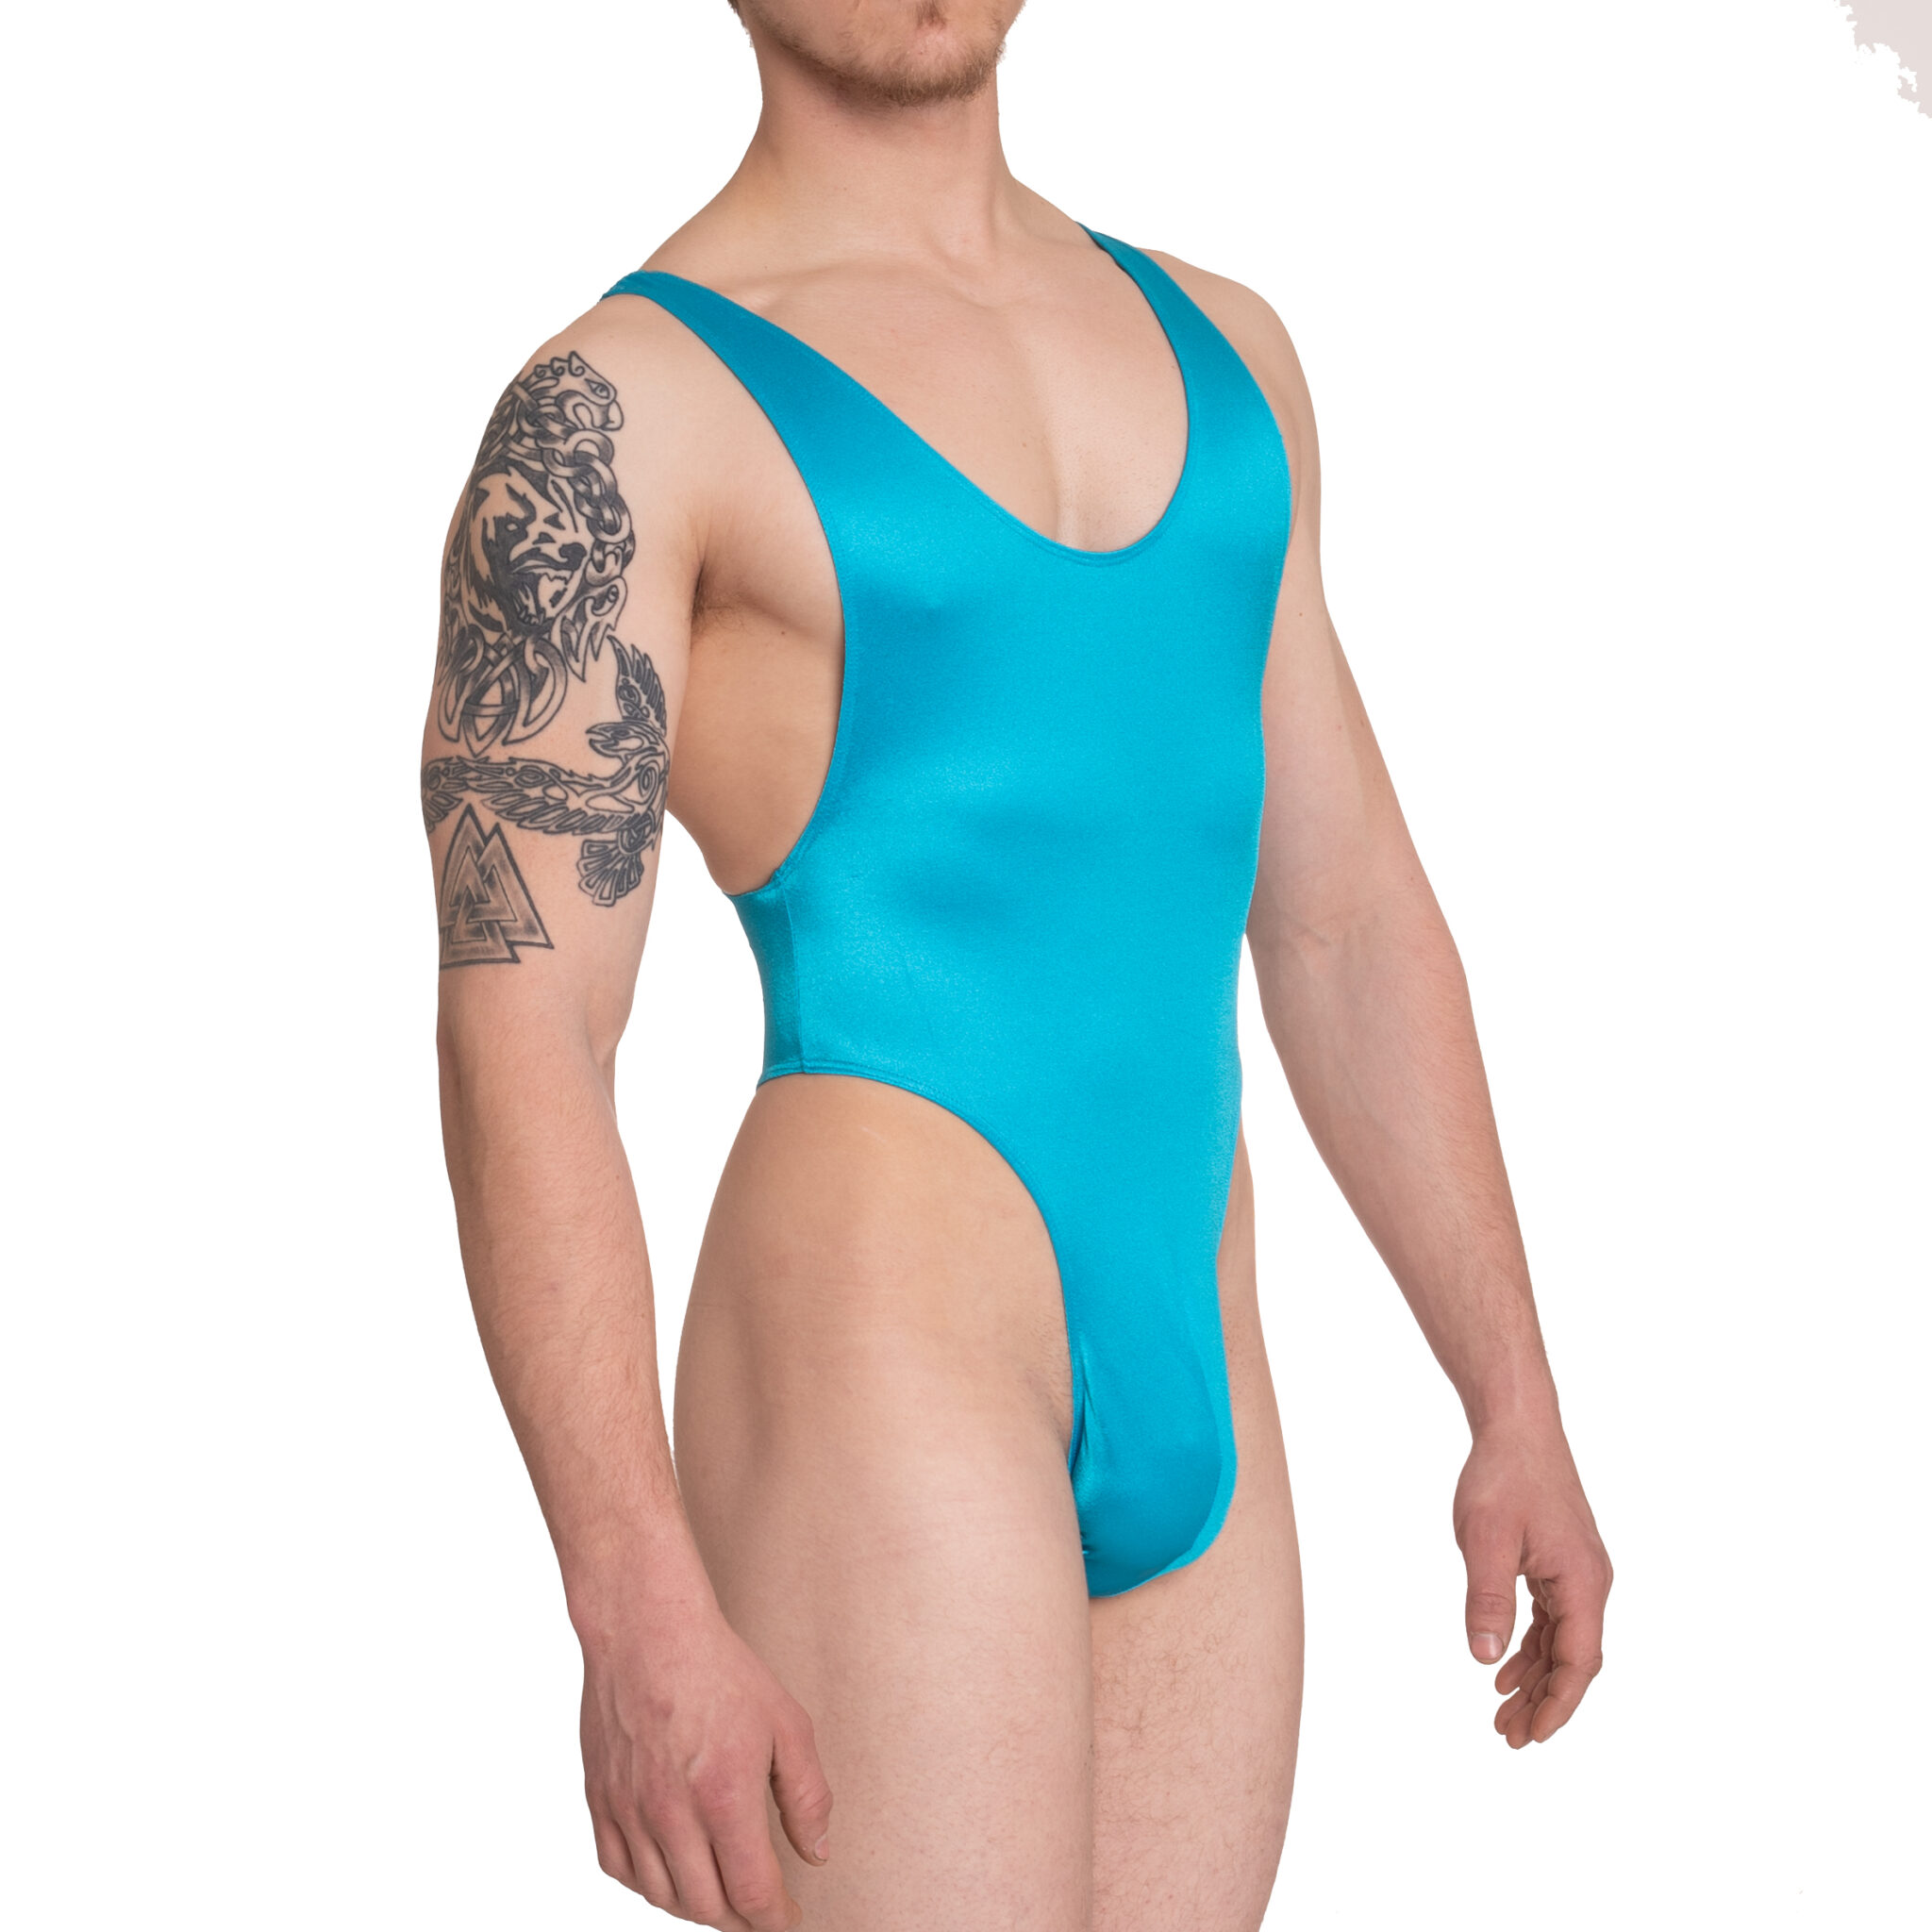
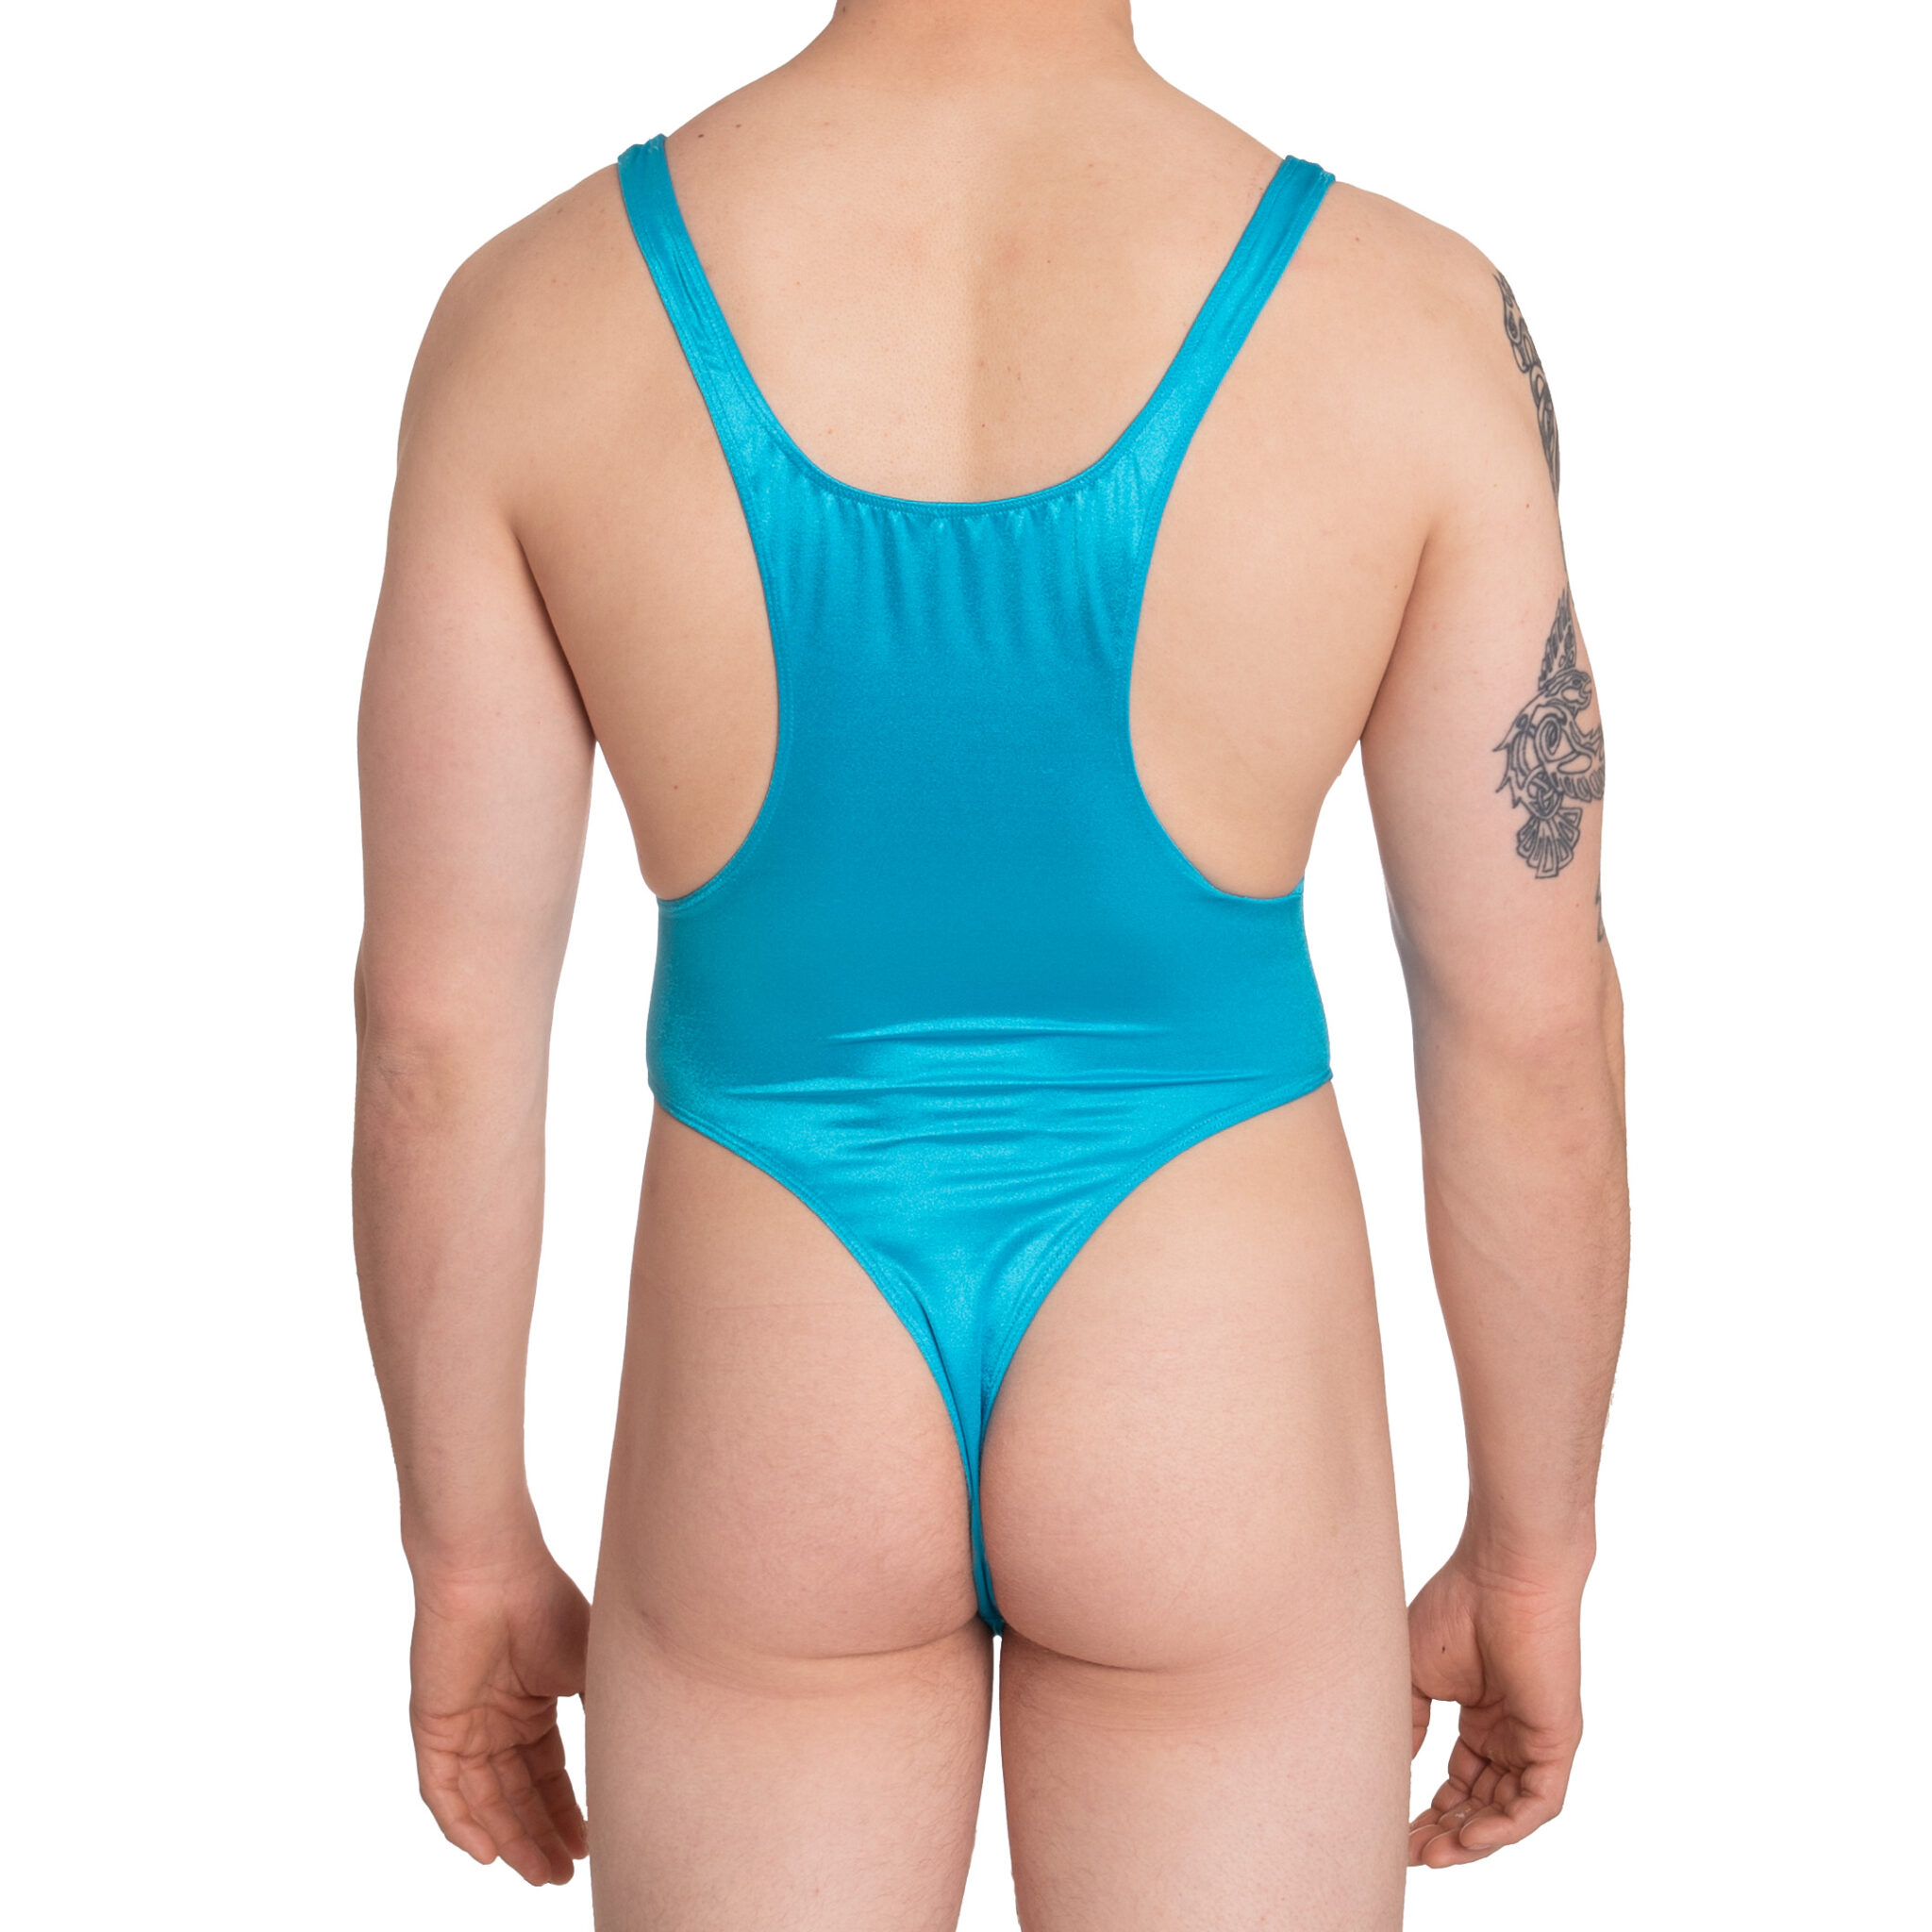
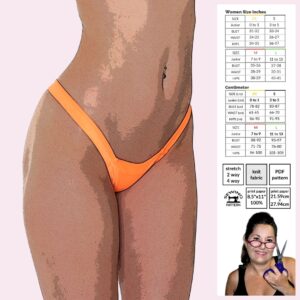
Our men’s racerback bodysuit sewing pattern covers the torso and crotch while leaving the legs exposed. It does has a thong-style back, which means that it has a narrow strip of fabric that passes between the buttocks and connects to the waistband, similar to a thong underwear 💎 Men’s thong bodysuits emphasize and highlight the shape and contour of the body. This is why they are sometimes chosen for athletic or performance-related activities where form and function are intertwined. As with any fashion choice, the key is personal comfort, both physically and emotionally💯 If someone feels confident and comfortable in a men’s thong bodysuit, that’s what matters most. Also available in Husky Sizes https://sewskimpy.com/product/husky-mens-racerback-bodysuit/
- Includes sizes XS-L
- One coverage option,
- One coverage option, thong back Racerback Bodysuit
- Formatted to print on US letter (8.5 x 11)
- Test square in US 2 x 2 inch and Metric unit 5.08 cm
- Pattern is color coded per size so you can make YOUR custom size
- 1/2 yard of 2 or 4 way stretch fabric 58”- 60” wide
- Optional lining with the same stretch
- ¼” wide braided elastic
- Matching Thread
- Overlock machine / zig-zag stitch on a regular sewing machine
- Elastic Foot is recommended
Pattern Assembly
- Serger stitch the dart at the crotch of (1) and secure the stitch by tying a knot at the serger stitch chain end, fray check, or sewing that edge. You can make adjustments for penis size at the dart area
- Using a serger stitch or straight stich on a home machine, sew the sides of front (1) and back (2) together. Leave the shoulder straps and crotch open for now
- Attach ¼” elastic around all the raw edges of (1) and (2) except the small ends of crotch and shoulder straps. Serger stitch or zigzag stitch recommended. Use of an elastic foot also recommended.
- Sew front (1) and back (2) crotch together using a straight stitch and ¼” seam allowance. Reinforce by sewing back and forward where the two elastics overlap each other
- Sew both front (1) and back (2) shoulder straps together using a straight stitch and ¼” seam allowance. Reinforce by sewing back and forward where the two elastics overlap each other
- Fold under the elastic and fabric tightly to the edge. Secure the hem down using a coverstitch, zigzag stitch or any stretch stitch. Make sure to open the elastic seams at both shoulders and crotch before hemming down (this makes it less bulky)
- Assembly Tutorial Video https://youtu.be/lQRO58rCgTc

