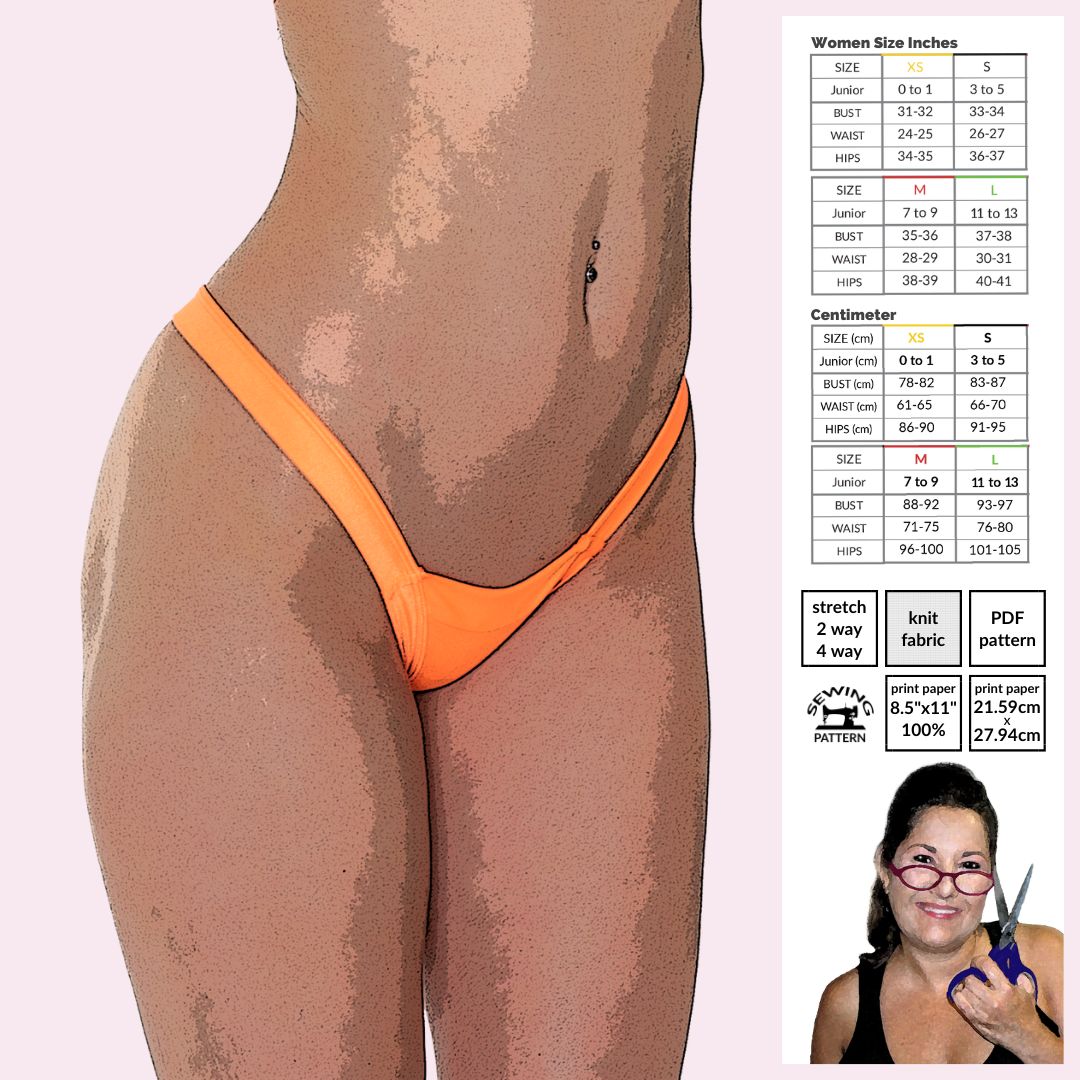
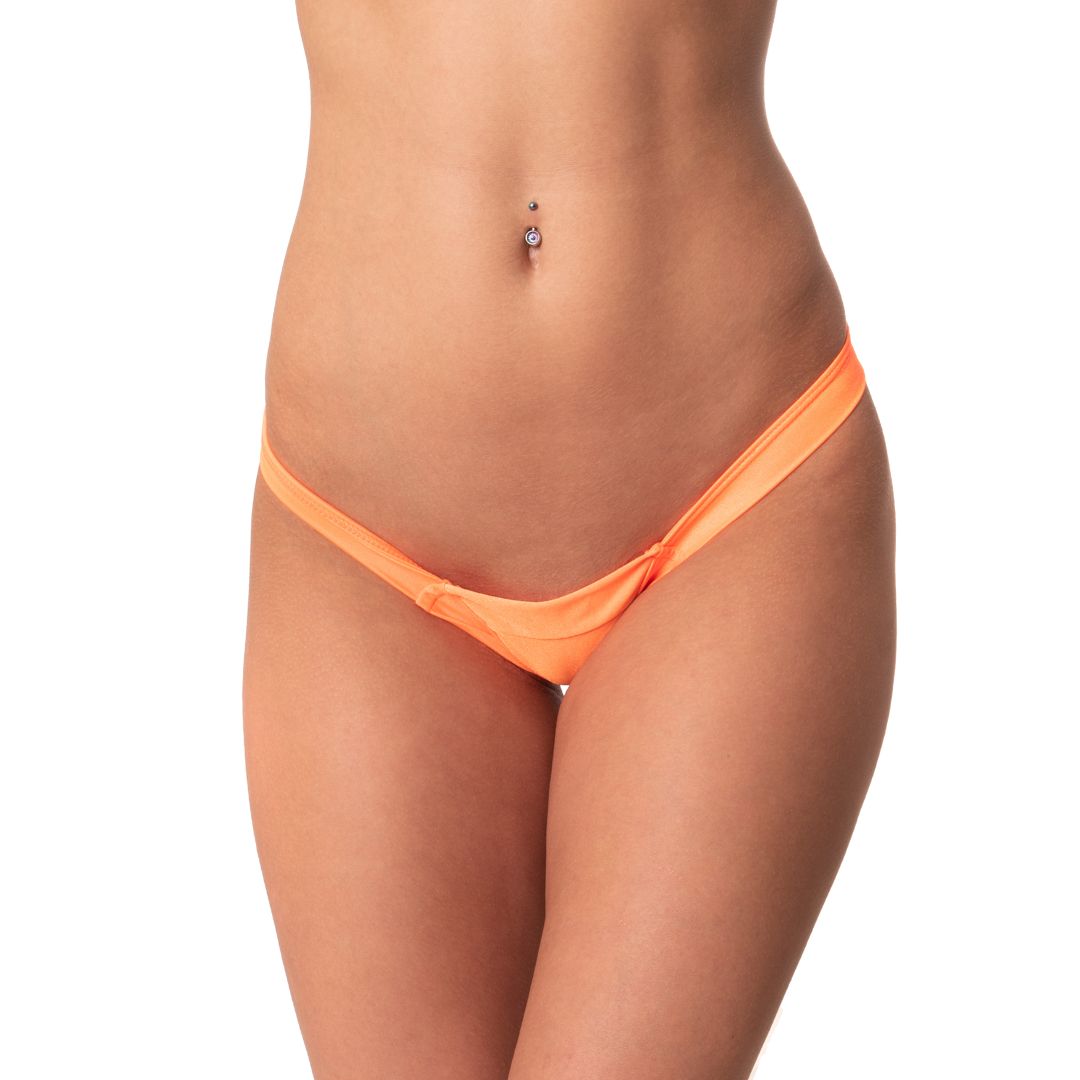
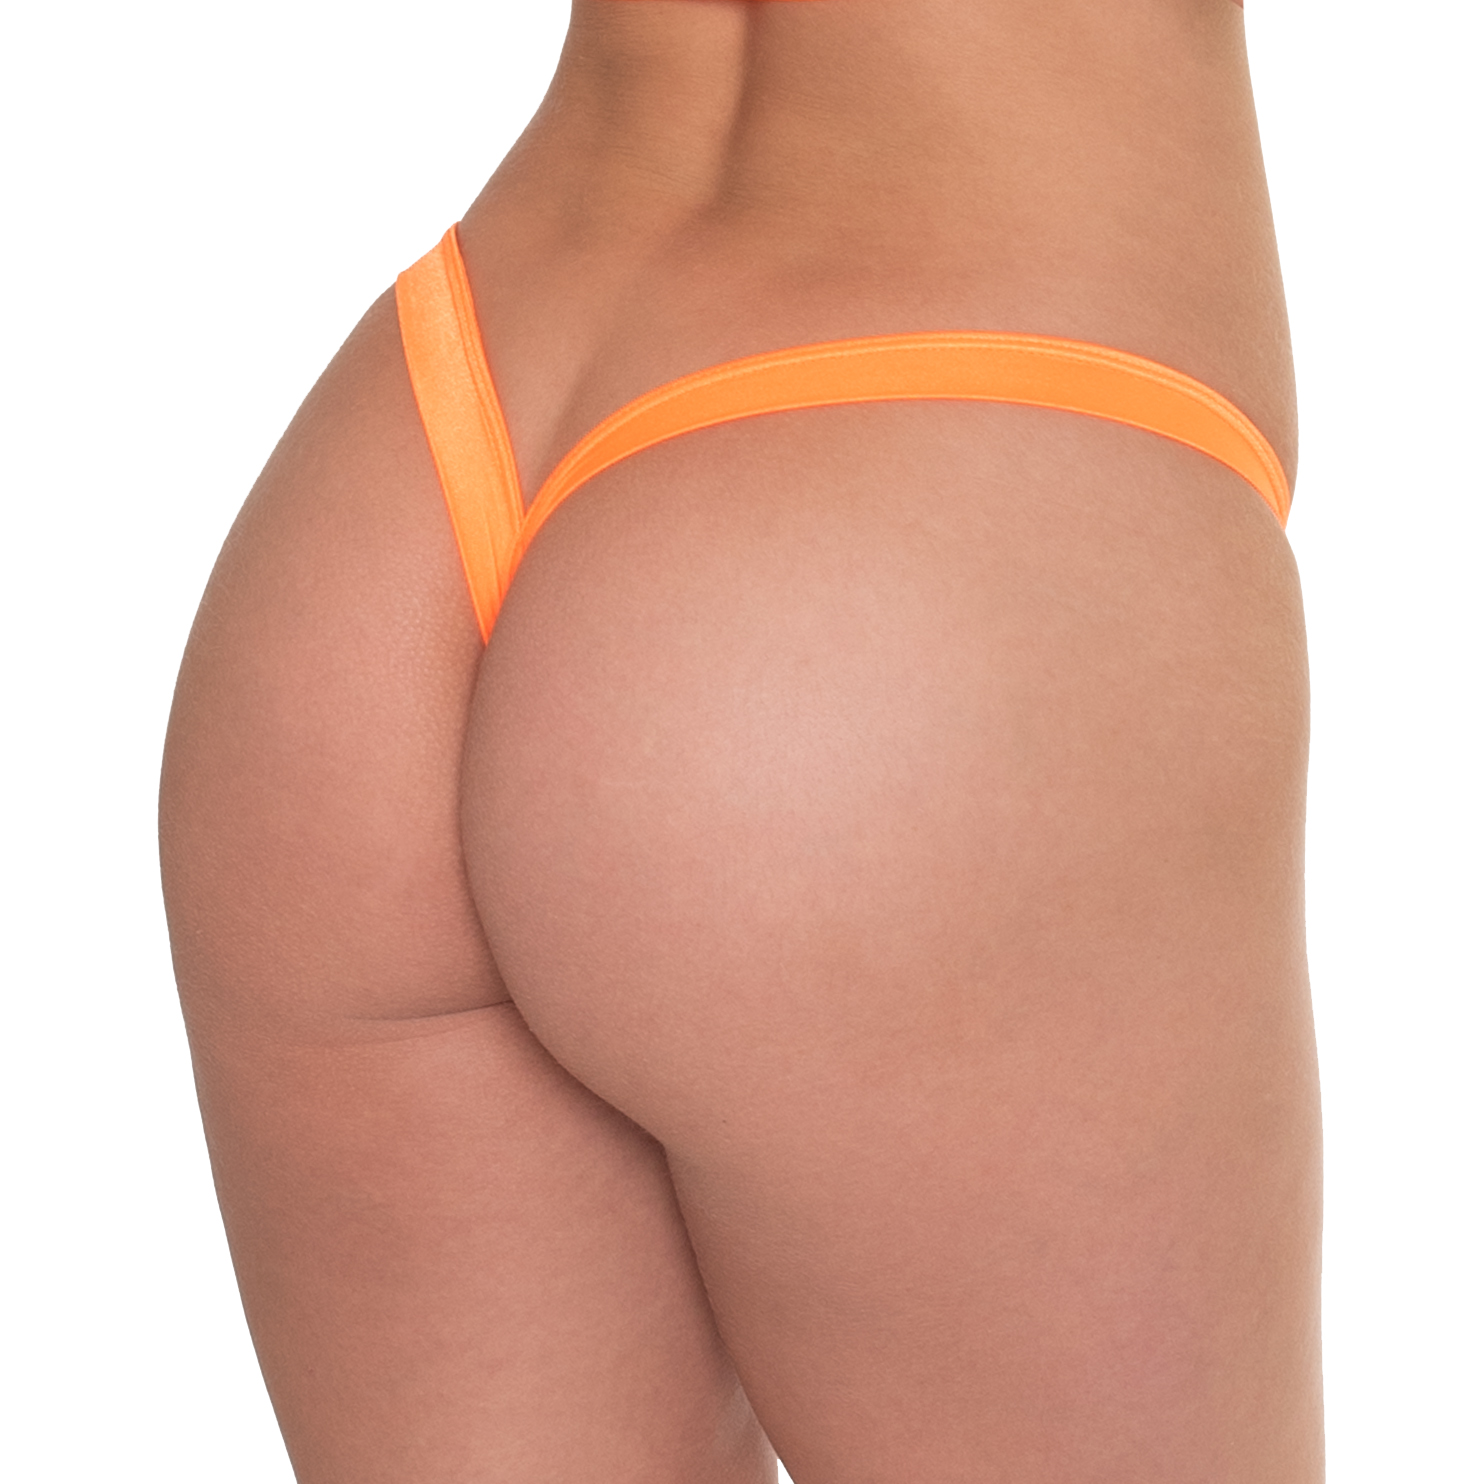
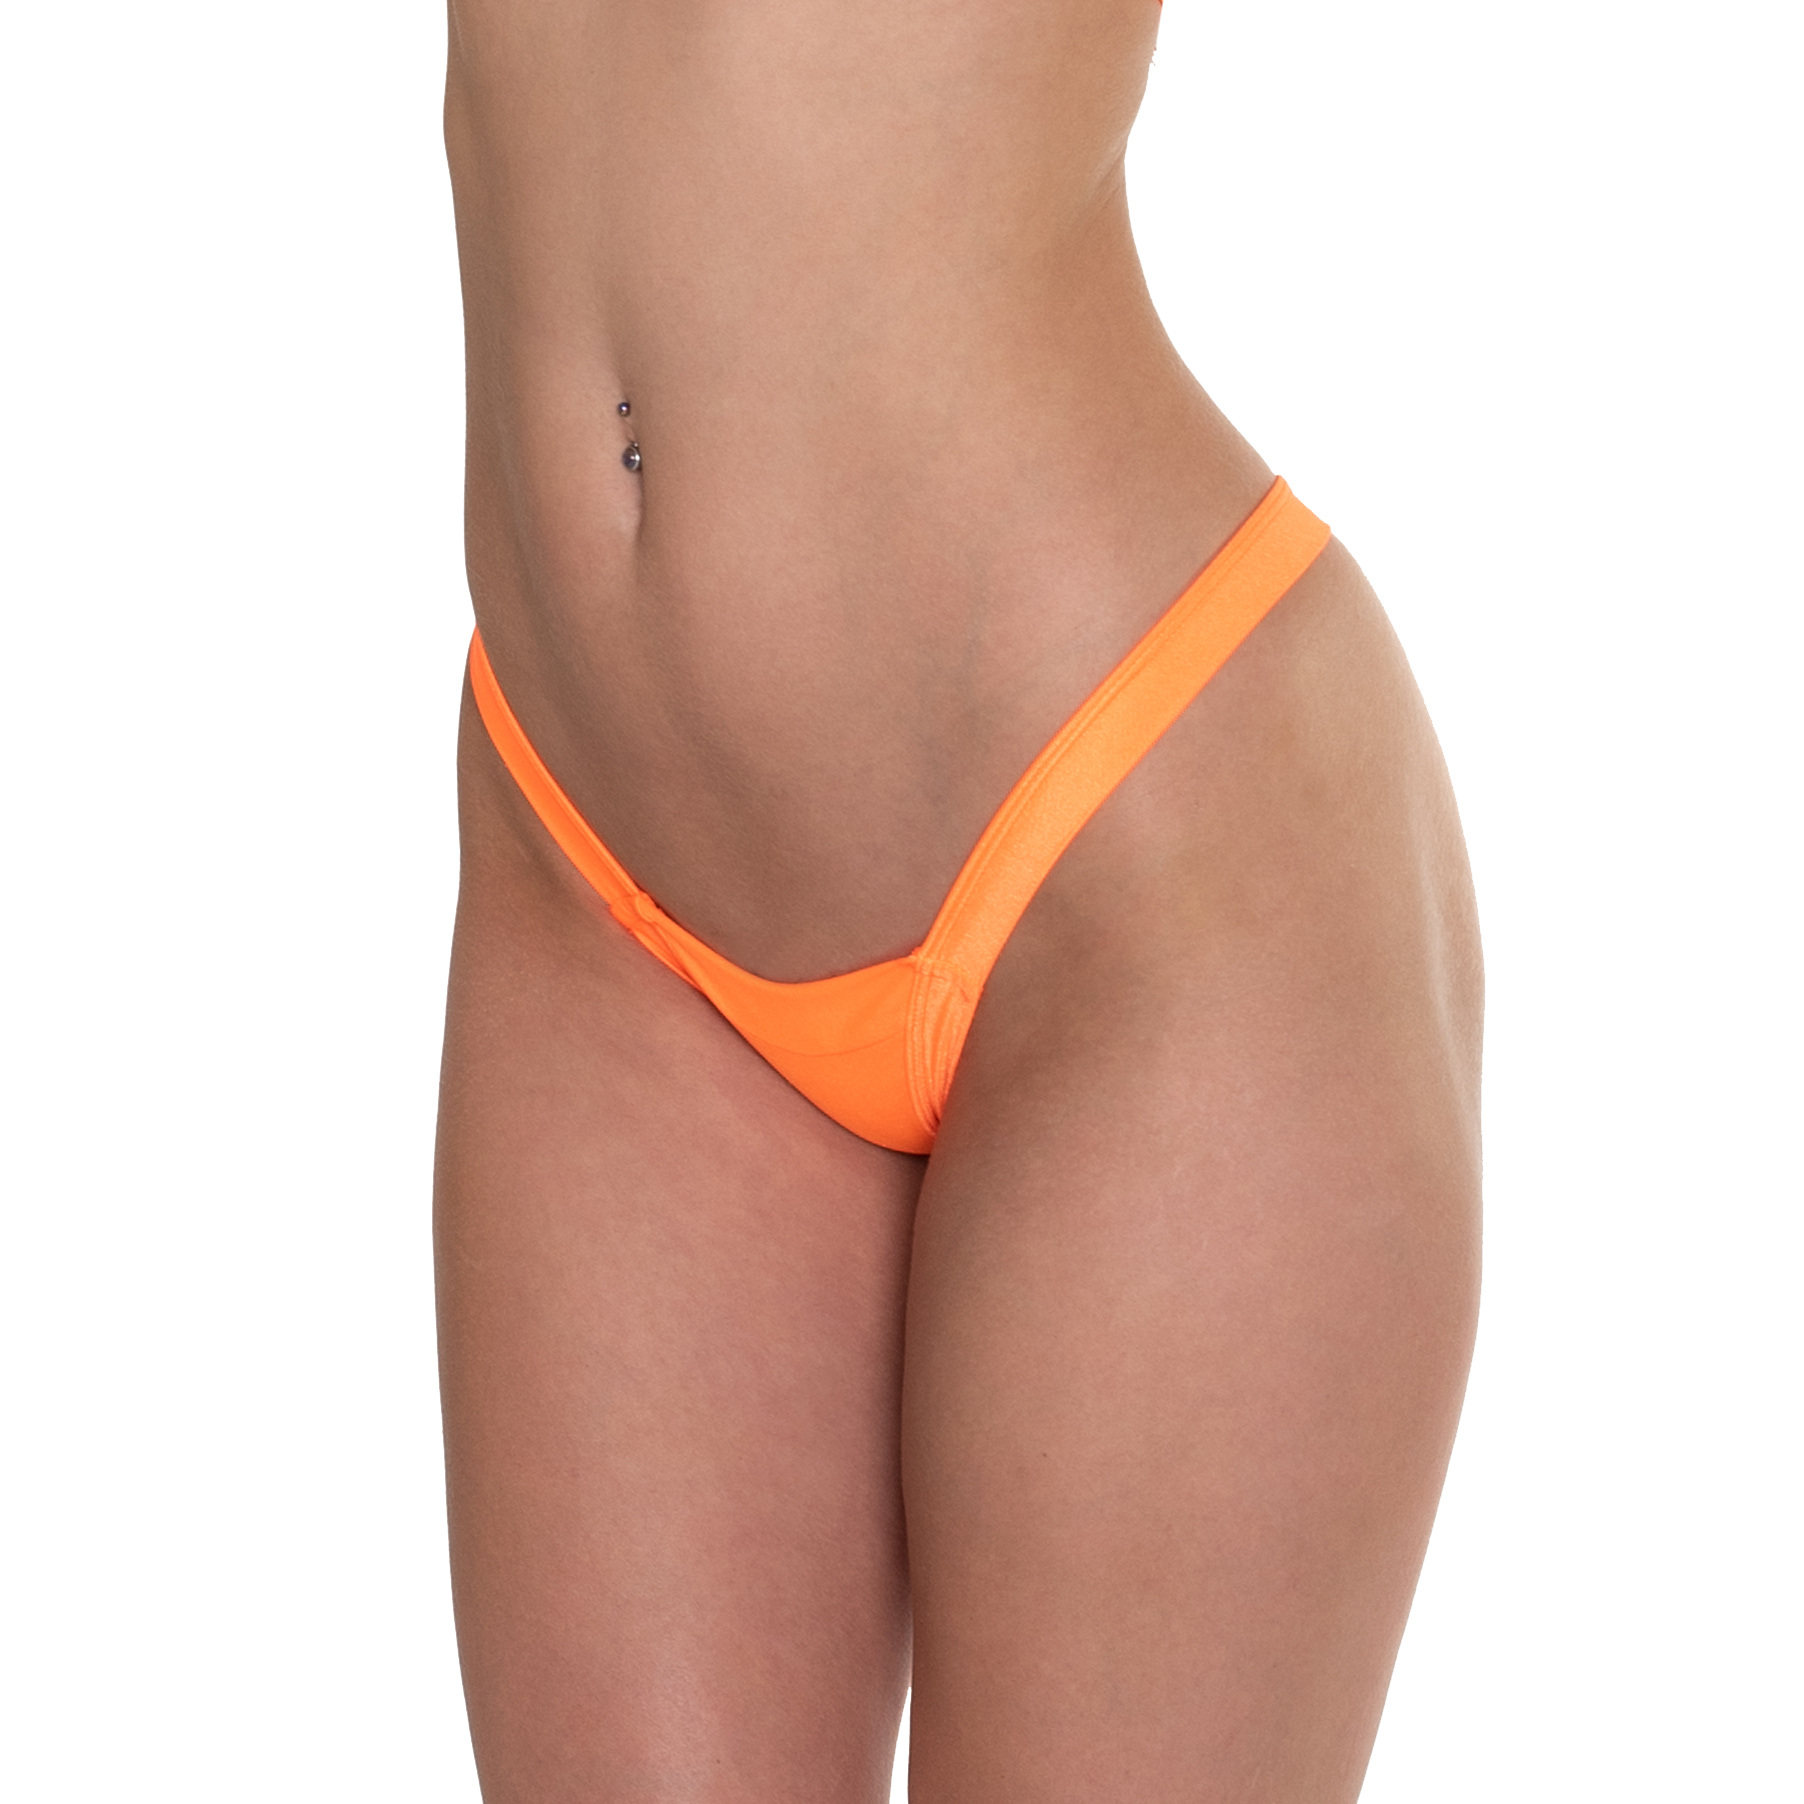
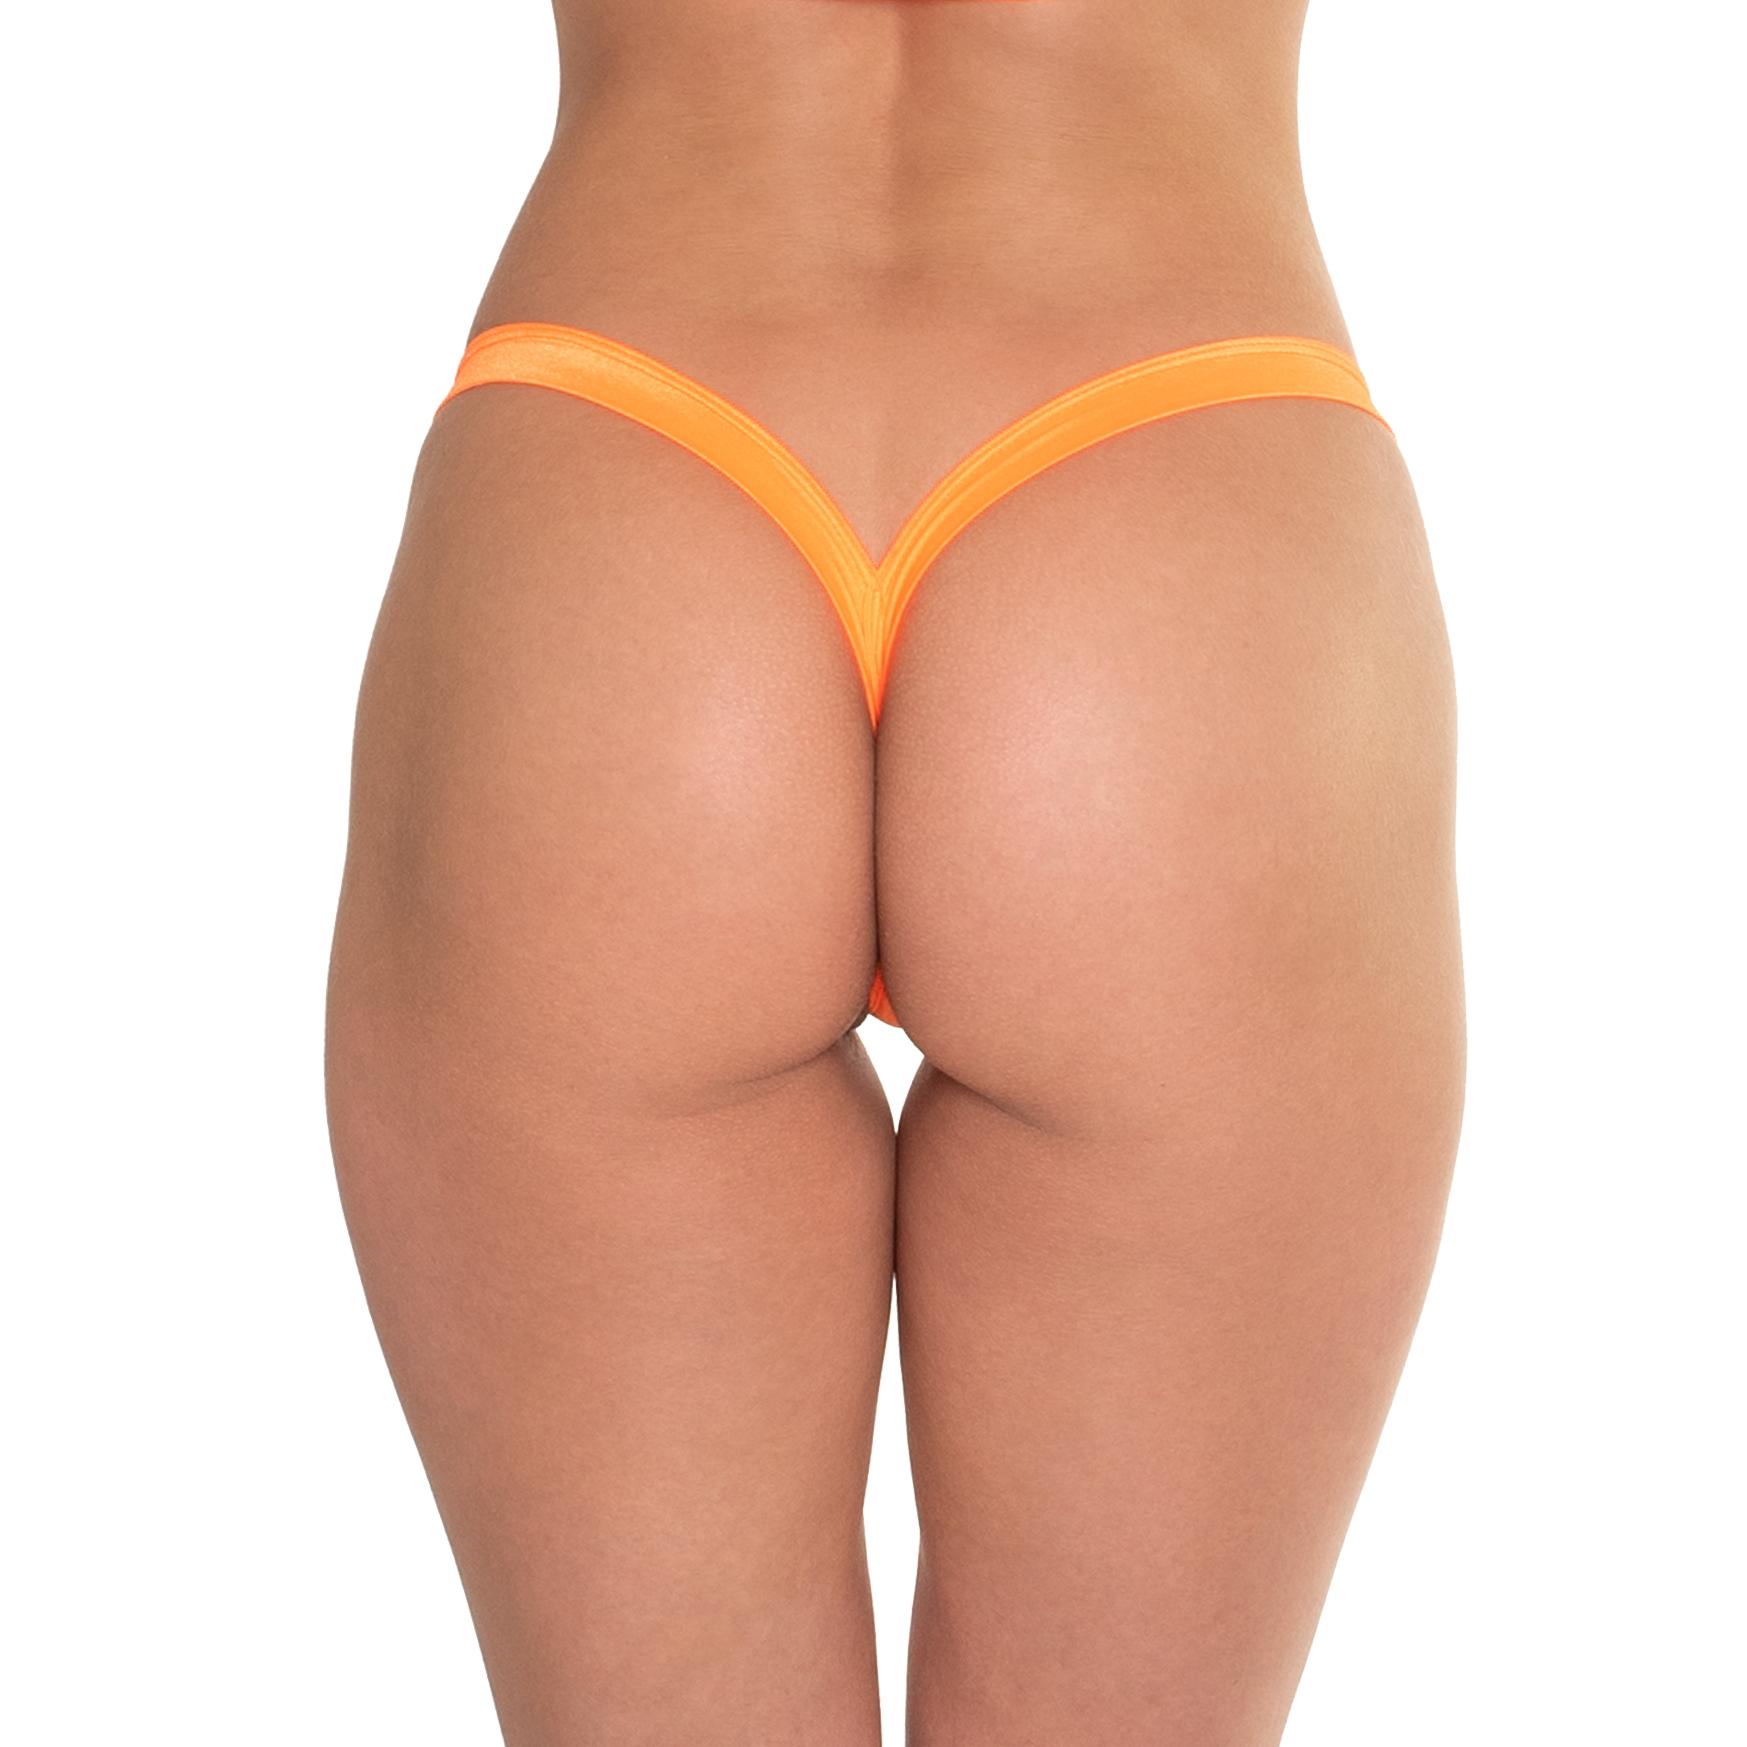
Sew your own everyday essential with this Wide Side Comfort Thong Sewing Pattern. Designed for both style and comfort, this thong features wider side straps that lay smoothly on the hips for a secure fit without digging in. The thong back gives a sleek, no-show look under clothing, making it perfect for daily wear, lounge, or layering under fitted outfits.
This digital download PDF pattern is beginner-friendly and works great with stretch fabrics like cotton spandex, jersey, or rib knit. Easy to sew on any home sewing machine—no special tools required!
✨ Features:
- Wide, comfortable side straps
- Smooth thong back design
- Beginner-friendly instructions
- Works with everyday stretch fabrics
- Printable PDF digital sewing pattern
Perfect for sewing your own lingerie, activewear, or custom-fit underwear in your favorite fabrics and colors.
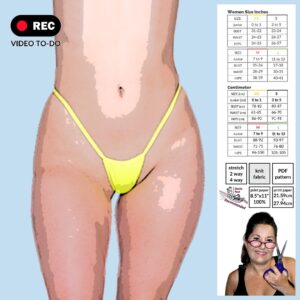
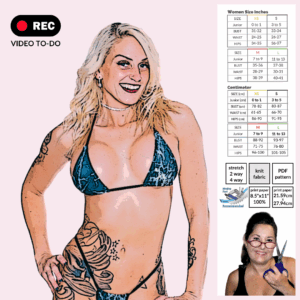
- Includes sizes XS-L
- One coverage option, low rise with thong back
- Formatted to print on US letter (8.5 x 11)
- Test square in US 2 x 2 inch and Metric unit 5.08 cm
- Pattern is color coded per size so you can make YOUR custom size
This is a DIGITAL product, available for instant download immediately after purchase. Due to the nature of this product, returns, exchanges, and refunds are not permitted.
What You Will Need
- 2/3 yard of fabric that stretches into the bolt of fabric.
- 1/8 yard for some 2 way stretch fabric. I usually had bias string fabric (raschel) set aside to use for this.
- Lining fabric that matches the stretch characteristics of the main fabric (the same fabric may be used for lining)
- Matching Thread
- Overlock machine or a regular sewing machine with a zig-zag stitch option
Pattern Assembly
- Attach the Top Pieces (1) & (2)
- Fold the top piece (1) in half lengthwise.
- Sew it to the two layers of front center (2) and lining (2).
- Prepare the Waistbands/Bias Strings (3) Each waistband is 2 ½” wide and stretches along the length.
-
- Fold both waistband pieces (3) in half lengthwise.
- If not cutting waistband (3) from the provided pattern, cut 2 pieces to sizes available on the sewing pattern
-
- Attach Waistbands/Bias Strings to Front Triangle
- Stay-stitch both unfinished folded sides of waistband (3) to the sides of the triangle pieces (1) & (2) wrong sides facing out, leaving unsewn a little past the triangle end for step 4.
- Allow ¼” or more overhang piece (1) You will sew this in step 6.
- Use an overlock stitch or any stretch stitch.
- Close Waistbands/Bias Strings
- Fold the unsewn section of each waistband (3) in half, wrong sides facing out.
- With right sides together, serger/overlock stitch the remaining open edges of both waistband sides.
- Turn Waistbands Right Side Out
- Use a string turner or safety pin to flip the waistband so the right side of the fabric is facing out.
- Form Leg Holes
- Align and straight stitch both ends of the waistbands/Bias Strings (3) together on each side to create leg openings.
- Leave ¼” or more seam allowance after the straight stitch for folding in the next step.
- Finish Waistband Ends
- Fold the seam flaps over and sew them down with a straight stitch to hide the raw edges.
- Secure Leg Holes
- Using a stretch stitch, sew all the way around each leg opening to enclose and secure the serger stitch.
- Finish Back Seam
- Overlap the back pieces and sew the center back seam (“butt crack area”).
- Standard length: 3 ½” at the back. Adjust longer for larger sizes or fuller coverage.
- Ensure both side straps are equal in length and aligned.
- Follow Along Video https://youtu.be/vnool0hSkQI